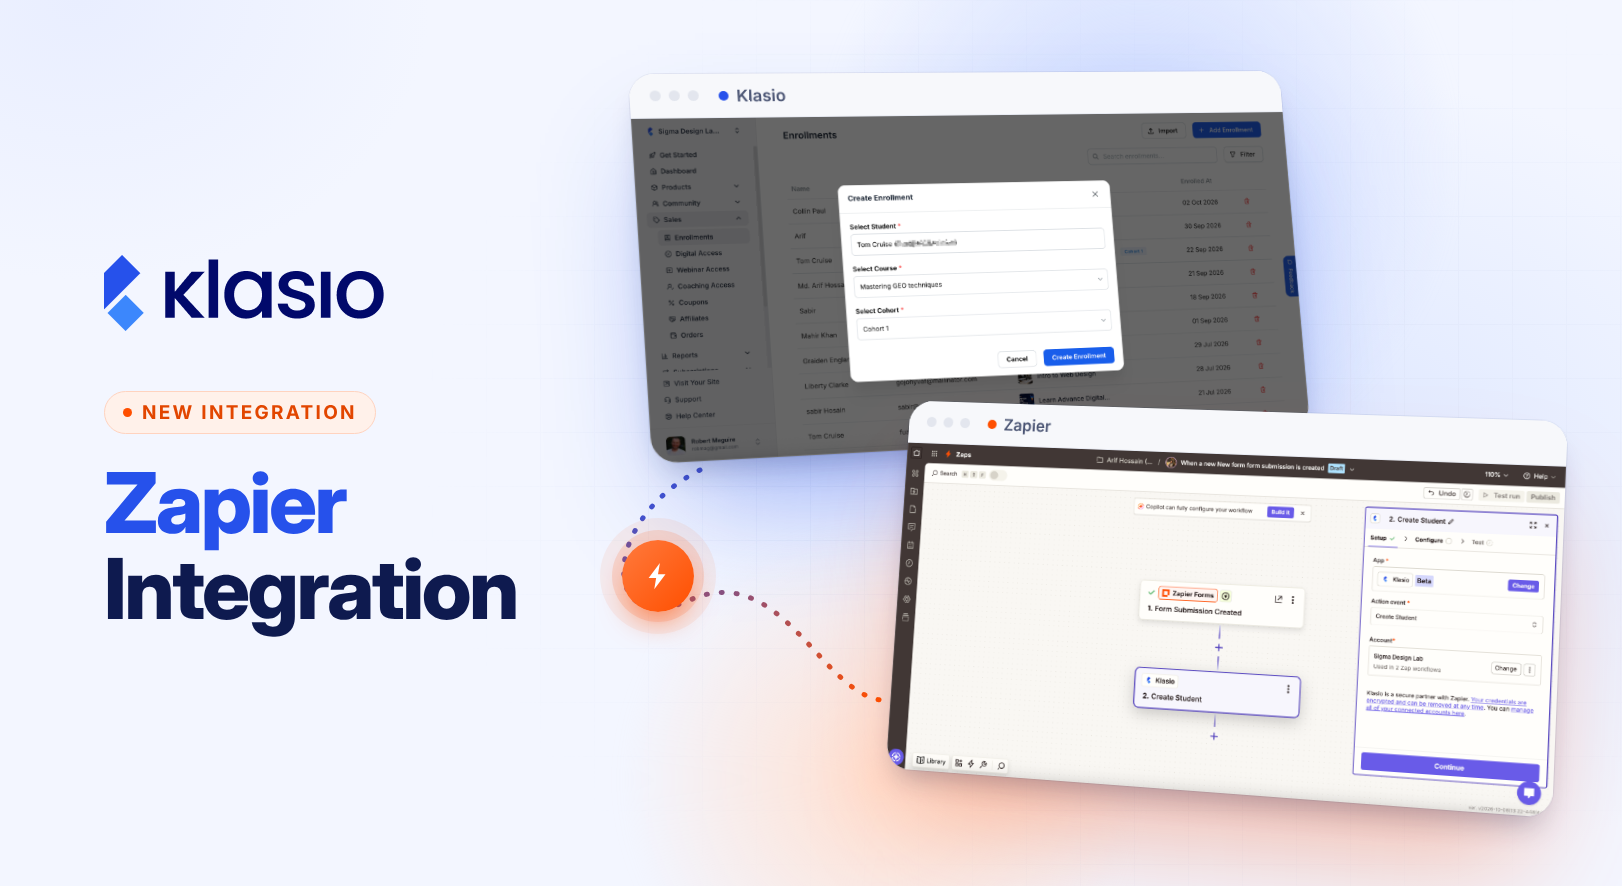
Zapier integration is now available inside Klasio.
Until now, moving student data to your other tools was manual work. You copied details from Klasio and pasted them into your email tool, CRM or sheet. It’s small work each time, but it adds up. On busy days, some of it gets missed.
Now you connect Klasio to Zapier once, and your Zaps run on their own. You spend less time keeping tools in sync, and nothing depends on you remembering.
Connect Your Account in a Few Minutes
Before, connecting Klasio to another tool needed some technical setup. Now it takes one API token.
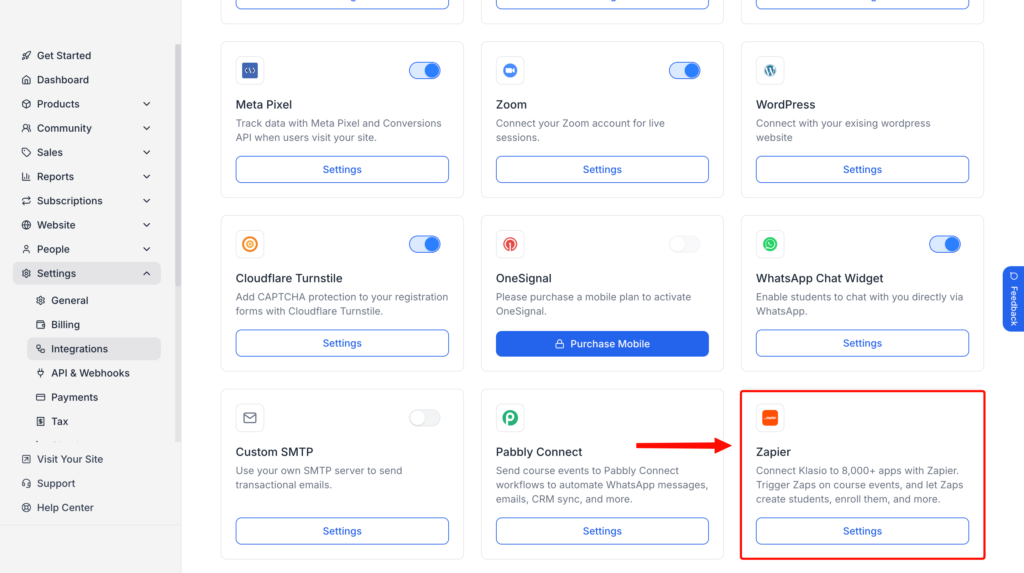
Go to Settings > API & Webhooks, open API Tokens, and click Create Token. Choose what Zapier can do and copy the token. In Zapier, go to App connections, find Klasio, and paste it. You only do this once. Every Zap you build later uses the same connection.
Let Klasio Start Your Zaps
Before, you had to spot each enrollment or completion and act on it yourself. Now Klasio tells Zapier the moment it happens.
There are seven events to choose from: new enrollment, unenrollment, completed lesson, completed course, submitted assignment, graded assignment, and issued certificate. Add new students to your email list, alert your team, or send a follow-up when a course is done. Your students hear from you faster, and you don’t have to send it yourself.
Let Zapier Add Students to Klasio
Before, every outside sign-up meant creating the student in Klasio by hand. Now Zapier does it for you.
It can create a student, enroll them in a course, update their details, or remove an enrollment. If the email already belongs to a student, Klasio uses that account. Students get access right away, and no manual enrollments pile up for you.