Alex Hormozi, an author, entrepreneur, and a lot of other things, launched his latest book $100M Money Models,” in a live webinar and generated more than $3M in revenue.
Now, as a solopreneur yourself, you may think pulling off such a stunt is not for you cause you are not someone famous. But here’s where you’re wrong.
The truth is, the core strategies that make webinars incredibly powerful for someone like Alex Hormozi are not exclusive to celebrities or large corporations. They are principles that anyone, including you, can learn and apply to your own business.
You don’t need a massive following to start generating significant income from your webinars. What you need is a clear understanding of how to structure your content, engage your audience, and present an offer that truly resonates.
In this 5-step guide, we’ll break down exactly how to host webinars that convert attendees into paying customers, helping you achieve your own version of webinar success.
TL;DR
- To host a high-converting webinar, first, you will have to create an irresistible offer.
- Use a multi-channel social media strategy (focus on where your audience is)to reach out to warm leads, then consider paid ads to expand reach.
- Ensure high attendance by consistently communicating with registrants through timely email reminders.
- During the live session, deliver engaging content and manage questions effectively to keep your audience interested.
- Maximize sales after the webinar by providing a well-prepared replay and sending a strategic follow-up email.
Step 01: Create Your Offer Blueprint
The first step to successfully hosting a high-converting webinar is to define what you are going to be selling. You must put on your thinking cap and come up with an offer that your audience can’t refuse.
When creating your offer, first, you need to define and state who your target audience is. For example, “This program is for small business owners and side-preneurs who want a repeatable way to sell online.”
Now, when it comes to deciding what you are going to offer, you have to keep in mind that the offer has to be clear, simple, and easy to compare. When people can see what they get at a glance, they buy more often.
For example, let’s say you are selling a course. So, here’s what an irresistible offer would look like–
Core Product: “Course Creator Blueprint” – A comprehensive online training program with 8 modules covering niche selection, content creation, course structuring, marketing, and sales.
Coaching & Community:
- Weekly live group coaching calls (60-90 minutes each) for 8 weeks, with Q&A and hot seats.
- Exclusive access to a private Facebook community for ongoing support, networking, and accountability.
- Dedicated email support for technical and strategic questions.
Bonuses:
Customers love bonuses. So you need to come up with thoughtful bonuses that will increase the overall value of your offering. For example, in this case,
- Bonus #1: “Webinar Conversion Kit” – Templates for high-converting webinar slides, email sequences, and registration pages.
- Bonus #2: “Traffic Generation Playbook” – A mini-course on organic and paid strategies to drive students to your course.
- Bonus #3: Lifetime access to all future updates of the “Course Creator Blueprint.”
Now that your offer is almost complete, it’s time to think about what you will be charging your customers for. Like the offer, you should also keep the pricing simple.
Instead of offering a multiple-tiered pricing structure, use one pricing plan with a full payment option and a split-payment option. This payment plan works because a higher upfront price can convey premium value, but offering an easier payment option lowers the financial barrier.
This flexibility helps more people buy. For example,
| Do | Don’t |
| Full Pay: $1,497 (one-time payment)Split Pay: 3 monthly payments of $597 (totaling $1,791) | Course: $999, Course+Coaching: $1500, Course+Coaching+Bonus: $1700 |
The final part of your offer should include a guarantee. Assure your audience that they will receive the value they expect from your product. However, make sure your promise is realistic and does not put you at a loss.
For example, your guarantee should look like this–
30-Day “Launch Success” Guarantee: If you complete all modules and implement the strategies within 30 days and don’t launch your course, we’ll work with you one-on-one until you do, or provide a full refund. (Conditions apply, e.g., proof of implementation required, action steps taken).
Step 02: How to Promote Your Webinar
Once your offer is ready, the next step is to get people to register. Without a strong promotion plan and execution, your amazing offer will not reach your target audience.
So, here’s how you can promote your webinar and get people to register:
Use a Multi-Channel Social Media Strategy
Social media is a gold mine for engaging with the audience directly. So, we are going to take full advantage of that.
Now, when it comes to choosing the best social media platform for your webinar promotion, choose the platform where your ICP (ideal customer profile) hangs out the most. It could be Instagram, LinkedIn, Facebook, or anything else.
Select the platform and then double down on what works best for that. For example, you can post teaser videos on Instagram, share short clips or live sessions on Facebook, and create professional updates on LinkedIn.
On TikTok, you can post quick tips related to your topic and add the registration link in your bio. Twitter (X) works well for short reminders and countdowns.
Each platform has its own style, but the goal is the same: keep your posts short, clear, and focused on your offer.
Remember to always include a direct link to your webinar registration landing page, and if possible, pin one post so it stays at the top of your profile until the registration is closed. This way, no matter where people follow you, they can find your sign-up link simply.
| Platform | Best Content Formats for Webinar Promotion | Notes / Tips |
| Stories, short Reels, feed posts, carousel images | Use links in bio or swipe-up (if available). Use countdown stickers in Stories. | |
| Feed posts, short videos, live videos, event pages, groups | Create a Facebook Event for easy RSVPs. Use pinned posts for visibility. | |
| Feed posts, articles, short videos, live streams | Focus on professional insights. Tag people or companies relevant to your niche. | |
| TikTok | Short-form videos (15–60 sec), tips, behind-the-scenes clips | Use trending sounds or hashtags. Add webinar link in bio. |
| X / Twitter | Short text updates, polls, images, and short videos | Post reminders frequently. Use threads to explain webinar benefits. |
| YouTube | Short clips, teaser videos, Shorts, livestreams | Include the registration link in the description and pinned comment. |
| Infographics, step-by-step visuals, and pins linking to the landing page | Best for evergreen topics. Use a clear call-to-action on graphics. |
Paid Ads
Paid ads are the best way to get exposure fast and reach people outside your existing audience. In this case, you can use social platforms to target audiences based on interests, job roles, location, or behaviors, so you can reach people most likely to benefit from your webinar.
Start small with a daily budget you feel comfortable with. This lets you test what works without overspending. Always link your ads directly to your webinar registration landing page, so people can sign up easily.
Also, when writing your ad copy, focus on the value and outcome of the webinar rather than just the date, time, or topic. Highlight what attendees will learn or achieve by attending, and clearly state who the webinar is for.
Use short, engaging headlines, a clear call-to-action, and consider adding an image or short video to make your ad stand out in crowded feeds. One pro tip here,
| What to Do | What Not to Do |
| Headline: “Build Your Own Online Course and start making $1000 a month”F Body: Join our free webinar and get a step-by-step look at the Course Creator Blueprint, an 8-module program that teaches niche selection, content creation, course structure, marketing, and sales. You’ll also see how weekly live coaching, a private support community, and email guidance can help you launch faster. Plus, we’ll share bonus templates for webinar slides, email sequences, and traffic strategies to get your first students. This session is perfect for aspiring course creators who want a clear path to launching and selling their course. CTA: Reserve Your Spot Visual idea: Short 15–30 second clip showing you talking about the course or a branded graphic listing the modules and bonuses. | Headline: “Free Webinar on Online Courses” Body: Sign up for our webinar about the Course Creator Blueprint this Thursday. We’ll talk about creating and selling courses. It includes coaching, community access, and some bonuses. CTA: Click Here Visual idea: Generic stock image of a laptop or books. |
After you run your ads, make sure to track and monitor them closely for engagement, clicks, and registrations. Based on that, adjust the targeting or copy if performance is low.
Email Marketing
If you have an email list, it could be the strongest tool for driving registrations because the people on your list already know you and are more likely to respond.
Start by sending a clear announcement email as soon as your webinar registration landing page is ready. Keep your subject line simple and focused on the benefit.
For example, use something like “How to Launch a Profitable Online Course in 8 Weeks” instead of “Join My Webinar.”
After the first invite, plan at least three reminder emails. The first reminder should go out when you launch registration. The second should go out a few days before the registration closes to build urgency and remind people why it matters.
The final reminder should go out on the day of the deadline of the registration, ideally a few hours before it starts, so people don’t forget to attend.
Each email should be short and easy to scan. Use a few sentences to highlight what they will learn, list one or two takeaways in bullet points, and always include a clear link or button that takes them straight to the registration page.
Avoid adding too many details about your program or long stories in these emails; save that for the webinar itself. The goal is to get the click, not to sell the offer.
Timing and Sequence are Crucial
As you start preparing for your webinar promotion, remember that WHEN you share your message matters just as much as where and how you share it.
The sweet spot for announcing your webinar is about 7–10 days in advance, because it gives people enough time to register, but not so much time that they forget. If you promote a month ahead, most people lose interest or overlook the reminder emails later.
Also, start by sharing your webinar with your warm audience first: your email list, social media followers, or members of your online community. These are the people who already know you and are more likely to sign up early.
Once you’ve tapped into that group, then launch paid ads to expand your reach and bring in fresh leads. This sequence helps you fill seats without wasting ad spend on cold audiences before your existing supporters have had the chance to register.
Step 03: How to Turn Registrants Into Attendees
Getting people to sign up for your webinars is great, but what will you do if they never attend? Most people lose more than half of their registrants because they don’t put in enough effort to get people to attend.
In this case, consistent communication is key. Plan to send at least one email per day in the week leading up to the webinar. These don’t have to be long, just short reminders that highlight the value of attending.
Each email can focus on a different angle, like one benefit they’ll learn, a common mistake they’ll avoid, or a short story about how the content helped someone else.
On the day of the webinar, increase the frequency. Send three to five emails spaced out across the day. For example, one in the morning as a reminder, one two hours before, one 30 minutes before, and one right when you go live.
You can also send a last quick note during the webinar for latecomers. People are busy and often forget, so these nudges are key.
Keep in mind that there is a thin line between consistency and being spammy. So, it’s important to keep the messages short and clear.
Step 04: It’s Showtime – Deliver Your Live Webinar
Now that people have shown up, it’s showtime! How you start the webinar can set the tone for whether you will be able to sell your offer or not. If you are not entertaining enough as a host, people might just quit and leave.

To help you understand better, let’s break the main event into three sections.
Pre-Presentation Engagement
First of all, remember to record your webinar. We are going to need that later.
Then, start with a warm welcome. Greet people by name if possible and ask them to share where they’re joining from in the chat. This helps break the silence at the start, gives you a chance to interact, and helps attendees feel noticed.
Also, before you dive in, explain what you’ll cover during the session. Break it down into a few simple points so people know what to expect.
In addition, let your audience know there will be a Q&A at the end and explain how they can send in their questions. This makes sure they don’t interrupt the flow later and keeps them engaged until the end.
Delivering the Presentation
When you get into the main content, try to keep a steady flow. If you answer every question as it comes in, you’ll break the rhythm. Instead, set the rule early: questions go in the chat or Q&A box, and you’ll answer them after the main talk.
You can have a moderator collect and organize them so you don’t lose track. Move through your slides at a steady pace, keeping each section short and clear.
When you reach the pitch, don’t just tell them about your offer once and move on. Introduce it clearly, show what’s included, explain the price, and give them the exact next step.
At the same time, you don’t want to sound too pushy. The best way to avoid being salesy is to connect the offer directly to what you’ve just taught.
Show how the offer is the natural next step for anyone who wants to go further. Instead of repeating “buy now” too often, focus on explaining how the product or service solves their problem. Mention it once before the pitch as a light reminder, then present it fully during the pitch. This way, it feels helpful rather than forced.
The Crucial Q&A Session
The Q&A is not just about answering questions; it’s also where many sales actually happen. People who are interested but unsure will often use this time to raise their concerns.
For example, if someone asks, “Does this work if I don’t have a big audience?”, that’s your chance to explain and reassure them. Real sales often come from these moments because you’re addressing personal doubts directly.
Also, try to stay live as long as people are engaged, and definitely don’t end the Q&A too quickly. As long as people are asking questions and staying active in chat, keep going.
Sometimes it will last just 10 minutes, but sometimes you may need to stay for an hour or more. This extra time shows you care and helps more people make their decision.
While answering, keep your final slide visible. This slide should show the offer, price, what’s included, and where to buy.
Step 05: The Afterparty – Post Webinar Conversion Funnel
So, you’ve hosted an amazing webinar and got a decent amount of sales. Mission successful, right?
Nope.
Your work doesn’t stop when the live webinar ends. In fact, 40-50% of total revenue comes after the live webinar. How?
With the Power of the Replay.
Remember, we told you to record your webinar? We’ll now be using that to drive even more sales.
Prepare the Replay
First, take a good look at the replay and trim the unnecessary parts, like at the start, where everyone is introducing themselves, checking mics, or at the Q&A section, where there are long pauses or repeated questions, etc.
Start the replay at the main slideshow or the first key teaching point. This helps viewers jump straight into the content without waiting through housekeeping details.
If possible, break your replay into chapters. Chapters help people skip to the sections they care about most, making the replay feel more user-friendly and professional. For example, label chapters like “Step 1: Understanding Your Audience” or “Step 2: Making Your Offer.”
Create a Replay Page
Now, create and optimize a landing page for this replay. Your replay page should be clean and focused.
Avoid clutter like multiple links, extra navigation menus, or unrelated content. Place one clear CTA button that takes viewers straight to checkout. Label it clearly, for example: “Enroll Now” or “Get Instant Access.” People are more likely to act when there’s no confusion about what to do next.
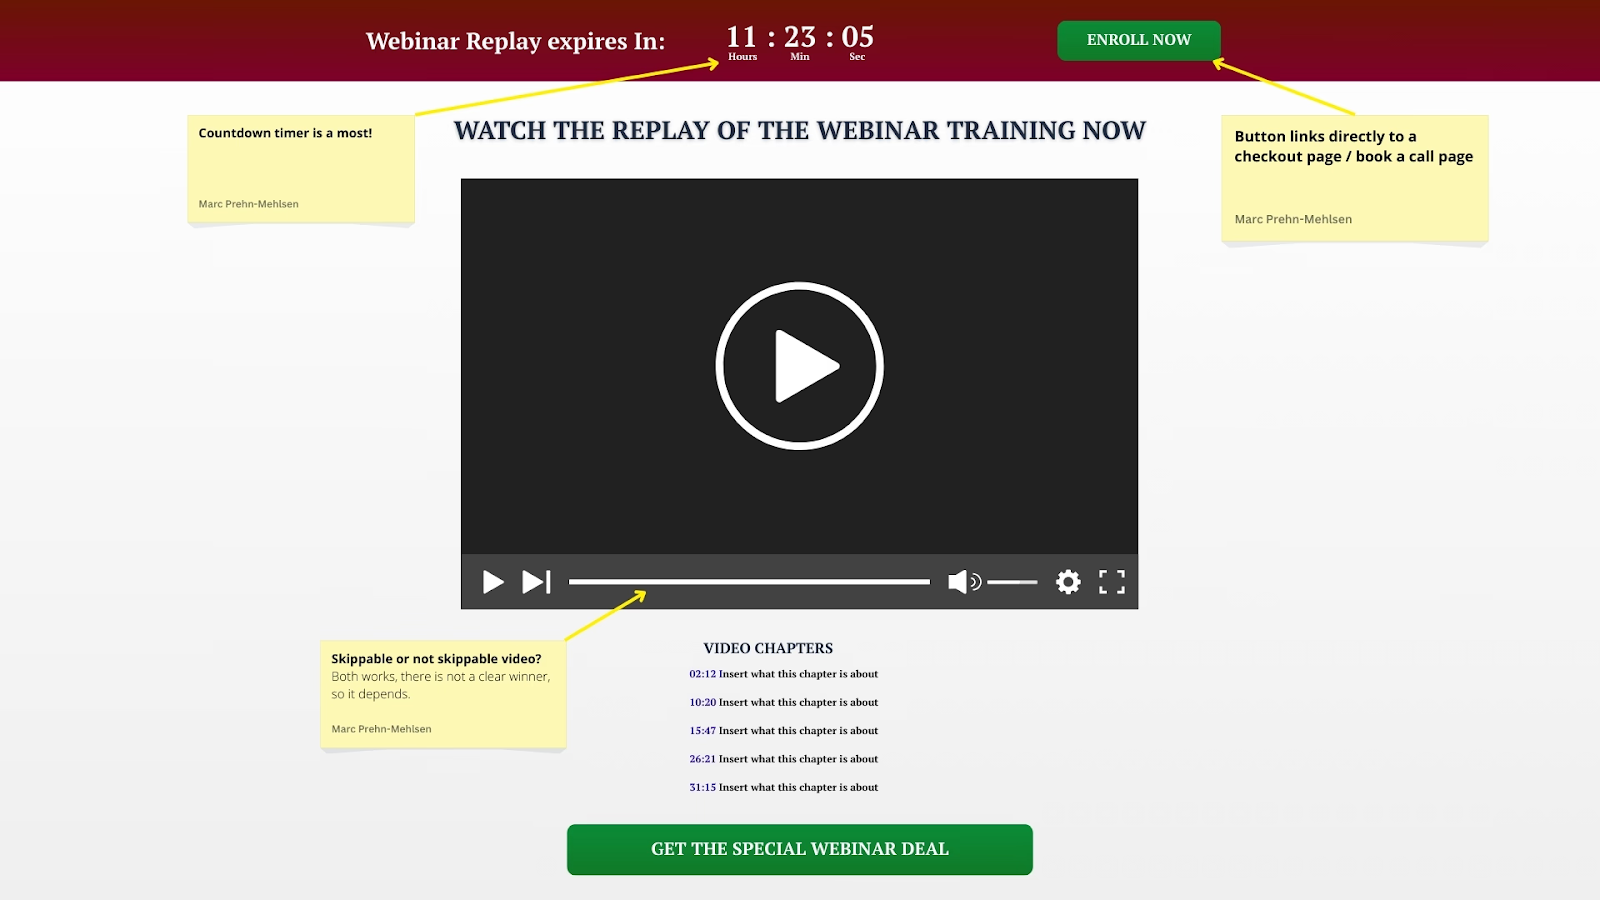
Add a countdown timer to create a sense of urgency. For example: “This replay will expire in 24 hours!”
Seeing the timer reminds viewers that this is a limited opportunity. It encourages them to take action now rather than procrastinate. If your offer is ongoing but you want urgency, you can set short deadlines for bonus content, limited seats, or special pricing instead.
Follow-up Email Strategy
Now, your audience won’t find the replay page on their own. You will need a planned email sequence to guide people back.
This follow-up email campaign should include:
- Attendees who joined the live webinar but didn’t purchase
- Registered attendees who missed the live webinar
- Leads who registered but didn’t attend at all
- Existing email subscribers interested in the topic (optional)
Send the first replay email immediately after the live webinar. Include a direct link to the replay page and a short reminder of what they’ll learn.
Send a reminder email halfway through the replay availability window. If the replay is available for 24–48 hours, send a reminder the next day. Highlight the key benefits of watching, like a lesson or insight they may have missed.
Send a final urgency email before the replay expires. Remind them that this is their last chance. Include the countdown or mention the expiry directly in the subject line: “Replay closes in 4 hours – don’t miss it!” Repeat the main benefit and place the CTA clearly at the top and bottom of the email.
Key Metrics to Track
Now that we are finally done with the webinar, it’s time we calculate the success we just achieved. You should focus on a small set of clear numbers that tell a simple story. Too many metrics slow you down and hide the few that matter most.
Here are the important metrics that you must track:
| Metric | How to track (data source & formula) |
| Total registrations | Export sign-ups from your registration page or CRM. (No formula.) |
| Live attendees | Pull attendee count from your webinar platform report (Zoom, Demio, etc.). |
| Show-up rate | (Live attendees ÷ Registrations) × 100 using webinar platform and reg data. |
| Total revenue | Sum all payments from your payment processor for the webinar period. |
| Total purchases | Count unique purchases tied to this webinar in your payment processor. |
| Revenue per lead | Total revenue ÷ Registrations using sales data and registration export. |
| Registration conversion rate | (Total purchases ÷ Registrations) × 100 from sales and registration data. |
| Live revenue | Sum payments made during the live webinar (use payment timestamps). |
| Post-webinar revenue | Sum payments after the live event attributed to replay or follow-ups. |
Why Does This Method Work? [With Case Studies]
Now that you have the whole picture of this high-converting method, you may wonder, “Does this actually work? Or, is this actually fluff?”
Here are 4 reasons why this webinar will work if you play all your cards right.
Authority and Trust
Webinars are one of the best ways to show that you actually know your stuff. Instead of just telling people you’re an expert, you get to prove it by teaching and sharing insights they can use right away.
When you break down a topic clearly and answer questions in real time, people see that you understand their challenges and can guide them toward solutions. And here’s the key part: when people trust you, they feel much more comfortable investing in your offer.
Reciprocity
Reciprocity is a simple but powerful idea: when you give something useful to people, they often feel like they should give something back. In a webinar, this plays out naturally.
You’re offering your time, knowledge, and training for free, and your audience walks away with real value even if they don’t buy. Because of that, many attendees feel a sense of goodwill and are more open to your offer.
They see buying from you not just as a purchase, but also as a way to return the value you’ve already given. This is why teaching first and selling second works so well in webinars.
Scarcity and Urgency
If your offer is only available for a short time, or if there’s a special bonus that disappears after the webinar, it pushes people to decide now instead of later. Without a deadline, many attendees will put it off and forget.
By adding clear limits like “bonus ends tonight” or “replay available for 24 hours,” you create a natural reason for them to act. This gentle pressure often makes the difference between someone hesitating and someone clicking the buy button.
Social Proof
Social proof is powerful because people feel more confident when they see others making the same choice. During your webinar, you can share short testimonials, real customer stories, or even screenshots of positive feedback.
If past buyers got good results, show that clearly so attendees can picture themselves achieving the same. You can also mention the number of people who joined your program or highlight live comments in the chat that show excitement. These signals help your audience feel they’re not alone in saying yes, which makes the decision easier.
Building Confidence
A strong guarantee can remove one of the biggest barriers to buying during a webinar: fear of making the wrong choice. Many people hesitate because they worry the program might not work for them, or they might not be able to follow through. When you offer something like a “30-Day Launch Success Guarantee” or a clear refund policy, you take away that risk.
Now, usually you can’t really elaborate or assure your customers on this guarantee through websites. But in a webinar, you can.
This type of promise shows that you fully believe in your program and are willing to stand behind it. That confidence makes your audience feel more secure in their decision.
Instead of thinking, “What if I fail?” they start to think, “I have nothing to lose.” The guarantee shifts the pressure from the buyer to you, and that simple shift can be the final reassurance someone needs to move from interested to committed.
Now, here are some case studies where businesses managed to get a huge amount of revenue following this model.
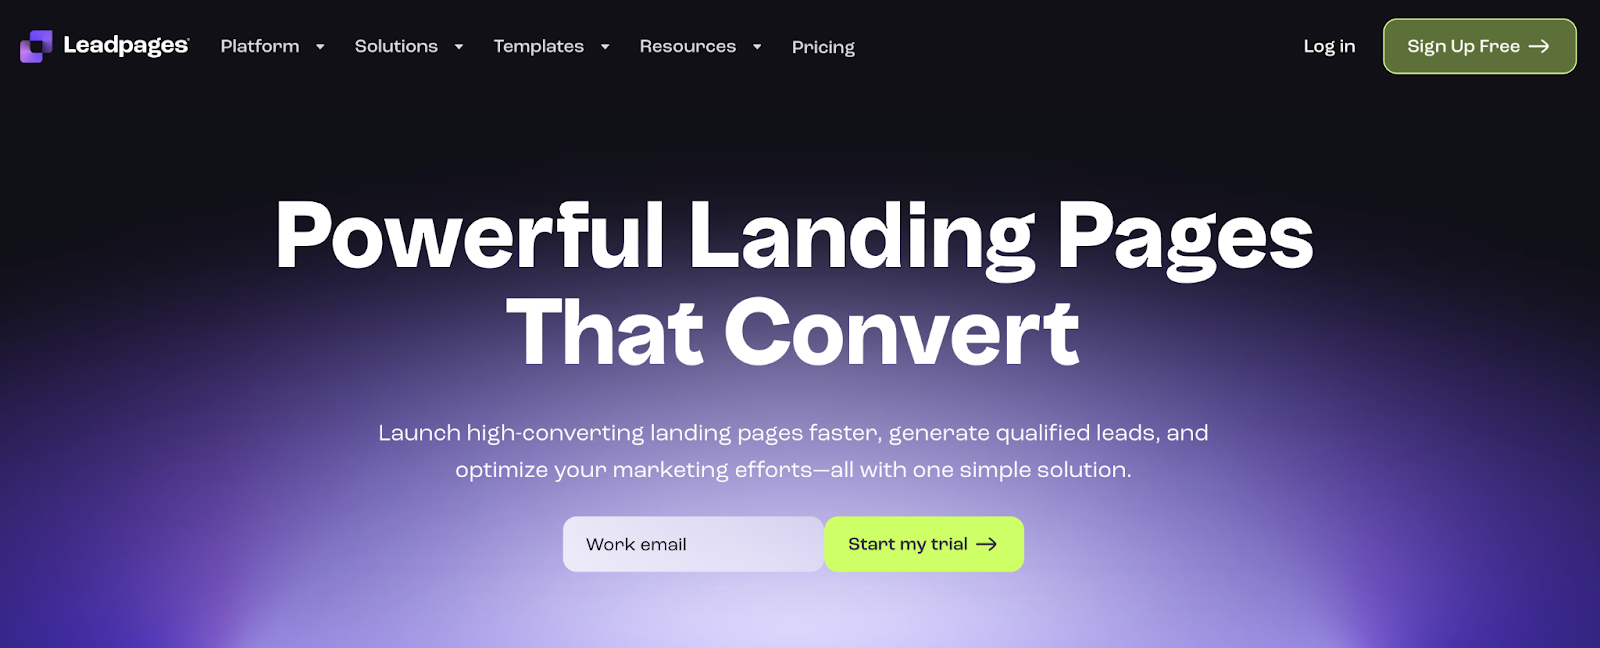
Case Study 01: Leadpages
Leadpages, a landing page software company, used a webinar to generate over $72,000 in profit. They did this by providing a high-value presentation on how to create effective landing pages, which positioned them as authorities on the subject and built trust with their audience.
Case Study 02: Brand Builders Playbook
Brand Builders Playbook, a company that helps course creators and personal brands, generated $65,220 in revenue from a 7-day webinar promotion for a brand-new offer. They achieved this by first engaging their client’s existing audience through Instagram and email before moving to paid ads. This approach of warming up the audience first and then presenting a high-value offer in the webinar proved to be highly effective. [3]
Case Study 03: Jenna Kutcher
Jenna Kutcher, a photographer, and educator, used a limited-time offer to generate over $100,000 in sales from two webinars. By offering a special bonus to people who purchased her course during the webinar, she created a sense of urgency that drove a high number of sales.
5 Tips for Optimizing Webinars for Maximum Revenue
To make sure your webinars bring in as much money as possible, here are some straightforward tips:
01. Stay Live as Long as People Are Asking Questions
Don’t feel like you have to end your webinar right on time. If your audience is still engaged and asking questions, keep going! The longer you stay to answer their questions, the more value you provide, and the more connected they’ll feel to you. This can really help when it comes to them deciding to buy from you.
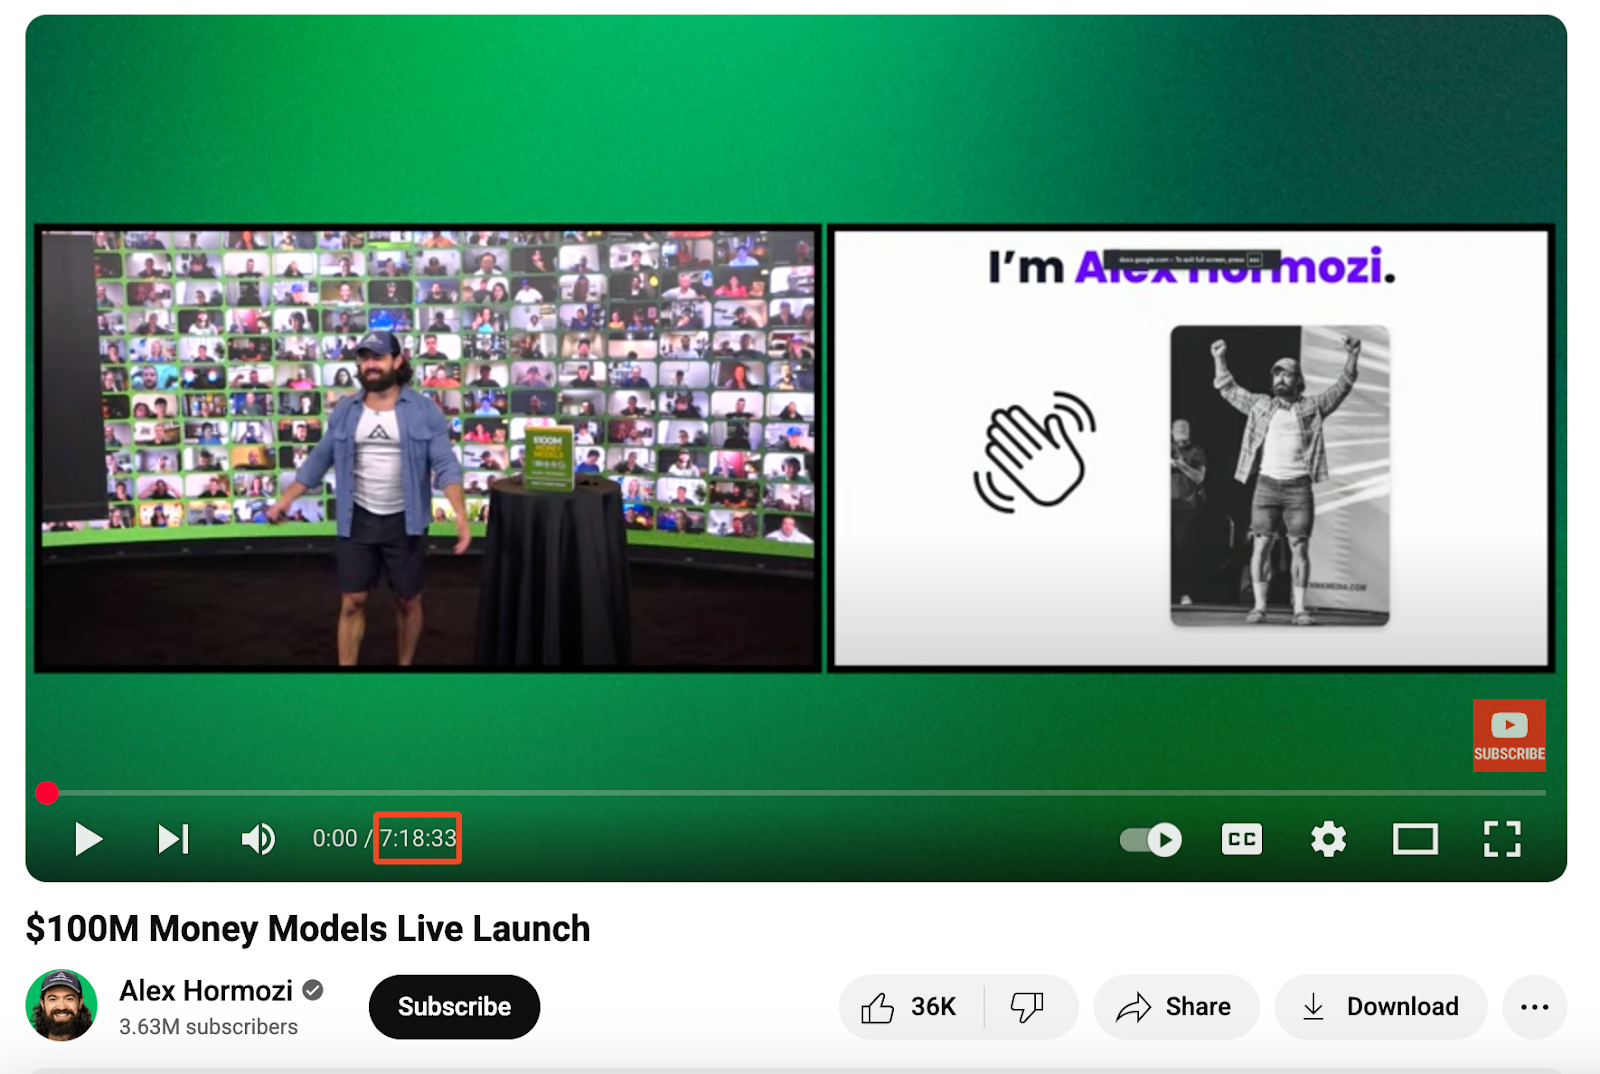
For instance, Alex’s Live launch lasted 7 hours and 18 minutes.
02. Your Offer is the Most Important Thing
What you’re selling at the end of your webinar, your offer, is incredibly important. A strong, appealing offer can make all the difference.
Think about giving people options, like a “Do-It-Yourself” (DIY) choice for those who want to learn and do it themselves, and a “Done-For-You” (DFY) choice for those who prefer you handle things for them. Giving choices makes your offer more flexible and attractive to different buyers.
03. Use a Simple, Easy-to-Remember Website Link
When you tell people where to go to buy your product or sign up, use a short and easy-to-remember website address. Something like “YourOffer.com” is much better than a long, complicated link. It’s easier for people to type in and remember, which means more people will actually get to your checkout page.
04. Design Your Slides for Engagement
When you’re making your presentation slides, try to put only one main idea on each slide. This keeps things clear and easy to understand. Also, don’t be afraid to have a lot of slides! People tend to stay more engaged when they see new slides appearing often.
If you have a lot of content, you can even break it down into more slides without adding new information – just to keep the visual flow interesting.
05. Don’t Be Afraid to Send More Emails
After your webinar, it’s perfectly fine to send several emails to your attendees. People won’t get annoyed; in fact, it helps you stay on their minds.
You can even send more emails than you originally planned if you see that people are still opening them and engaging with your content. The goal is to keep the conversation going and remind them of the value you offer.
Klasio Makes Hosting Webinars Easy
After all this talk about making your webinars successful, you might be wondering how to actually put it all into practice without a lot of hassle. That’s where Klasio comes in.
Klasio is designed to make hosting webinars simple, especially for people who are new to it or want to avoid technical headaches.
Klasio helps you with the whole process, from setting up your webinar to selling it. It allows you to easily host, record, and sell your webinars, all from one platform. It even integrates with popular tools like Google Meet and Zoom for your live sessions, so you can use what you’re already familiar with.
Plus, Klasio is built to be easy to use, meaning you don’t need a lot of training to get started. It simplifies setting up webinars and offers features that help you attract more attendees and understand how your webinars are performing.
Check out here how easy it is to set up a webinar on Klasio.
So, if you are now convinced that hosting live webinars is a must for a successful business or product launch, signing up for Klasio can definitely make it a lot easier for you.
FAQs
Can I host a webinar for free?
Yes, you can host a webinar for free using tools like Zoom (basic plan), Google Meet, or Microsoft Teams. These platforms have limits on time, attendees, or features, but they’re good for starting out.
Do you need your camera on in a webinar?
No, you don’t need your camera on in a webinar, but it usually helps build trust and connection. If you’re presenting slides or sharing a screen, you can keep the camera off, though showing your face feels more personal.
How long are webinars usually?
Webinars are usually 45 to 60 minutes long. This length gives enough time to teach, make your offer, and answer questions without losing attention.
What is a good attendance for a webinar?
A good attendance rate for a webinar is about 25–35% of those who registered. For example, if 100 people sign up, expect 25–35 to attend live.
What’s the best day to do a webinar?
The best day to do a webinar is usually Tuesday, Wednesday, or Thursday. Mid-week tends to have higher attendance rates compared to Mondays or Fridays.


Leave a Reply