You’ve put effort into creating useful content, carefully planning each lesson, and thinking about how your students will benefit. Now, an important question comes up:
How do you decide on a price for what you’ve created?
You want to be fair to your audience and, at the same time, make sure your own time and effort are actually covered. It’s about finding the right balance between how people see its worth, what the market expects, and your own financial considerations.
This is why we have brought this guide to help you price your online course in 5 simple steps.
TL;DR
- To price your first online course, start with a “Beta” launch to validate your price with a small group.
- Remember that a $100 baseline often signals higher quality than a “budget” price.
- Your goal is to find the “sweet spot” where your price feels fair to you and like a smart investment for your audience.
How to Price Your Online Course in 5 Steps
Setting your first price doesn’t have to be a guessing game. This guide provides a clear, logical path to help you move from “I have no idea what to charge” to “I am confident in this number.”
As you go through these steps, keep one goal in mind: you are looking for the “sweet spot”—a price that feels fair for the work you’ve put in, while also feeling like a great investment for your students.
Step 01: Define the Transformation
Before you even think about numbers, take a moment to truly understand the impact your course will have. What does your course do for your students?
It’s not just about the lessons or the content; it’s about the change you help them achieve. Think of it as a “Before and After” picture.
The “Before” State
What challenges are your potential students facing right now? What problems are they trying to solve? What frustrations do they have? Be specific.
For instance, if your course is about learning to code, your student might be feeling stuck in a dead-end job, intimidated by programming languages, or unsure where to even begin. They are currently in a place of “stuckness” or confusion.
The “After” State
What will their life look like once they’ve completed your course? What new skills will they have? What opportunities will open up for them? How will their confidence grow?
Continuing the coding example, the “After” state could be confidently building their first simple website, having a portfolio piece to show potential employers, or feeling empowered to pursue a new career path. They have moved from confusion to clarity and capability.
Why This Matters for Your Price
This isn’t just a theoretical exercise. Clearly defining this transformation helps you understand the true value of your course.
When you can describe the specific journey your students will take from their current struggles to their desired outcomes, you’ll have a much clearer idea of what your course is truly worth.
Examples of Transformation:
Course Idea: “Introduction to Digital Art”
Before: “I love art, but I’m intimidated by digital tools. I don’t know where to start with my drawing tablet, and my digital art looks messy.”
After: “I can confidently use my drawing tablet, create clean digital sketches, and have a finished digital painting I’m proud to share.”
Course Idea: “Meal Prep for Busy Parents”
Before: “Every evening is a scramble to figure out dinner. I often resort to unhealthy takeout, and I feel guilty about not providing nutritious meals for my family.”
After: “I have a week’s worth of healthy, delicious meals prepped and ready. Evenings are calm, and I feel organized and confident in feeding my family well.”
Step 02: Research the Market
Now that you know the transformation your course offers, it’s time to look around and see what else is out there. This isn’t about copying others, but about understanding the environment you are entering.
Think of this as “checking the neighborhood” before you set the price for your own house.
Look for Your “Direct Neighbors”
Start by searching for courses that teach the same topic or solve the same problem as yours. Look at independent creator websites, as well as course platforms like Teachable, Thinkific, or even Udemy.
Pay close attention to what they are charging. Are most courses in your niche priced at $50, $200, or $1,000? This gives you a “market range.”
Compare the “Package,” Not Just the Topic
When you find a similar course, look deeper than the title. A $20 course on Udemy might just be a series of short videos with no support. A $200 course on a creator’s own website might include downloadable templates, a private community, or a monthly Q&A session.
For example, if you are teaching “Basic Home Gardening”:
- Course A ($27): A simple ebook and three pre-recorded videos.
- Course B ($147): Ten video modules, a planting calendar, and access to a student Facebook group.
By seeing what others include for their price, you can decide where your course fits. If you are offering a lot of personal help or high-quality resources, you shouldn’t feel pressured to match the lowest price you find.
Identify the “Premium” vs. “Budget” Options
Every market has different levels. Some people want the cheapest option possible just to get some basic tips. Others are willing to pay more for a guided experience that guarantees a result.
Decide which group you are talking to. If your “Meal Prep” course includes personalized feedback on a student’s grocery list, you are offering a premium experience compared to a basic recipe PDF.
Don’t Get Trapped by the Numbers
The most important thing to remember during your research is that you don’t have to be the cheapest. In fact, being the cheapest can sometimes make people wonder if your course is actually good.
Use your research to find a “baseline,” and then use the transformation you defined in Step 1 to justify where you sit within that range. Your goal is to be competitive, but also to be paid fairly for the specific change you are helping your students achieve.
Step 03: Calculate Your “Floor”
This step is about finding your “break-even” point. Before you can decide how much profit you want to make, you need to know the absolute minimum you can charge without losing money. This is what we call your pricing “floor.”
Identify Your Out-of-Pocket Costs
Even if you are building your course from your living room, there are usually some costs involved. Think about the tools and services you need to keep the course running. These might include:
- Platform Fees: What you pay to host your course (like Klasio, Kajabi, or Podia).
- Software: Subscriptions for video editing tools, email marketing services, or screen recording software.
- Transaction Fees: The small percentage that credit card processors (like Stripe or PayPal) take from every sale.
For example, if your course platform costs $39 a month and your email tool is $15 a month, you already have $54 in monthly “rent” for your business. If you only sell one course a month for $50, you are actually losing money.
Value Your “Hidden” Time
As a beginner, it’s easy to think your time is “free” because you aren’t paying yourself a salary yet. But every hour you spend recording, editing, or answering student emails is an hour you could have spent doing something else.
Try this: Estimate how many hours it took you to create the course. If it took you 40 hours and you value your time at even a modest $25 an hour, that’s $1,000 of “sweat equity” you’ve put into the project. Your price should eventually help you “pay back” that time.
The “Cost Per Student” Reality
While digital products are great because you can sell them many times, your first few sales are the most important for covering your initial setup.
If you spent $200 on a decent microphone and lighting for your first course, you need to factor that into your early pricing goals.
Example: The Math of a “Floor”
Imagine you are launching a “Basic Woodworking” course:
- Setup Costs: $100 (Microphone + Editing software)
- Monthly Costs: $50 (Hosting + Email)
- Time Spent: 30 hours
If you price your course at $20, you would need to sell 10 courses just to cover your setup and one month of hosting. You still haven’t “paid” yourself for those 30 hours of work.
However, if you price it at $100, just three sales cover your costs and start rewarding you for your time.
Step 04: Value-Based Estimation
Now that you know your costs (the “floor”), it’s time to look at the ceiling. Value-based estimation is about setting a price based on what the result is worth to your student, rather than just how much work you put into it.
This is often the hardest step for beginners, but it’s the most important for growing your business.
Think About the “Return on Investment” (ROI)
ROI isn’t just for big businesses. For your students, it means: “If I spend $100 on this course, what do I get back?” Sometimes this is easy to measure in money, but often it’s about time, health, or happiness. To help your students see this value, you can use a simple formula:
Student ROI = (Value of the Outcome – Cost of the Course) / Cost of the Course × 100
This formula helps you explain why your price is a smart investment. Here is how that looks in different situations:
- Money Earned: If your course teaches someone how to start a side hustle that makes $200 a month, a $150 price tag for the course is a great deal for them. Using the formula, their ROI after just one year of earning would be 1,500%. They make their initial money back in less than a month.
- Money Saved: If you teach people how to groom their own dogs at home, and a professional groomer costs $80 per visit, your $100 course pays for itself after just two uses.
By the end of the year, the “Value of the Outcome” (the money they didn’t have to spend) far outweighs the one-time cost of your course.
- Time Saved: If your course helps someone learn a skill in 5 hours that would normally take them 50 hours of searching through random YouTube videos, you are saving them 45 hours of frustration.
Even if they value their time at a low rate, those 45 hours are a massive “Value of Outcome” that makes your course price feel very small in comparison.
The “Cost of Staying the Same”
Another way to look at value is to ask: “What happens if they don’t take this course?”
If a student is struggling with back pain and your yoga course helps them find relief, the “cost” of not taking your course might be expensive physical therapy sessions or missed days of work. When you realize your course prevents those negative outcomes, it becomes much easier to see its true value.
Example: Comparing Two Different Values
Let’s look at two different course ideas to see how value changes the price:
Course A: “How to Bake a Basic Loaf of Bread”
- Value: A fun hobby, better-tasting bread, and a sense of accomplishment.
- Estimated Value Price: $20 – $50. It’s a “nice-to-have” skill.
Course B: “How to Bake and Sell Bread from Your Home Kitchen”
- Value: A new source of income, a business setup guide, and legal requirements.
- Estimated Value Price: $150 – $300. It’s a “business-building” skill.
Focus on the Outcome, Not the Hours
A common mistake is thinking, “I only have 2 hours of video, so I can’t charge much.” But if those 2 hours give the student exactly what they need to succeed without any fluff, that is actually more valuable than a 20-hour course that wastes their time.
Step 05: The “Beta” Validation
Before you launch your course to the entire world, consider a “beta” phase. This is like a dress rehearsal for your pricing. It allows you to test your price with real people and get feedback before you commit to a final number.
Offer a “Founding Member” Price
A great way to start is by offering your course to a small group of early students at a special, lower price. You can call this a “Founding Member” or “Beta” price.
For example, if you plan to eventually charge $197 for your course, you might offer it to your first 10 or 20 students for $97.
This does two things:
- It rewards early adopters. People are more likely to take a chance on a new course if they feel they are getting a special deal.
- It lowers the pressure. Since they are paying a lower price, they are usually more willing to provide honest feedback and help you find any small errors in your content.
Validate with Real Wallets
There is a big difference between someone saying, “I would buy that,” and someone actually entering their credit card details. The beta phase is the ultimate test.
If people are willing to pay your beta price, it’s a strong signal that your full price is also achievable once the course is polished and you have some testimonials.
Gather Testimonials for the Full Launch
Ask your beta students for a short review or a testimonial about the transformation they experienced. When you eventually move to your full price, having these real-world examples on your course sales page will make that higher price much easier for new students to accept.
Example: The Beta Transition
Imagine you are launching a course on “Basic Home Organization”:
- Beta Phase: You offer the course for $47 to your first 15 students. You tell them, “In exchange for this low price, I’d love your feedback on the worksheets.”
- Full Launch: After fixing a few things based on their feedback and gathering 5 great testimonials, you raise the price to your target of $97.
Starting with a beta phase builds your confidence. It proves that your course has value and gives you the data you need to stand firmly behind your full price when you’re ready for the big launch.
Choosing Your Pricing Model
Once you have a general idea of your price, you need to decide how your students will pay for it. The model you choose can change how many people sign up and how much work you have to do after they join. Here are the four most common models for beginners and when to use them.
| Pricing Model | Best For | Why Use It |
| One-Time Flat Fee | Self-paced, evergreen courses | Simple to set up |
| Tiered Pricing | Different budget levels or offering bonuses | Maximizes revenue by offering paid upgrades |
| Subscription Model | Ongoing communities or memberships | Predictable, recurring monthly income |
| Cohort-Based | High-accountability programs | Higher pricing with direct access and faster results |
1. The One-Time Flat Fee
This is the simplest model. A student pays one price and gets lifetime access to the course.
- Best for: Self-paced, “evergreen” courses where the content doesn’t change much.
- Example: A $97 course on “How to Use Photoshop” where the student watches the videos on their own time.
- Why use it: It’s “set it and forget it.” Once the course is built, you don’t have to manage ongoing payments or live sessions.
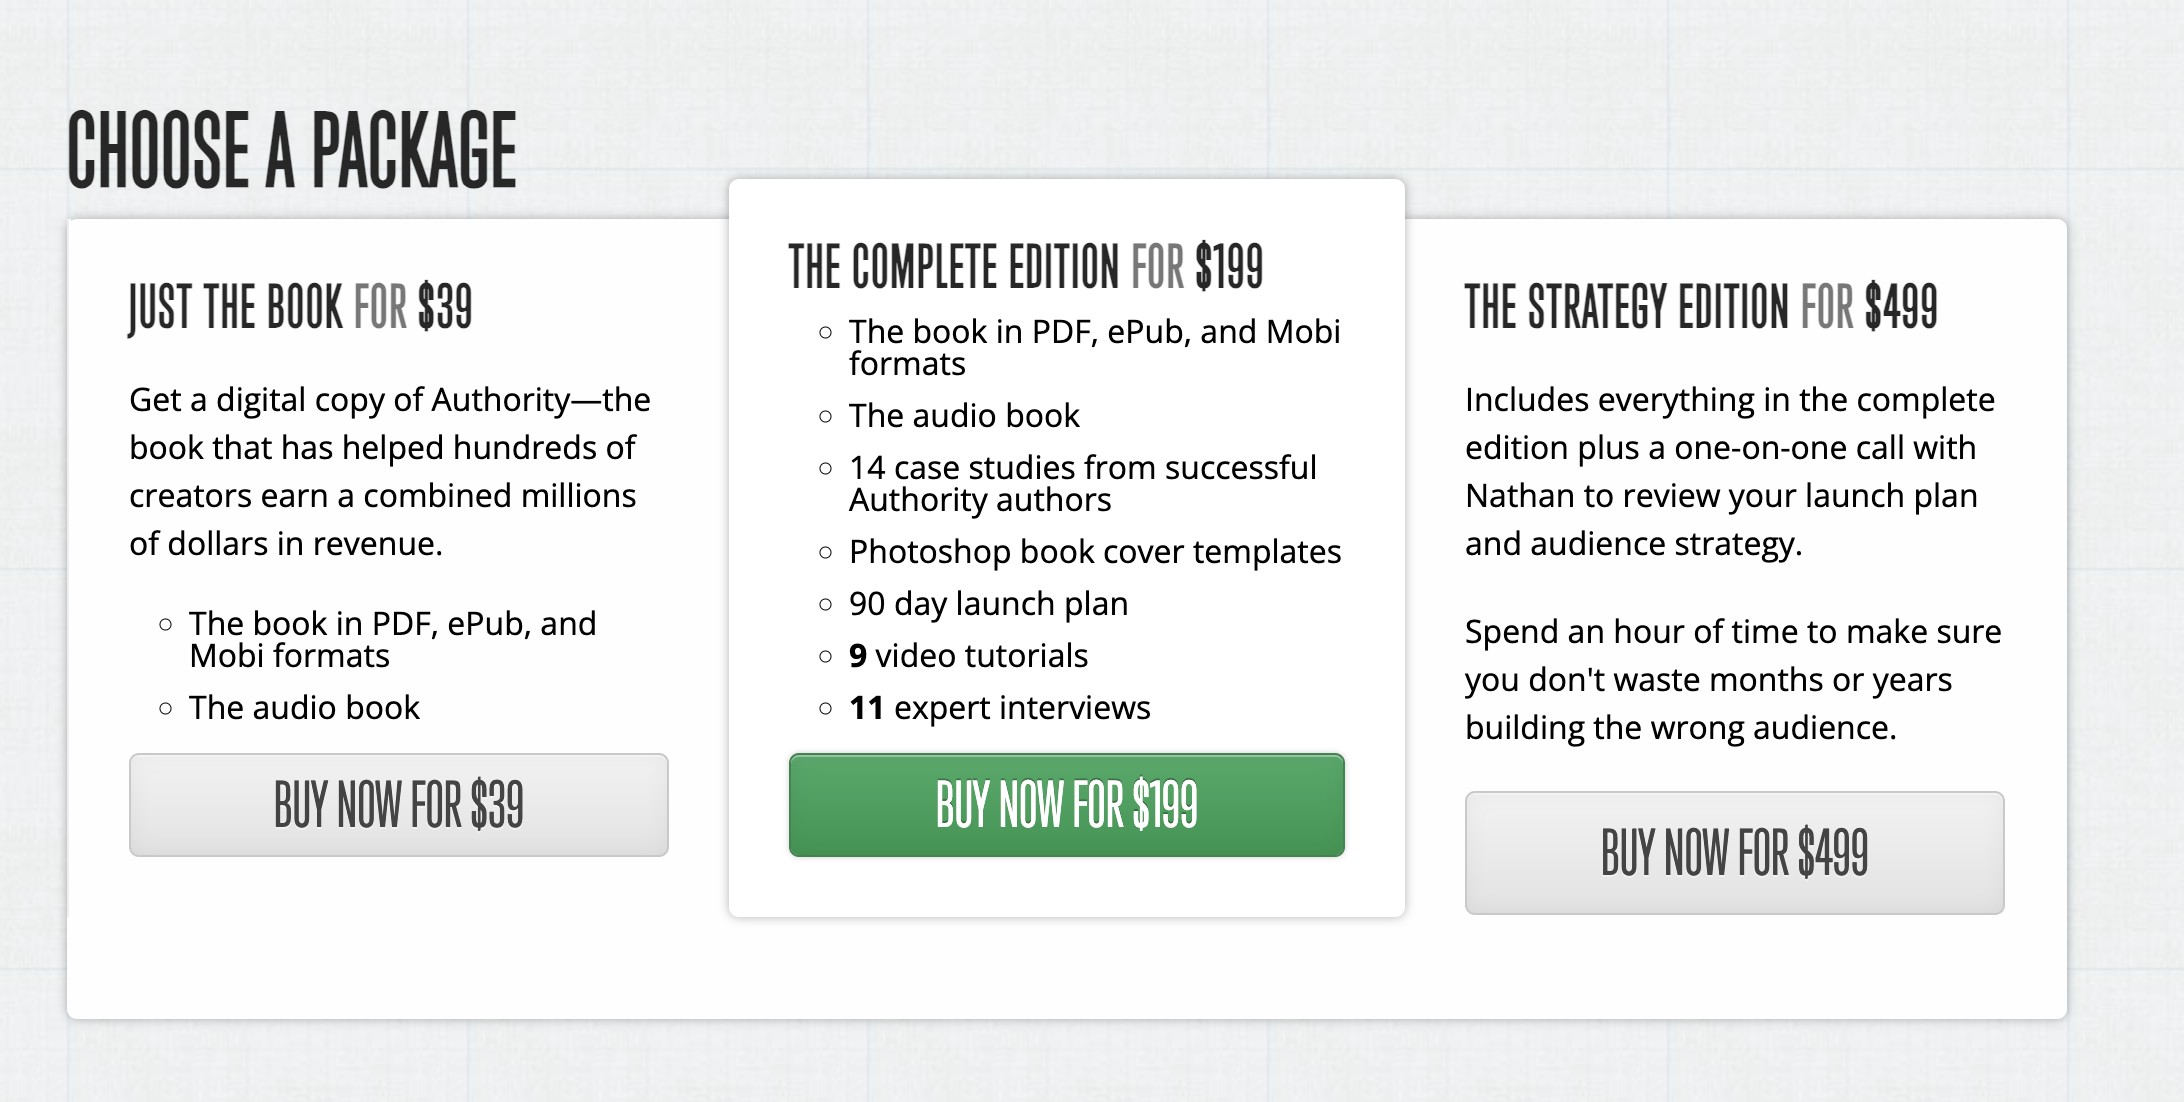
2. Tiered Pricing (The “Good-Better-Best” Model)
Instead of one price, you offer two or three versions of your course at different price points.
- Best for: When you have extra resources that not everyone needs.
- Example:
- Basic ($97): Just the video lessons.
- Pro ($197): Video lessons + downloadable templates and a workbook.
- VIP ($497): Everything in Pro + a 30-minute private coaching call with you.
- Why use it: It makes your course accessible to people with different budgets and allows those who want more help to pay for it.
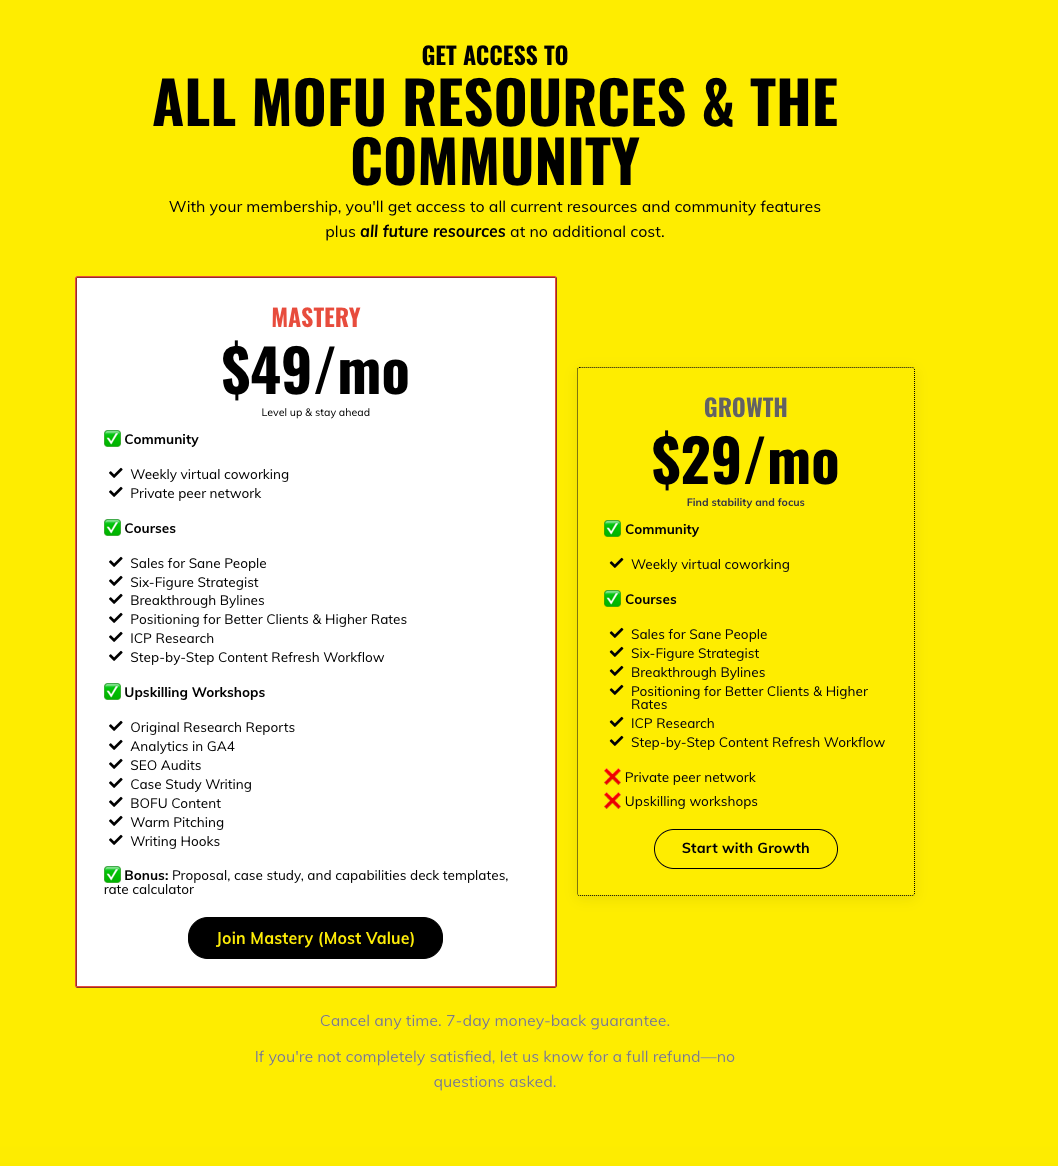
3. The Subscription Model
Students pay a recurring fee (monthly or yearly) to keep access to your content or community.
- Best for: Courses that are updated constantly or include an ongoing community or support group.
- Example: A $20/month membership for a “Cooking Club” where you release two new recipes and host a live cooking demo every month.
- Why use it: It creates “recurring revenue,” meaning you have a more predictable income each month. However, it requires you to keep creating new content to keep people subscribed.
4. Cohort-Based Pricing
This is for a “live” version of your course where a group of students starts and finishes at the same time.
- Best for: High-touch, transformation-heavy courses where you provide a lot of direct feedback and accountability.
- Example: A $500 “6-Week Writing Bootcamp” where you meet live on Zoom every Tuesday to review the students’ work.
- Why use it: Because you are there in person and providing accountability, you can charge a much higher “premium” price. It’s great for getting students fast results, but it takes up more of your time.
Which one should you pick?
For your first-ever course, the One-Time Flat Fee or a simple 2-Tier Model is usually the best place to start. It keeps things simple for you and your students while you are still learning the ropes. As you grow and get more feedback, you can always experiment with subscriptions or live cohorts later on.
Tips and Best Practices for Beginners
Pricing your first course can feel like a guessing game, but following these industry standards will help you look like a professional from day one. These practices are designed to reduce “buyer’s friction” and help your students feel confident in their purchase.
The $100 Baseline
While it’s tempting to price your first course at $20 to “play it safe,” many experts suggest a baseline of at least $100 for a comprehensive course.
When you price too low, potential students might wonder if the quality is poor. A higher price point signals that your expertise is valuable and attracts students who are more committed to actually finishing the course.
Use “Charm Pricing”
You’ve likely noticed that most prices end in a 7 or a 9 (like $97 or $199). This is a psychological trick called “charm pricing.”
Because we read from left to right, our brains perceive $197 as being significantly cheaper than $200, even though the difference is only three dollars.
For your first course, sticking to these familiar numbers can make the price feel more “normal” to your audience.
Value Stacking
Instead of just listing “5 hours of video,” try “stacking” the value of everything the student receives. List out the video lessons, the worksheets, the checklists, and any bonuses separately.
When a student sees a list of five or six valuable items, the price feels like a bargain for the total package they are getting.
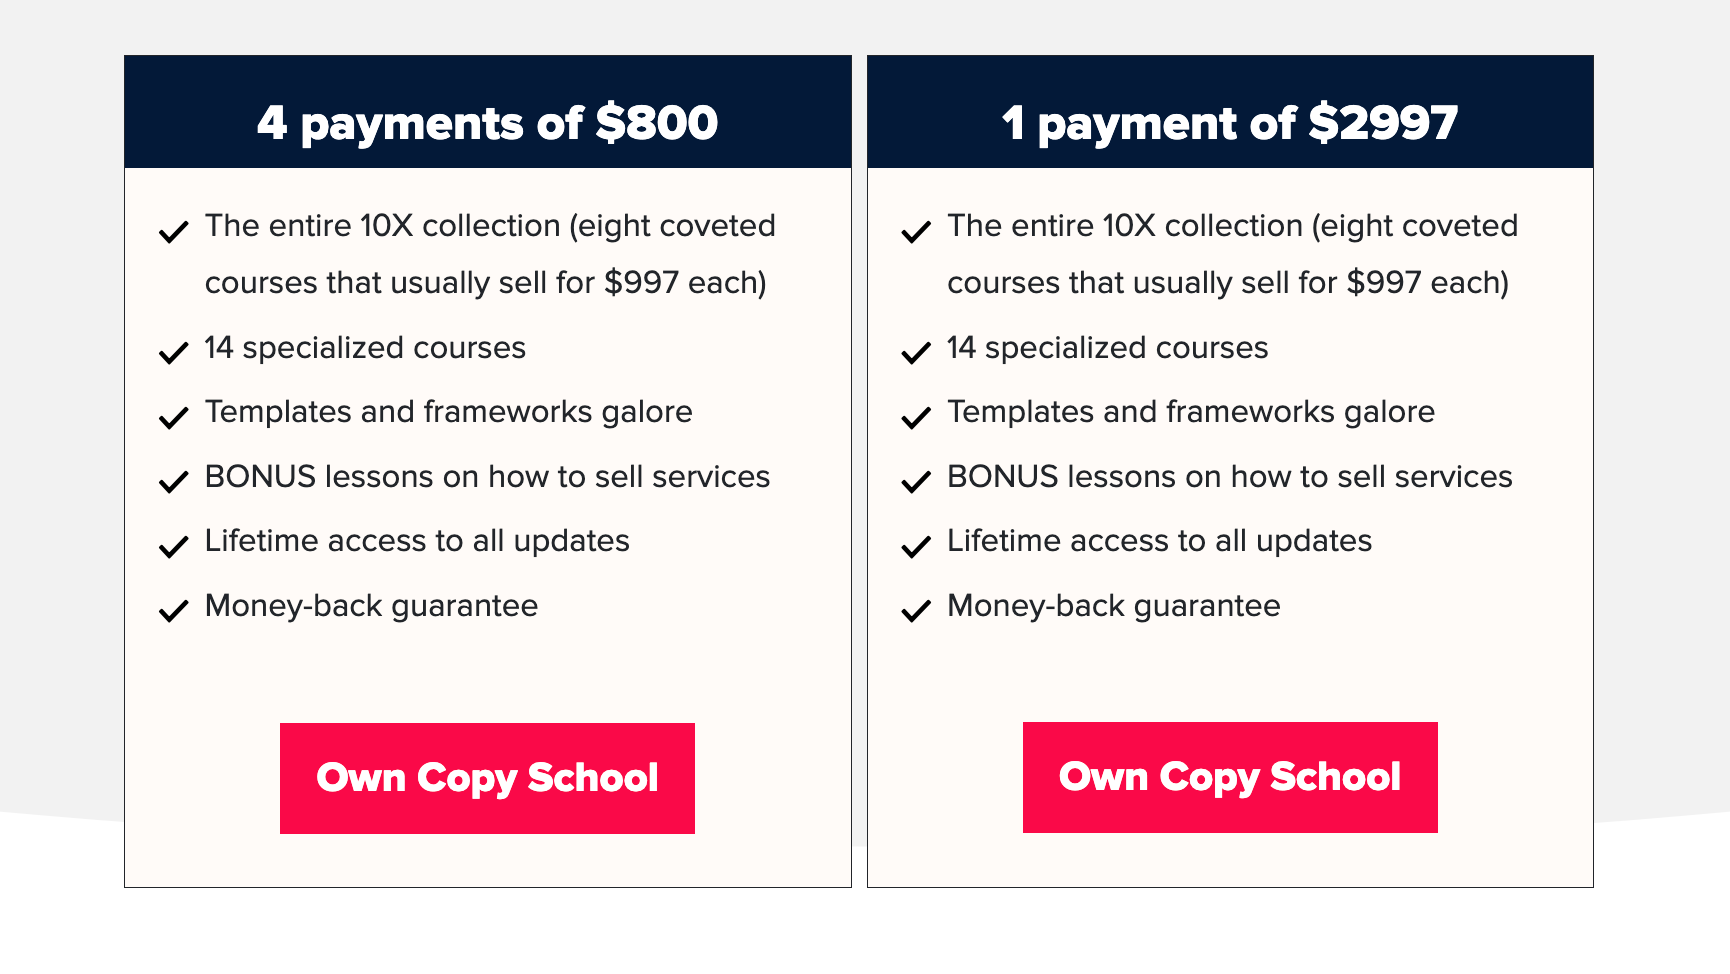
Offer Payment Plans
If you decide to price your course at $300 or more, a lump sum might be difficult for some beginners to pay all at once. Offering a payment plan—such as three monthly payments of $110—makes your course accessible to more people.
It’s a simple way to increase your sales without lowering your total price.
Price Anchoring
If you use a tiered pricing model, always present your most expensive “VIP” tier first. This sets an “anchor” in the student’s mind. When they see a $500 coaching tier first, your $150 “Basic” tier suddenly looks like an incredible deal. It’s a psychological trick that helps people feel better about choosing the middle or lower options.
Keep It Simple
As a beginner, your biggest goal is to actually launch. Don’t get bogged down trying to manage five different tiers, a subscription, and a complex discount system.
Start with one or two clear options. You can always add more complexity later once you have your first group of successful students.
Take the Next Step: Price Your Course and Get Started
Deciding on the right price for your first online course can feel like a significant step. As you move forward, think about the value you’re providing and what feels fair for both you and your students.
There isn’t one right answer that works for everyone, but by taking a thoughtful approach, you can find a price that you feel comfortable with.
FAQs
What are the 5 C’s of pricing?
The 5 C’s of pricing are Cost, Customers, Competition, Company objectives, and Channel partners, helping you set prices based on internal goals and external market conditions.
How to build a pricing model?
To build a pricing model, start by calculating costs, defining target customers, analyzing competitors, choosing a pricing structure, and testing price points based on demand.
What’s the best pricing strategy?
The best pricing strategy is value-based pricing, which often delivers the strongest long-term results. However, it actually depends on your goals, market demand, customer value perception, and competition.


Leave a Reply