There may be times when you want to give a student access to a webinar manually – whether it’s a special invite, a follow-up from support, or a bonus for an existing customer.
Klasio makes this easy to do in just a few steps.
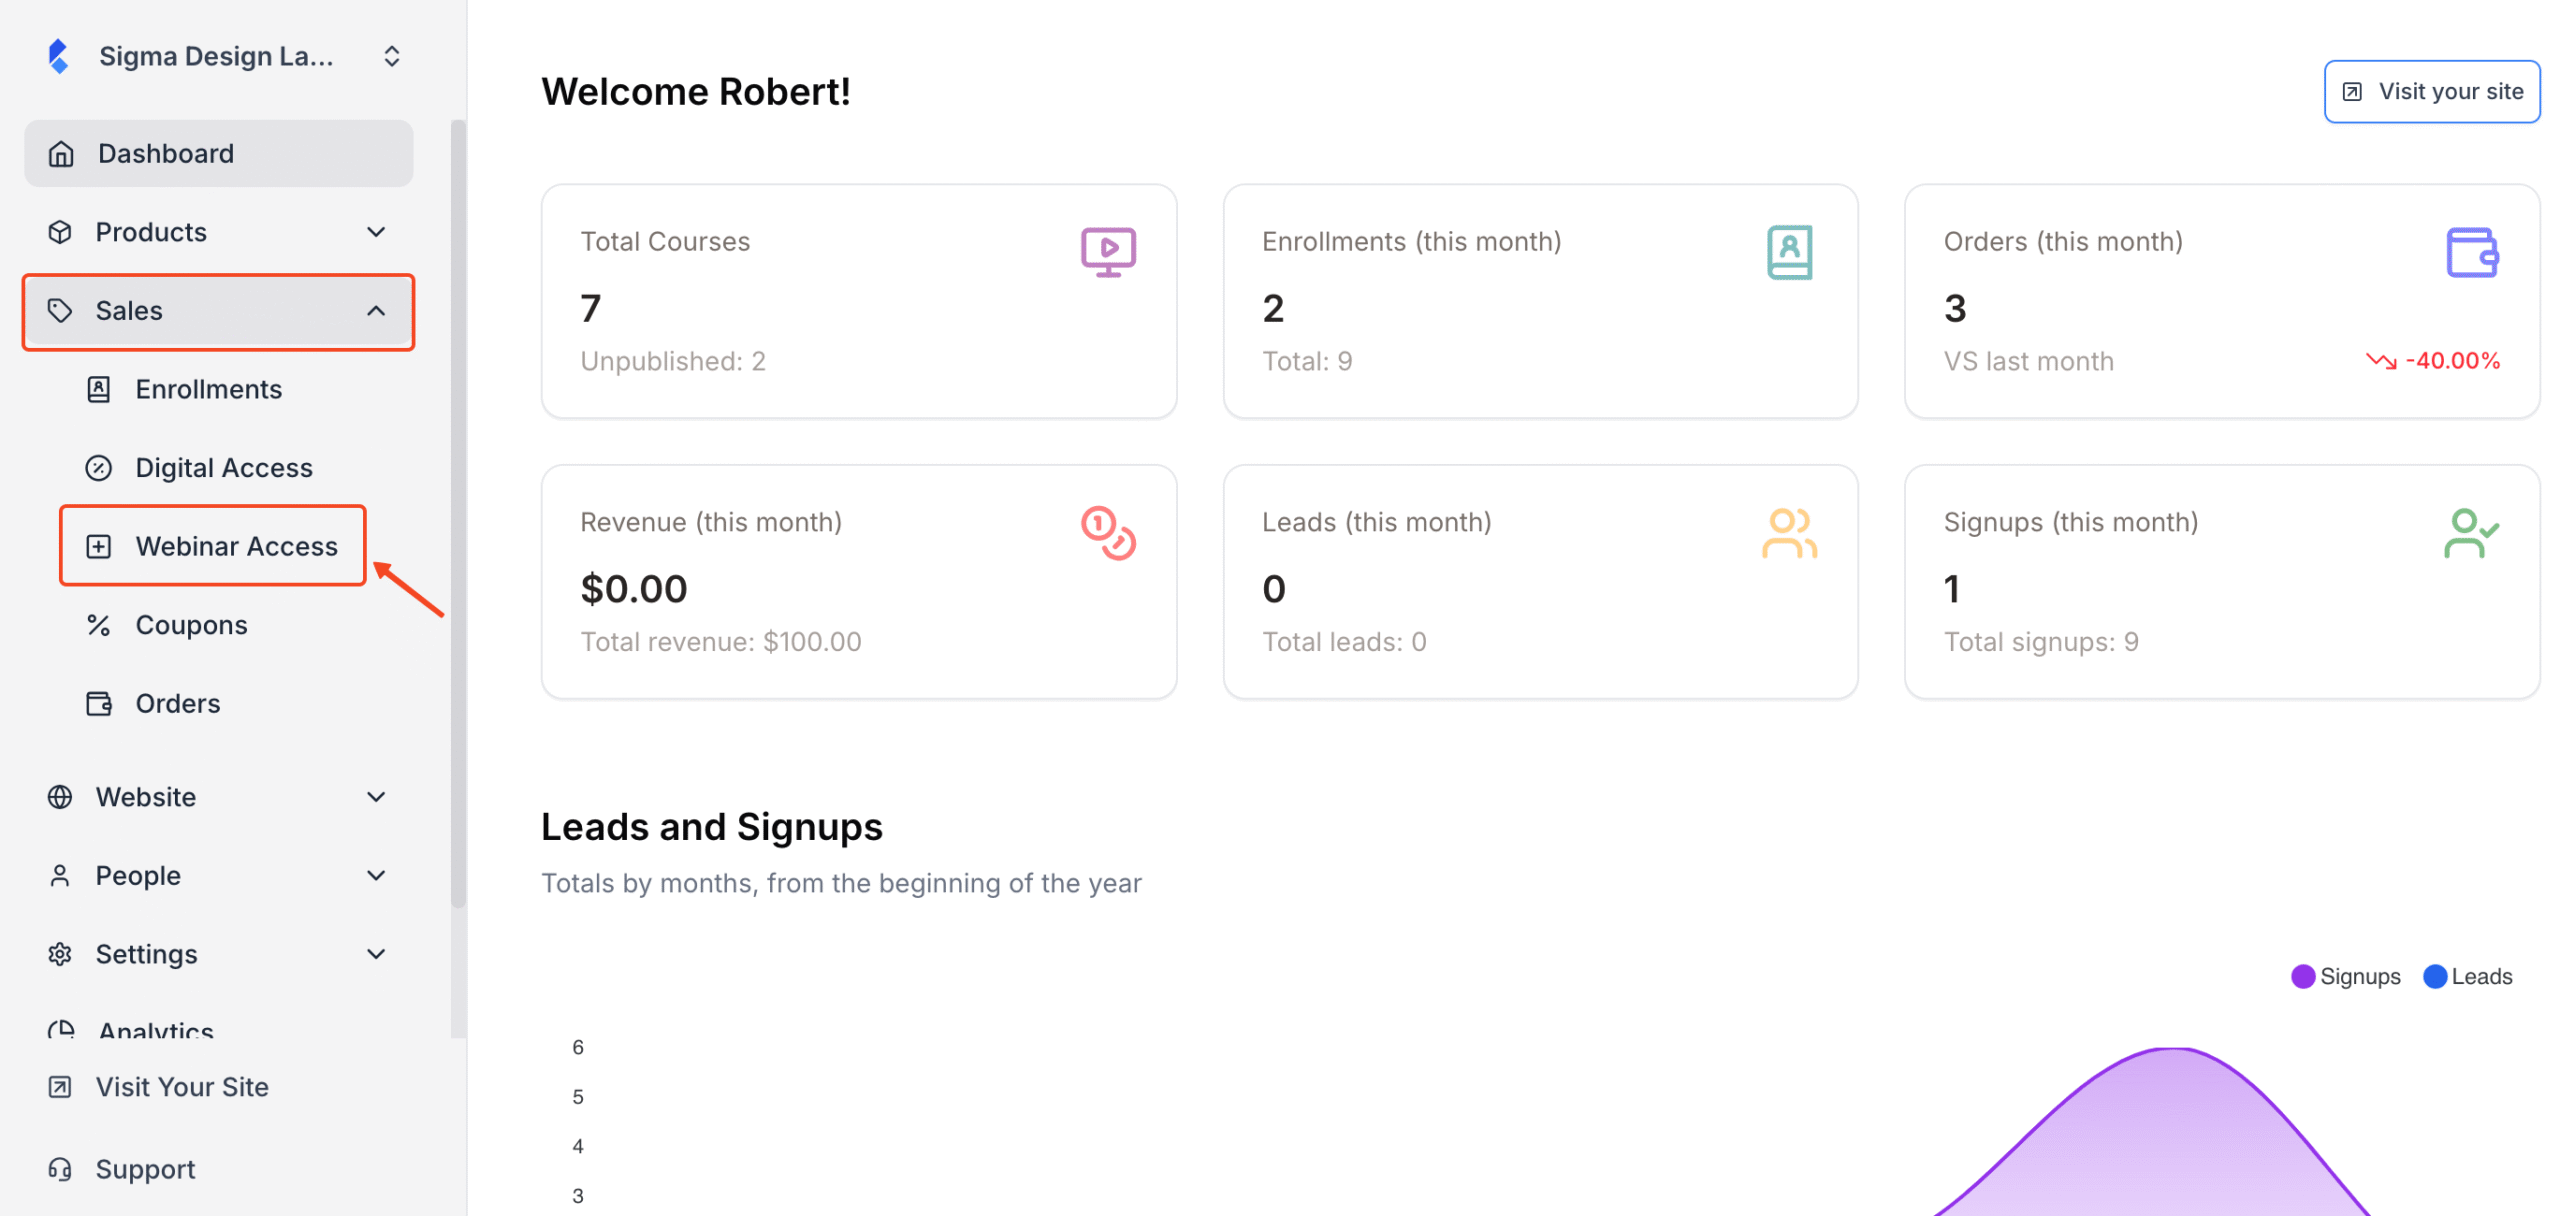
- From the Admin Dashboard, navigate to Sales → Webinar Access.
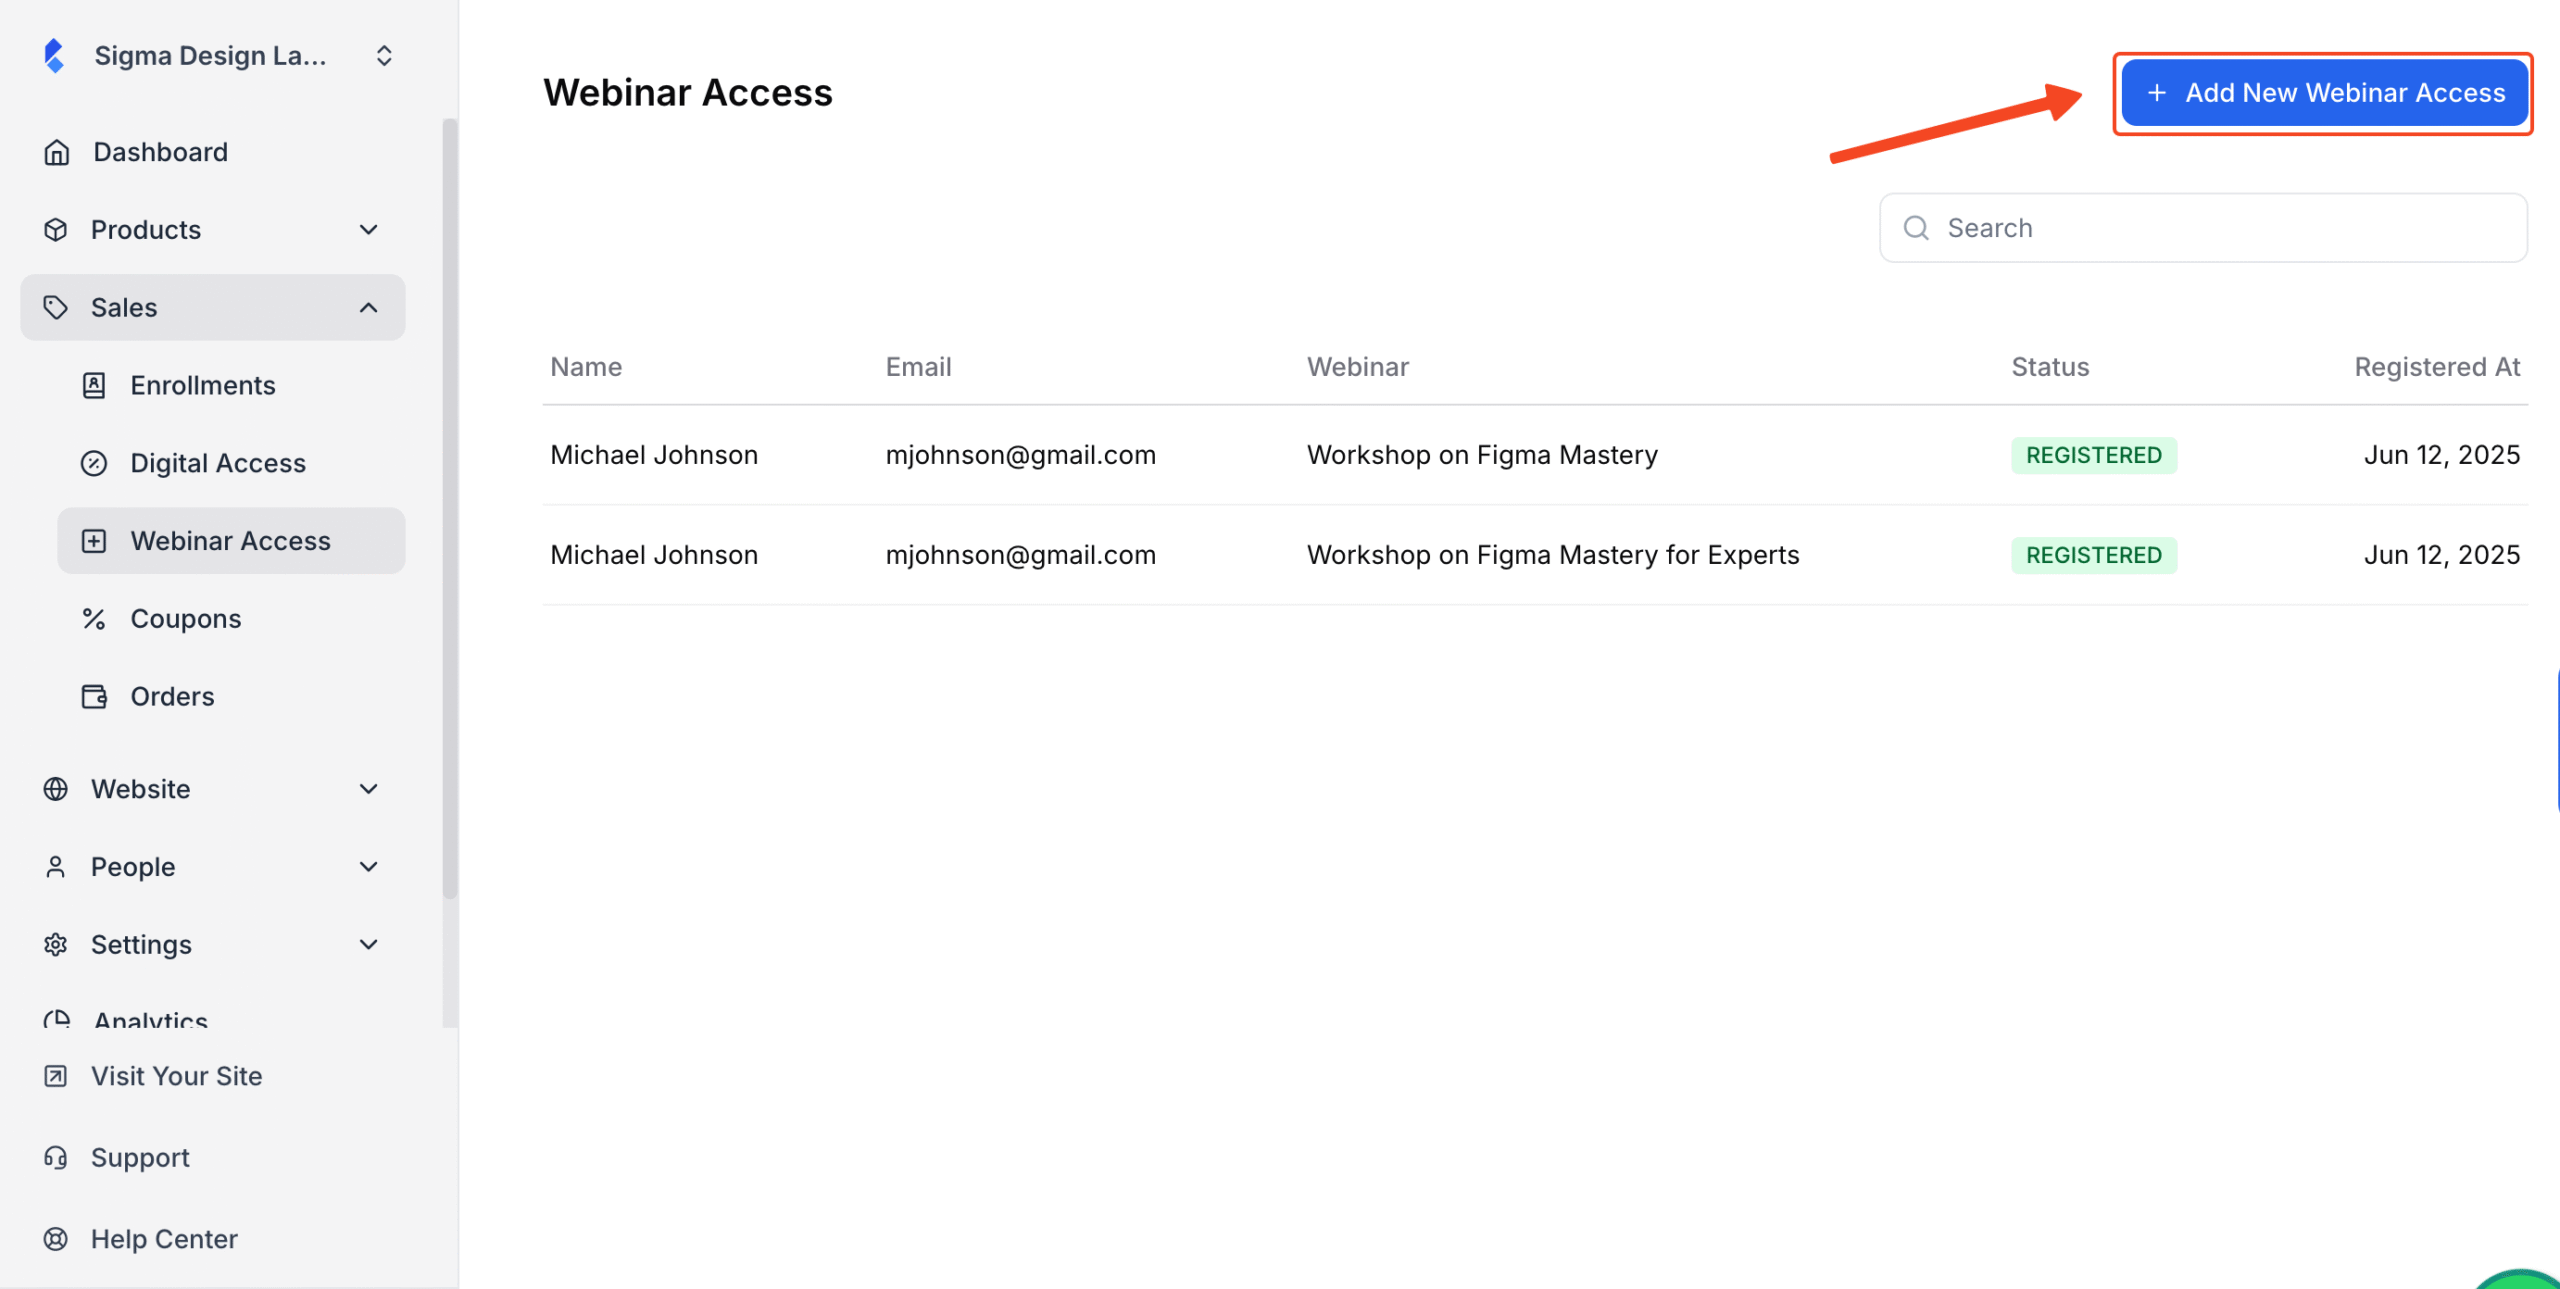
2. Then, click “Add New Webinar Access”. This will open a pop-up window where you can assign webinar access to a student.
3. Next, in the pop-up form:
- Choose the student’s name from the dropdown
- Then select the webinar you want to grant access to
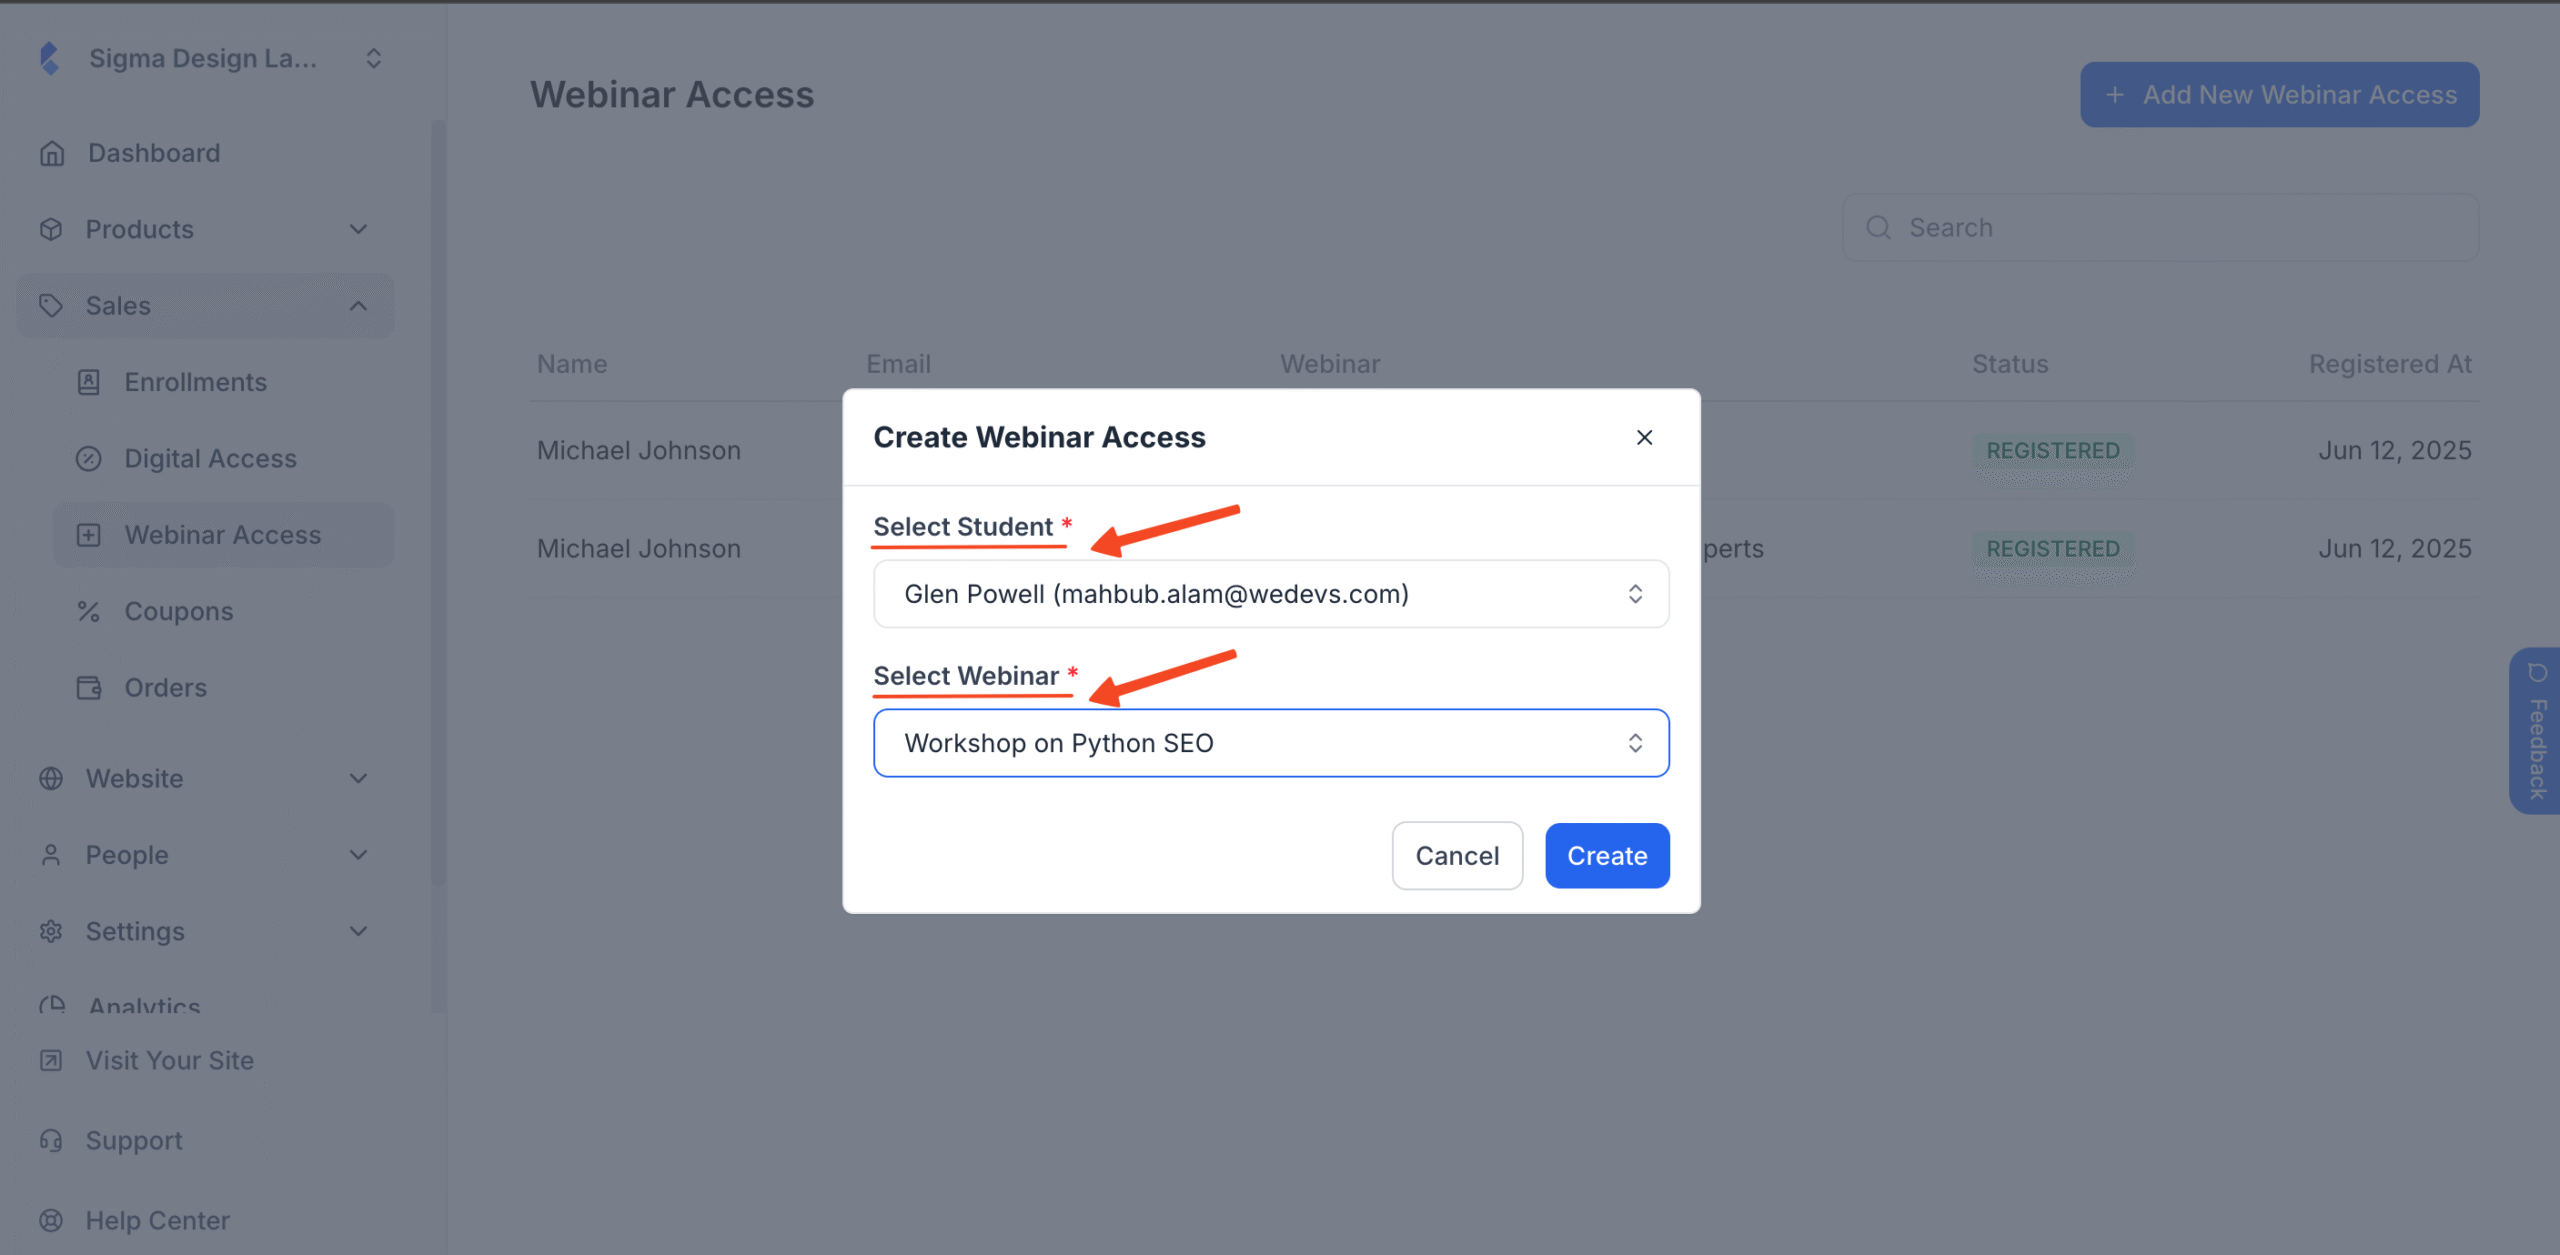
Once you hit Create, the student will be notified via email and have access to the webinar inside their dashboard.
Note that this process only applies if a student makes a manual payment, or you personally decide to open access for the webinar to someone. In both cases, the student needs to be registered inside the system.