
Channels and levels shape how conversations happen inside your Klasio community. Channels give discussions structure, while levels reward your most active members and can even control who gets to post.
Before you start, make sure you’ve already created a community. If you haven’t, follow How to Create and Set Up a Community in Klasio first.
How to Set Up Channels
Click the Channels tab to manage the conversation spaces inside your community.
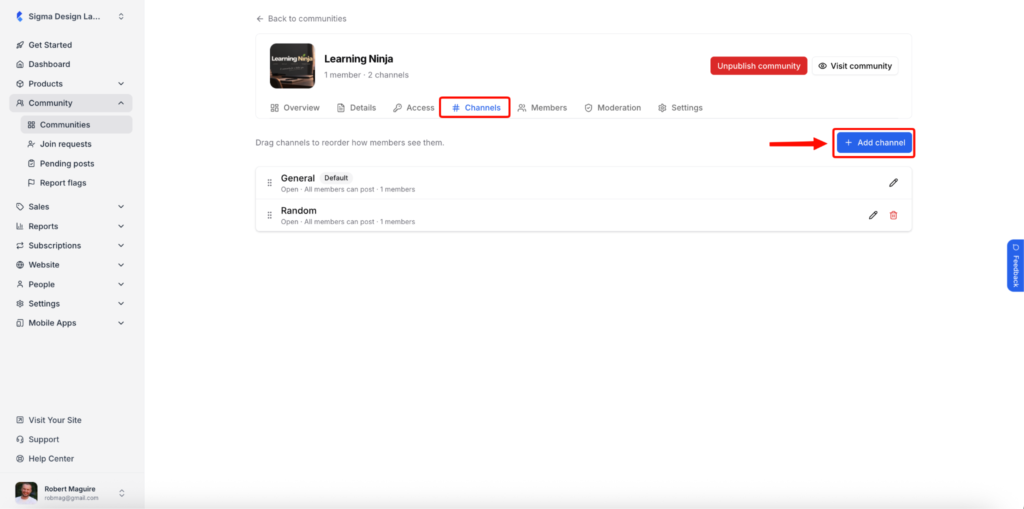
Every new community comes with a General channel by default. This channel is open, allows all members to post, and serves as the main discussion area.
To create a new channel, click the + Add channel button in the top-right corner. You can create channels for different topics, course modules, or types of discussions. For example, you might create separate channels for “Introductions,” “Q&A,” “Course Feedback,” or “Off-Topic.”
When you add a new channel, or click the pencil icon next to an existing one, the channel window opens. Here you set the channel’s Name, Visibility, and Who can post. Click Save channel when you’re done.
Channel Visibility
The Visibility dropdown controls who can see the channel. There are three options:
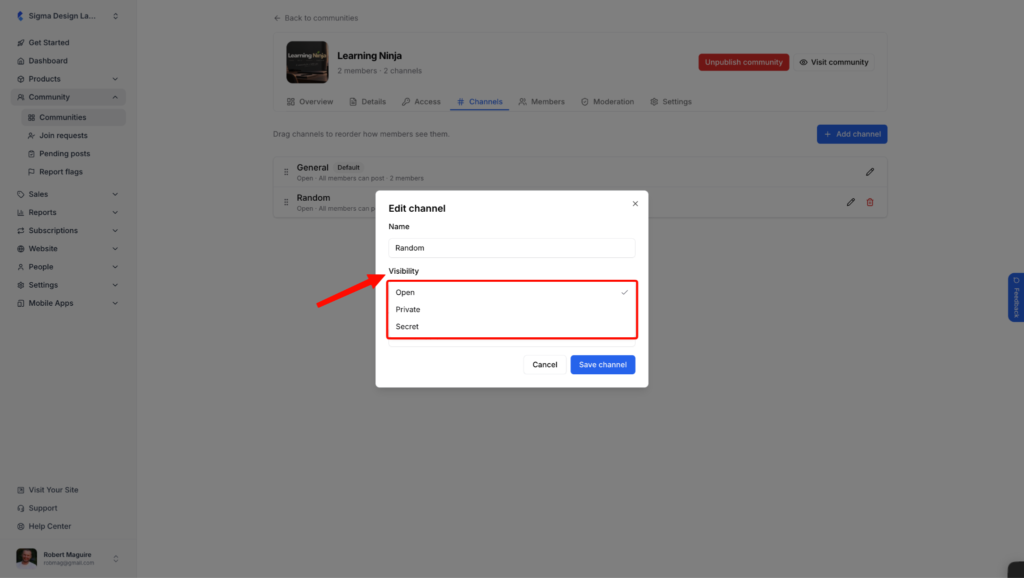
Open – Every member of the community can see the channel and read its posts. This is the default for new channels.
Private – The channel still shows in the sidebar with a lock icon, but only members with access can open it. This works well for paid perks, special offers, or premium content.
Secret – The channel is completely hidden from members who don’t have access. Use it for moderator discussions or invite-only groups.
Who Can Post
The Who can post dropdown controls who is allowed to create new posts in the channel:
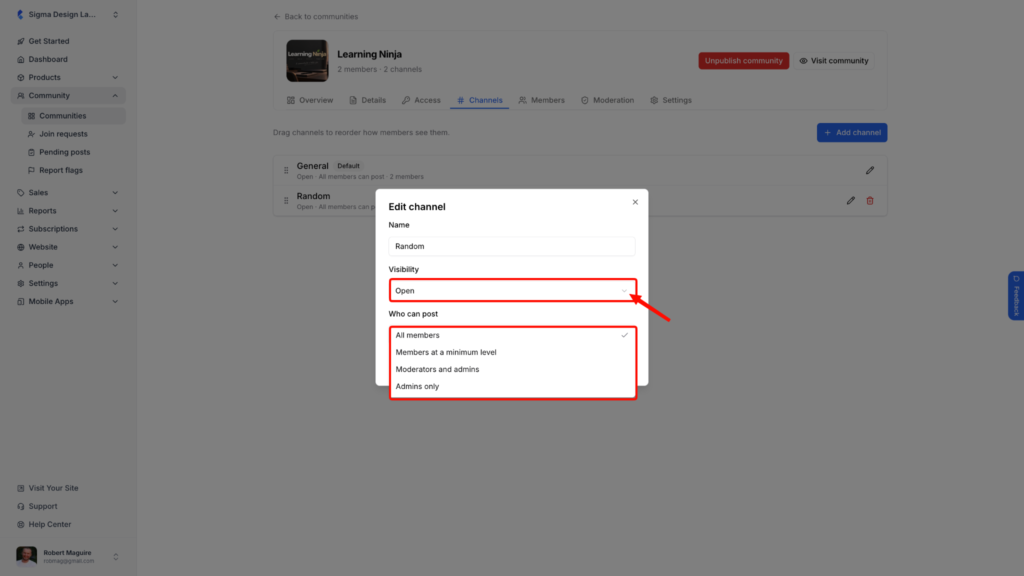
All members – Anyone in the community can post. This is the default and works best for general discussion channels.
Members at a minimum level – Only members who have reached a certain level can post. This is a good way to reward active members and keep low-effort posts out of focused channels. See the Levels and Points section below for how levels work.
Moderators and admins – Only you and your moderators can create posts. Useful for curated channels like resources or course updates.
Admins only – Only admins can post. This turns the channel into an announcements channel.
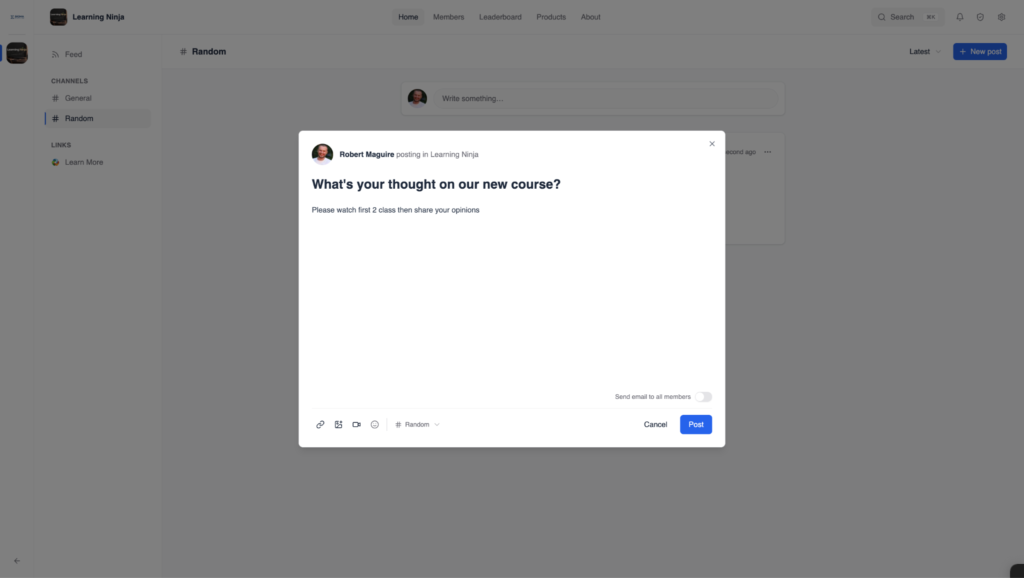
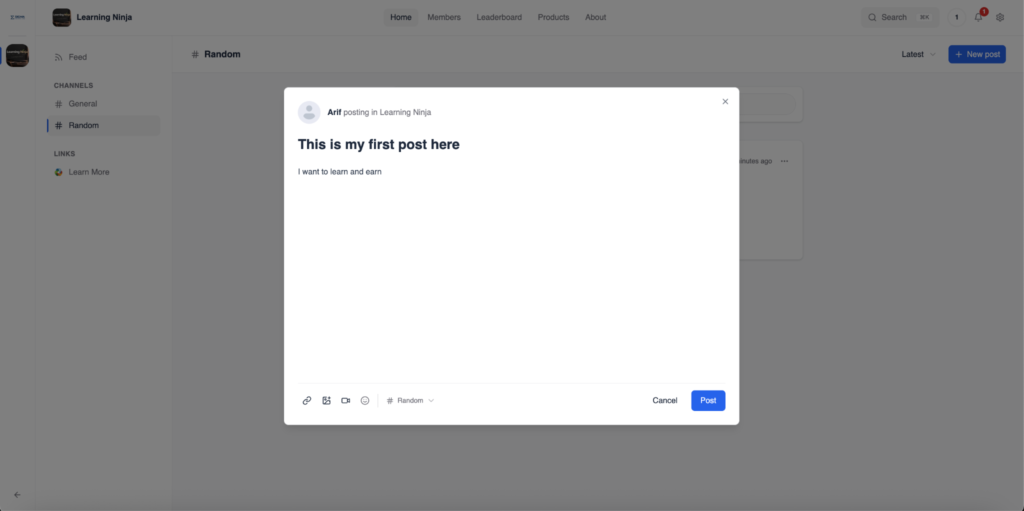
You can reorder channels by dragging them. The order you set here is the order your members will see them in.
Channels give your community structure. Without them, every conversation lives in one place and gets noisy fast. Even a small community benefits from at least two or three focused channels.
How Levels and Points Work
Klasio communities come with a built-in levels system. Members earn points as they take part in the community, and those points move them up through 9 levels. Levels make engagement visible, reward your most active students, and can be used to control who posts in a channel (see Who can post above).
How Members Earn Points
Members earn points by posting, commenting, and reacting. The more they engage, the more points they collect, and the leaderboard fills in as your community gets active.
Level Thresholds
Every member starts at Level 1 with 0 points. Here’s how many points each level needs:
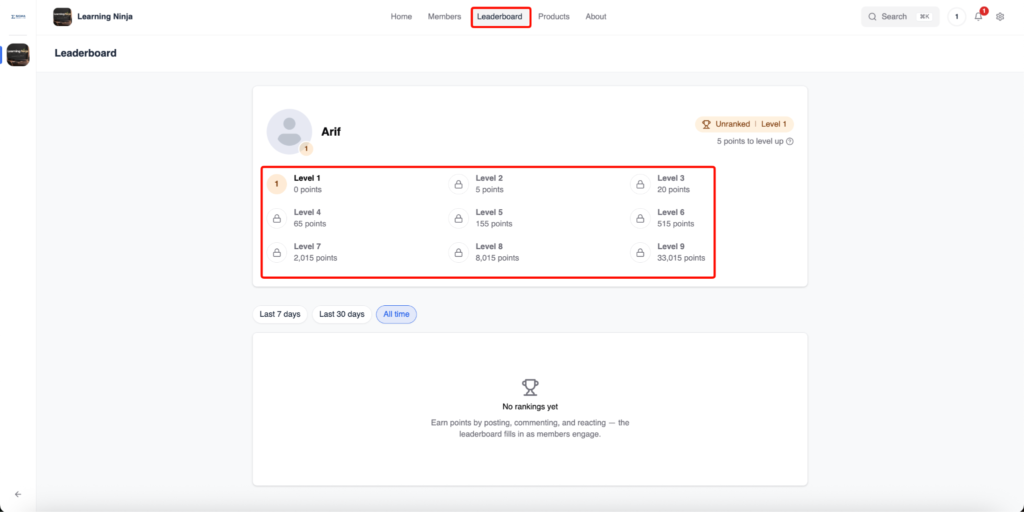
Level 1 – 0 points | Level 2 – 5 points | Level 3 – 20 points
Level 4 – 65 points | Level 5 – 155 points | Level 6 – 515 points
Level 7 – 2,015 points | Level 8 – 8,015 points | Level 9 – 33,015 points
How Members See Their Points and Level
Members can check their progress in two places.
Leaderboard – Click Leaderboard in the community’s top navigation. The card at the top shows the member’s rank, current level, and how many points they need to level up. All 9 levels are listed below it, with locked levels marked by a lock icon. Rankings can be filtered by Last 7 days, Last 30 days, or All time.
Member profile – Click Members in the top navigation, then click View profile on your own card.
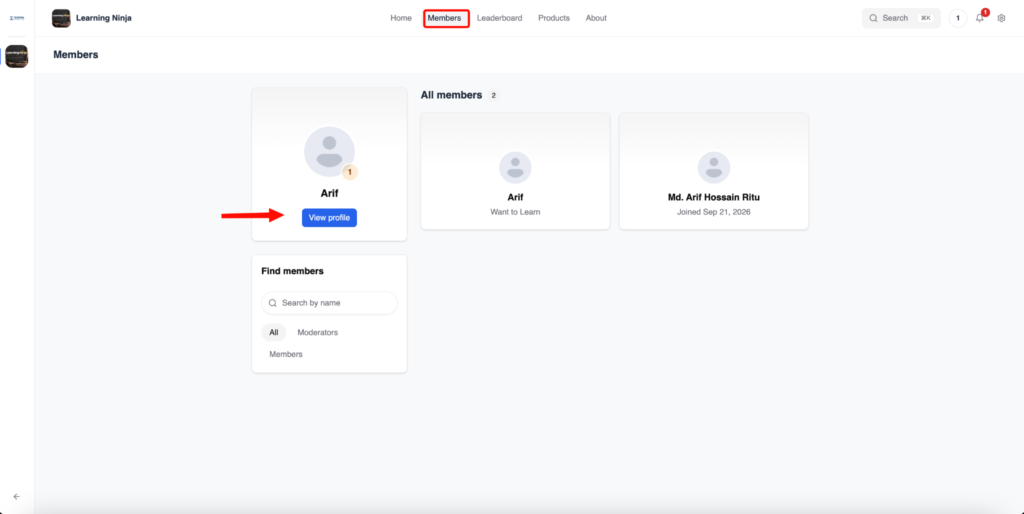
The profile page shows the member’s points, current level, and points needed to level up, along with their daily streak, biography, and recent activity.
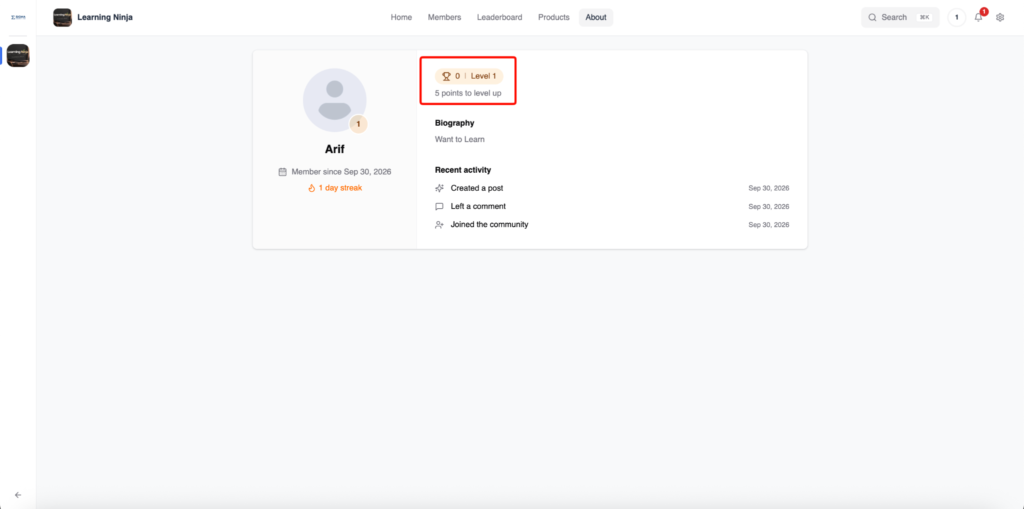
A member’s level also appears as a small badge on their avatar throughout the community. As the admin, you can see every member’s level and streak in the Members tab of your community dashboard.