Using Klasio, you can create blog posts that will help you reach more potential students organically. The process is really simple and straightforward. Here’s how to do it:
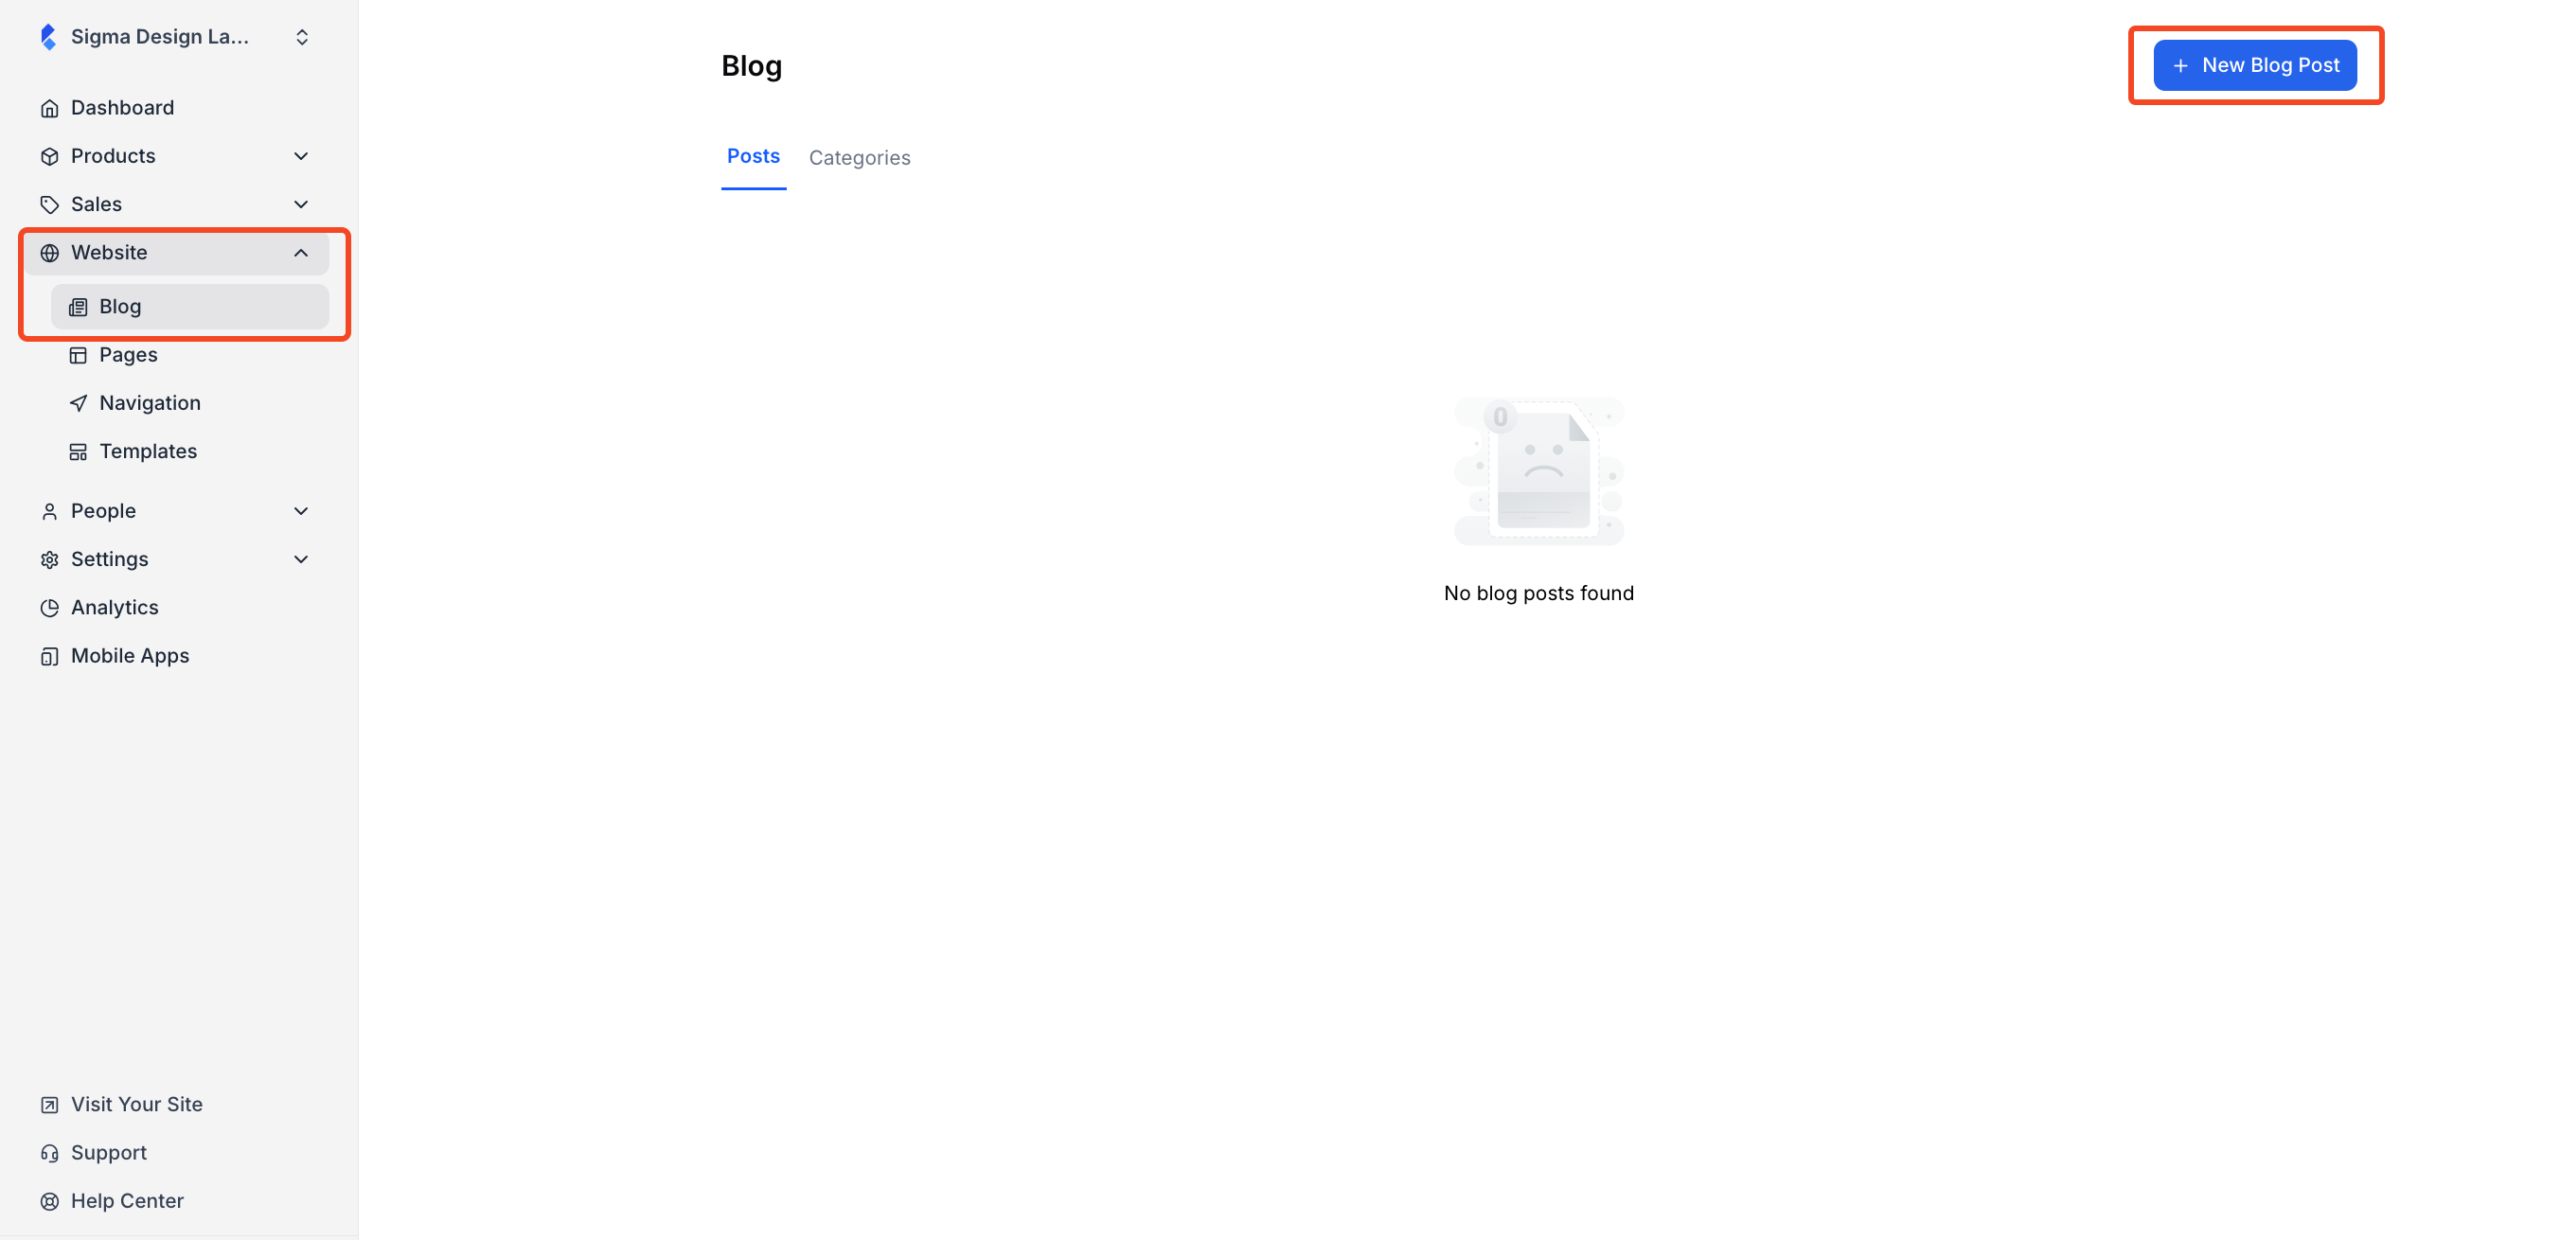
1. From the admin dashboard, go toWebsite > Blog. On the new screen, you should see all the blog posts you currently have. To add a new blog, click on the “New Blog Post” button.
2. Once you click on the “New Blog Post” button, you will be taken to the post editor, where you can input everything for your blog. You can start with your blog title. While writing your title, use your primary keyword at the beginning of the title and keep it clear, specific, and under 60 characters to avoid truncation in search results. Add a benefit, number, or year (like “2025” or “Step-by-Step”) to improve click-through rate without keyword stuffing.
For example, instead of “Best Online Courses,” write “Top 10 Online Courses to Boost Your Skills in 2025.”
Now, when you input the title, the slug will be automatically generated based on the title. But you can edit it to whatever you want. Try to include the main keyword of the blog in the URL and keep it under 60 characters.
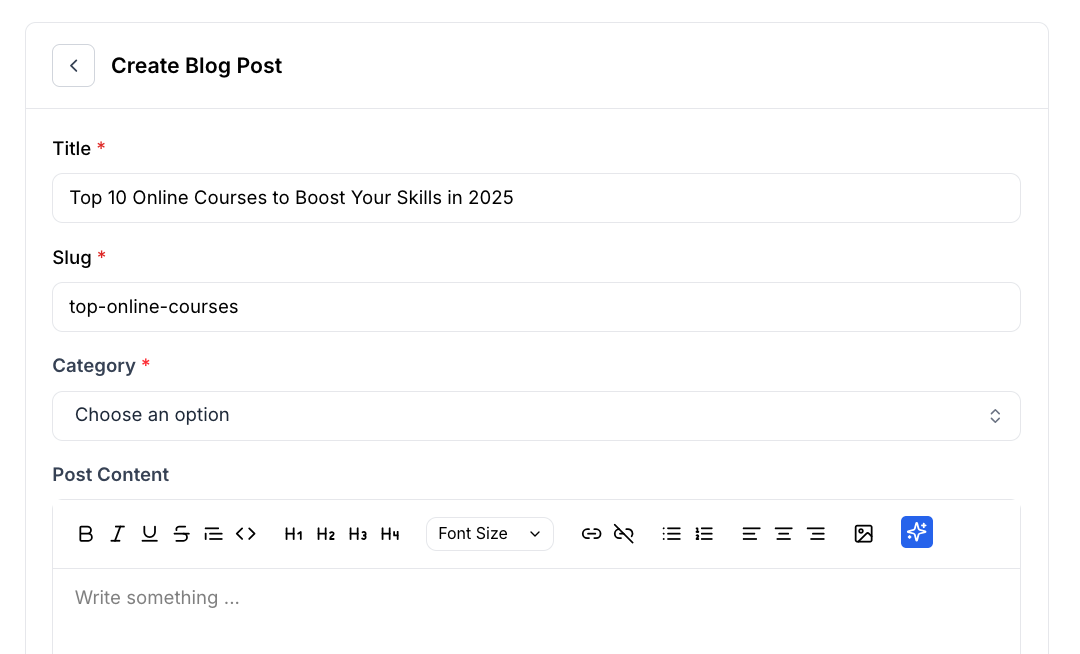
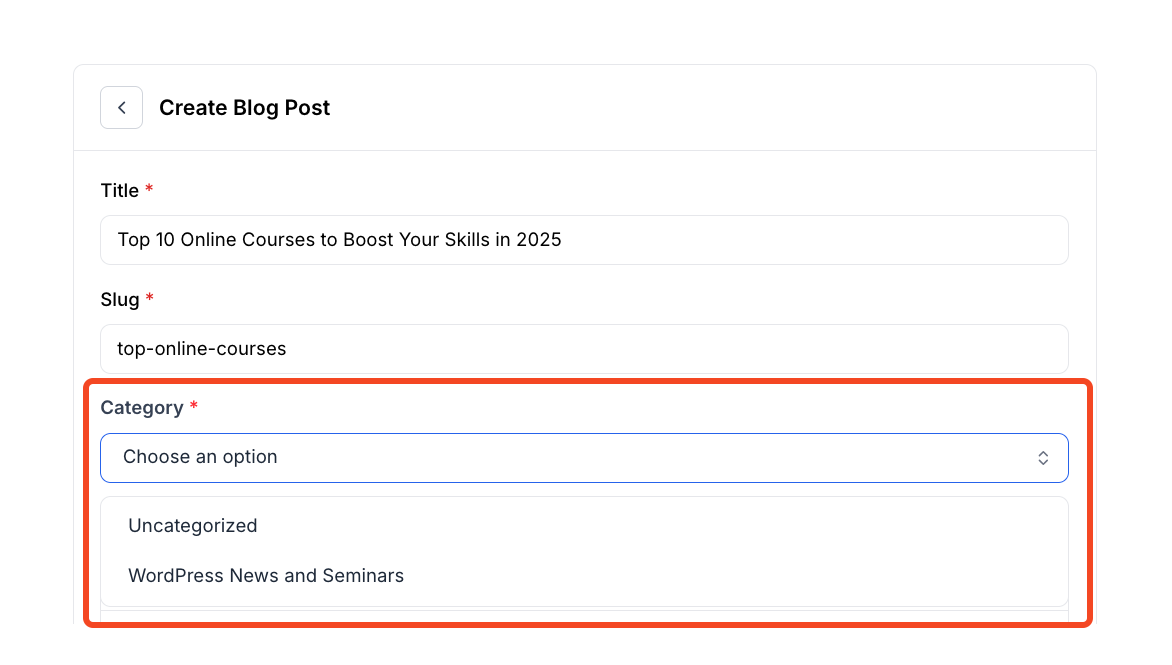
3. Next, there’s a dropdown for selecting a category. The categories you have already created will appear in this dropdown. If you don’t see your desired category here, you will have to create a new blog category.
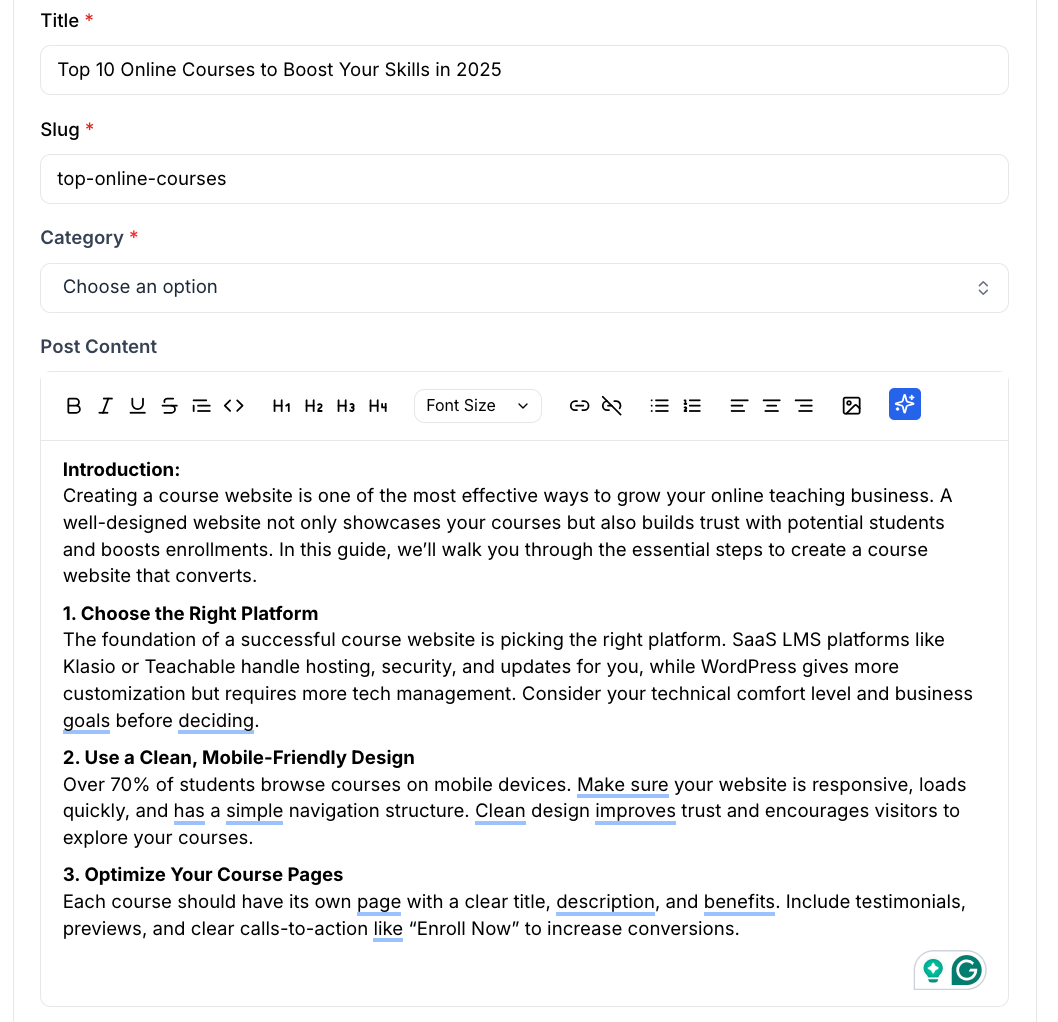
4. Then, we have the markdown HTML editor, where you can write or paste your content.
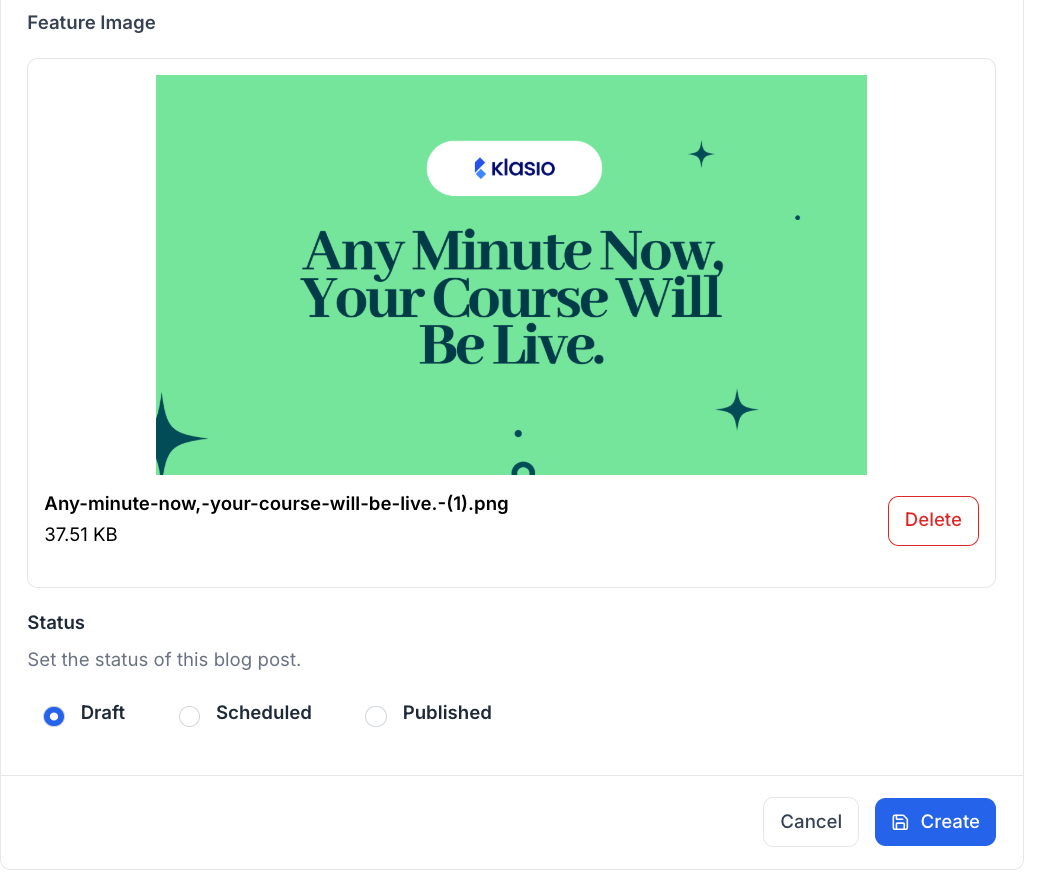
5. For the blog’s feature image, there’s an uploader that you can use to upload the feature image.
6. After that, select whether you want to schedule it, publish it, or keep it as a draft. Then, if everything is alright, hit “Create” to finish.