You need to be an administrator of the Klasio account to be able to integrate Zoom for live classes. Here are the exact same steps to integrate Zoom with Klasio:
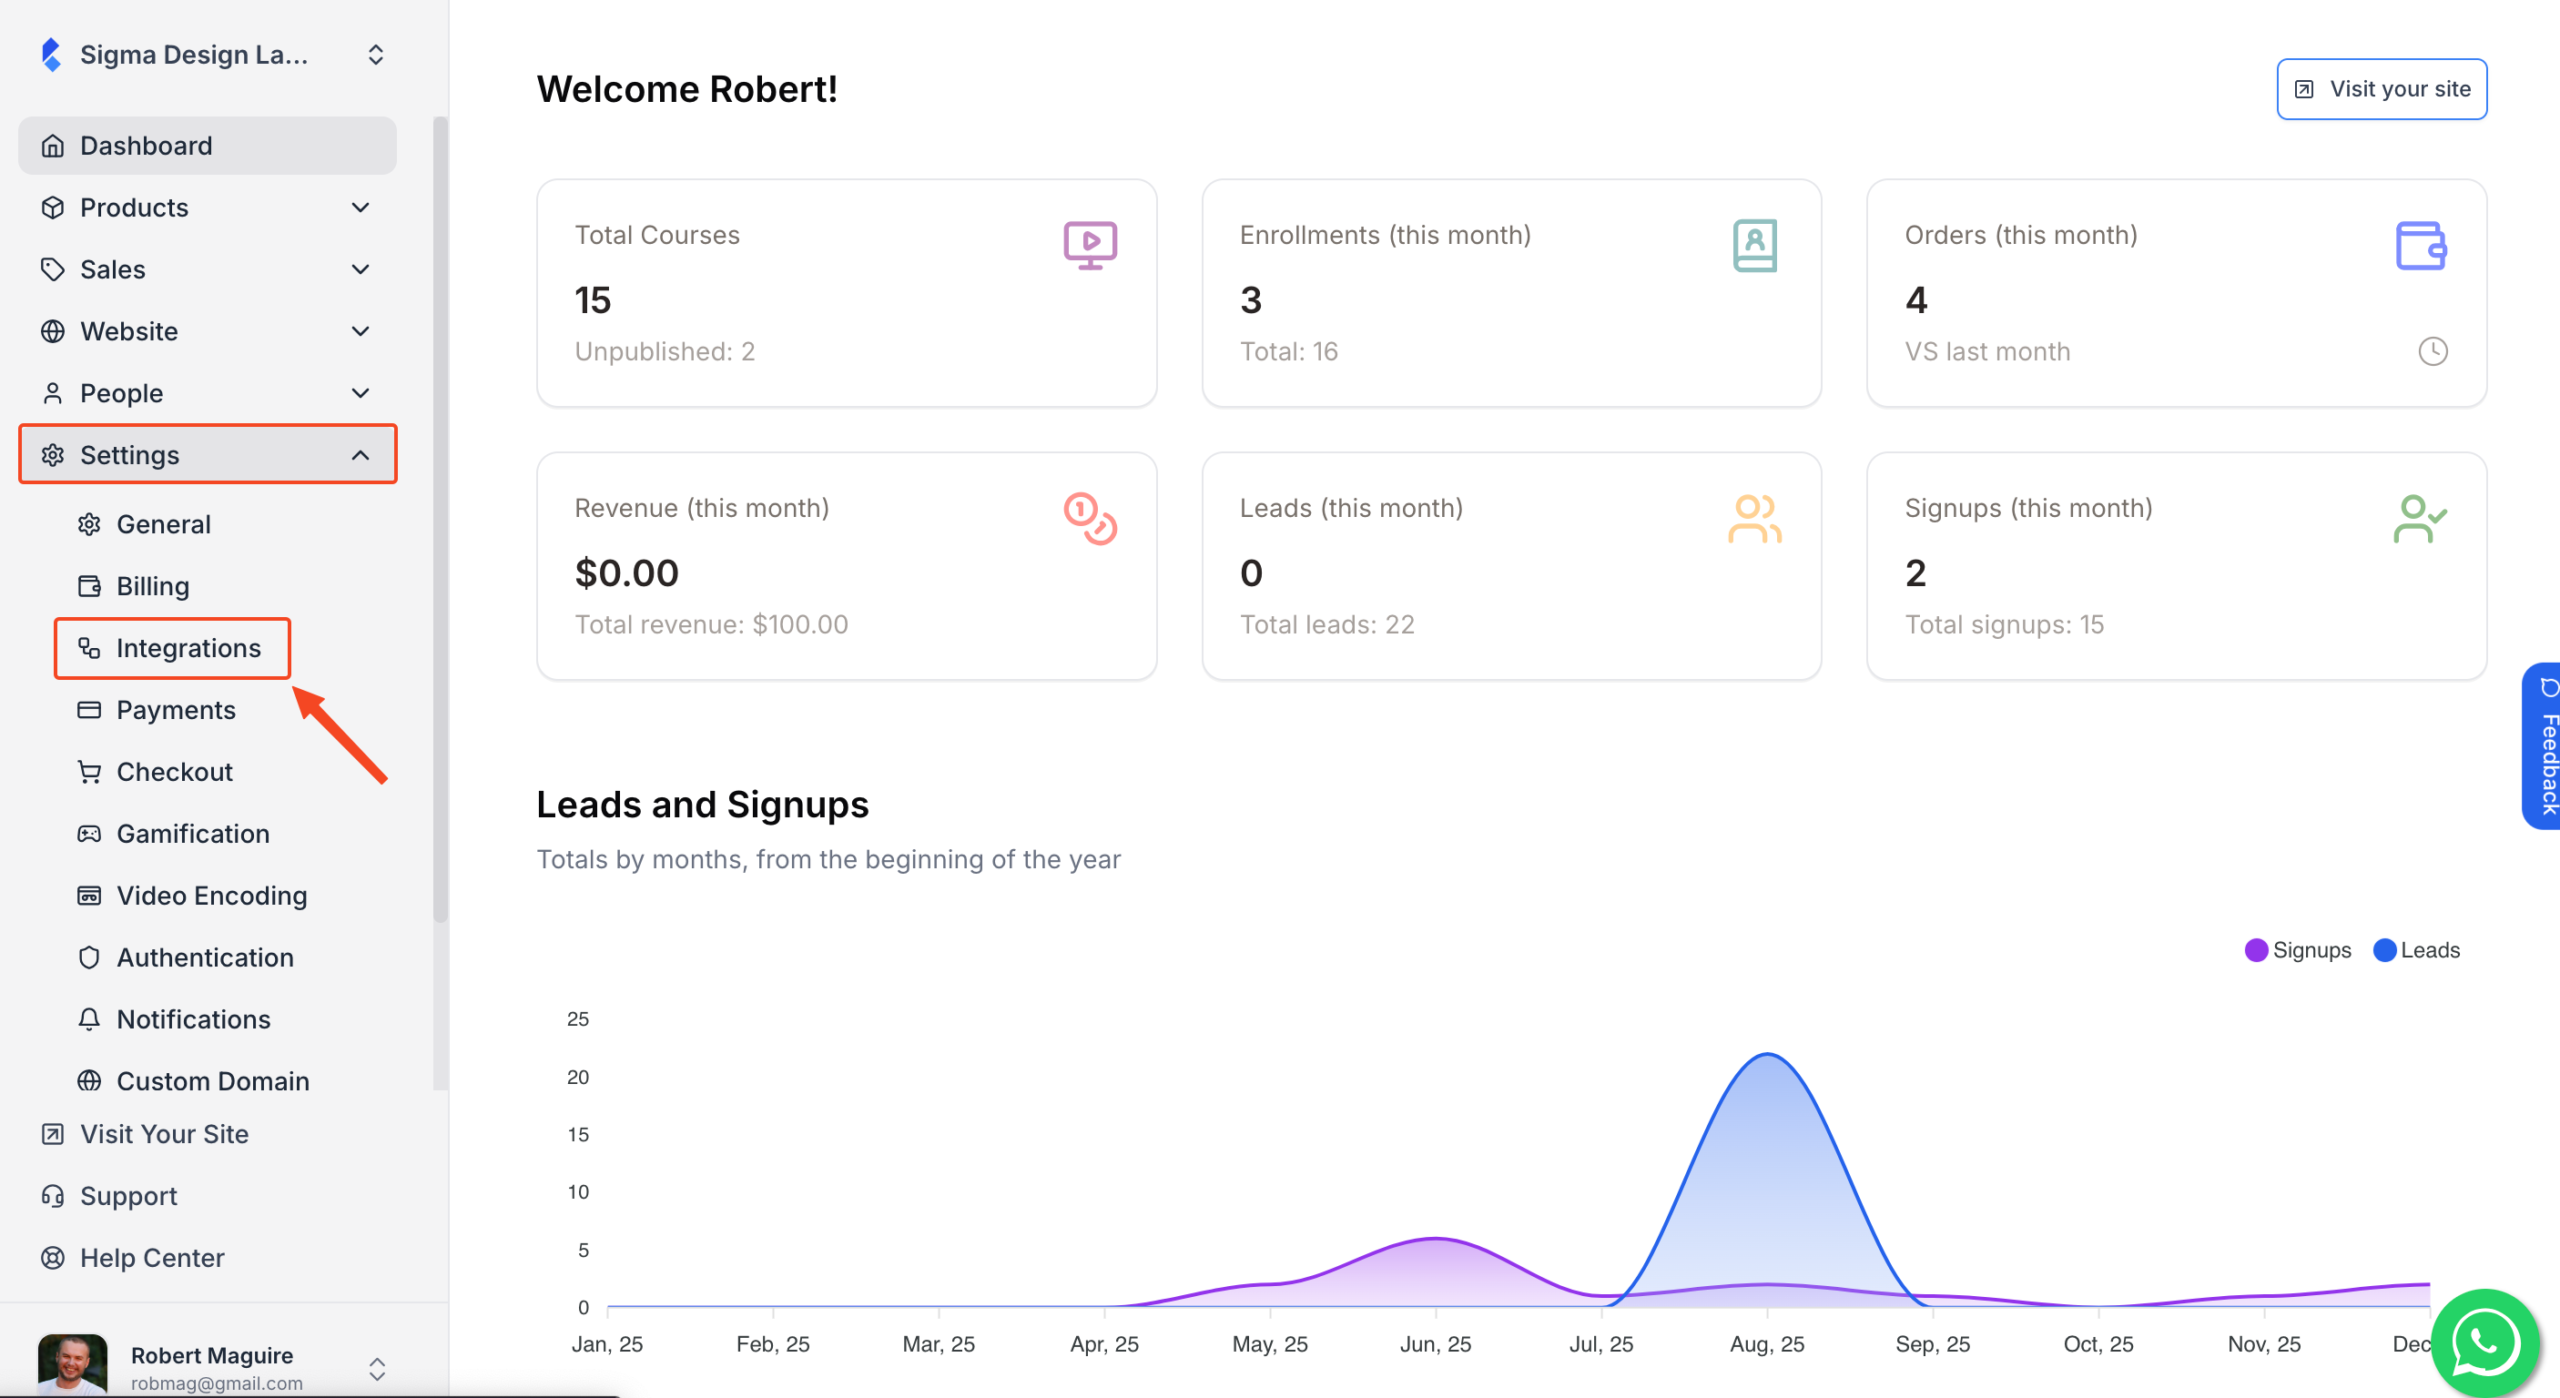
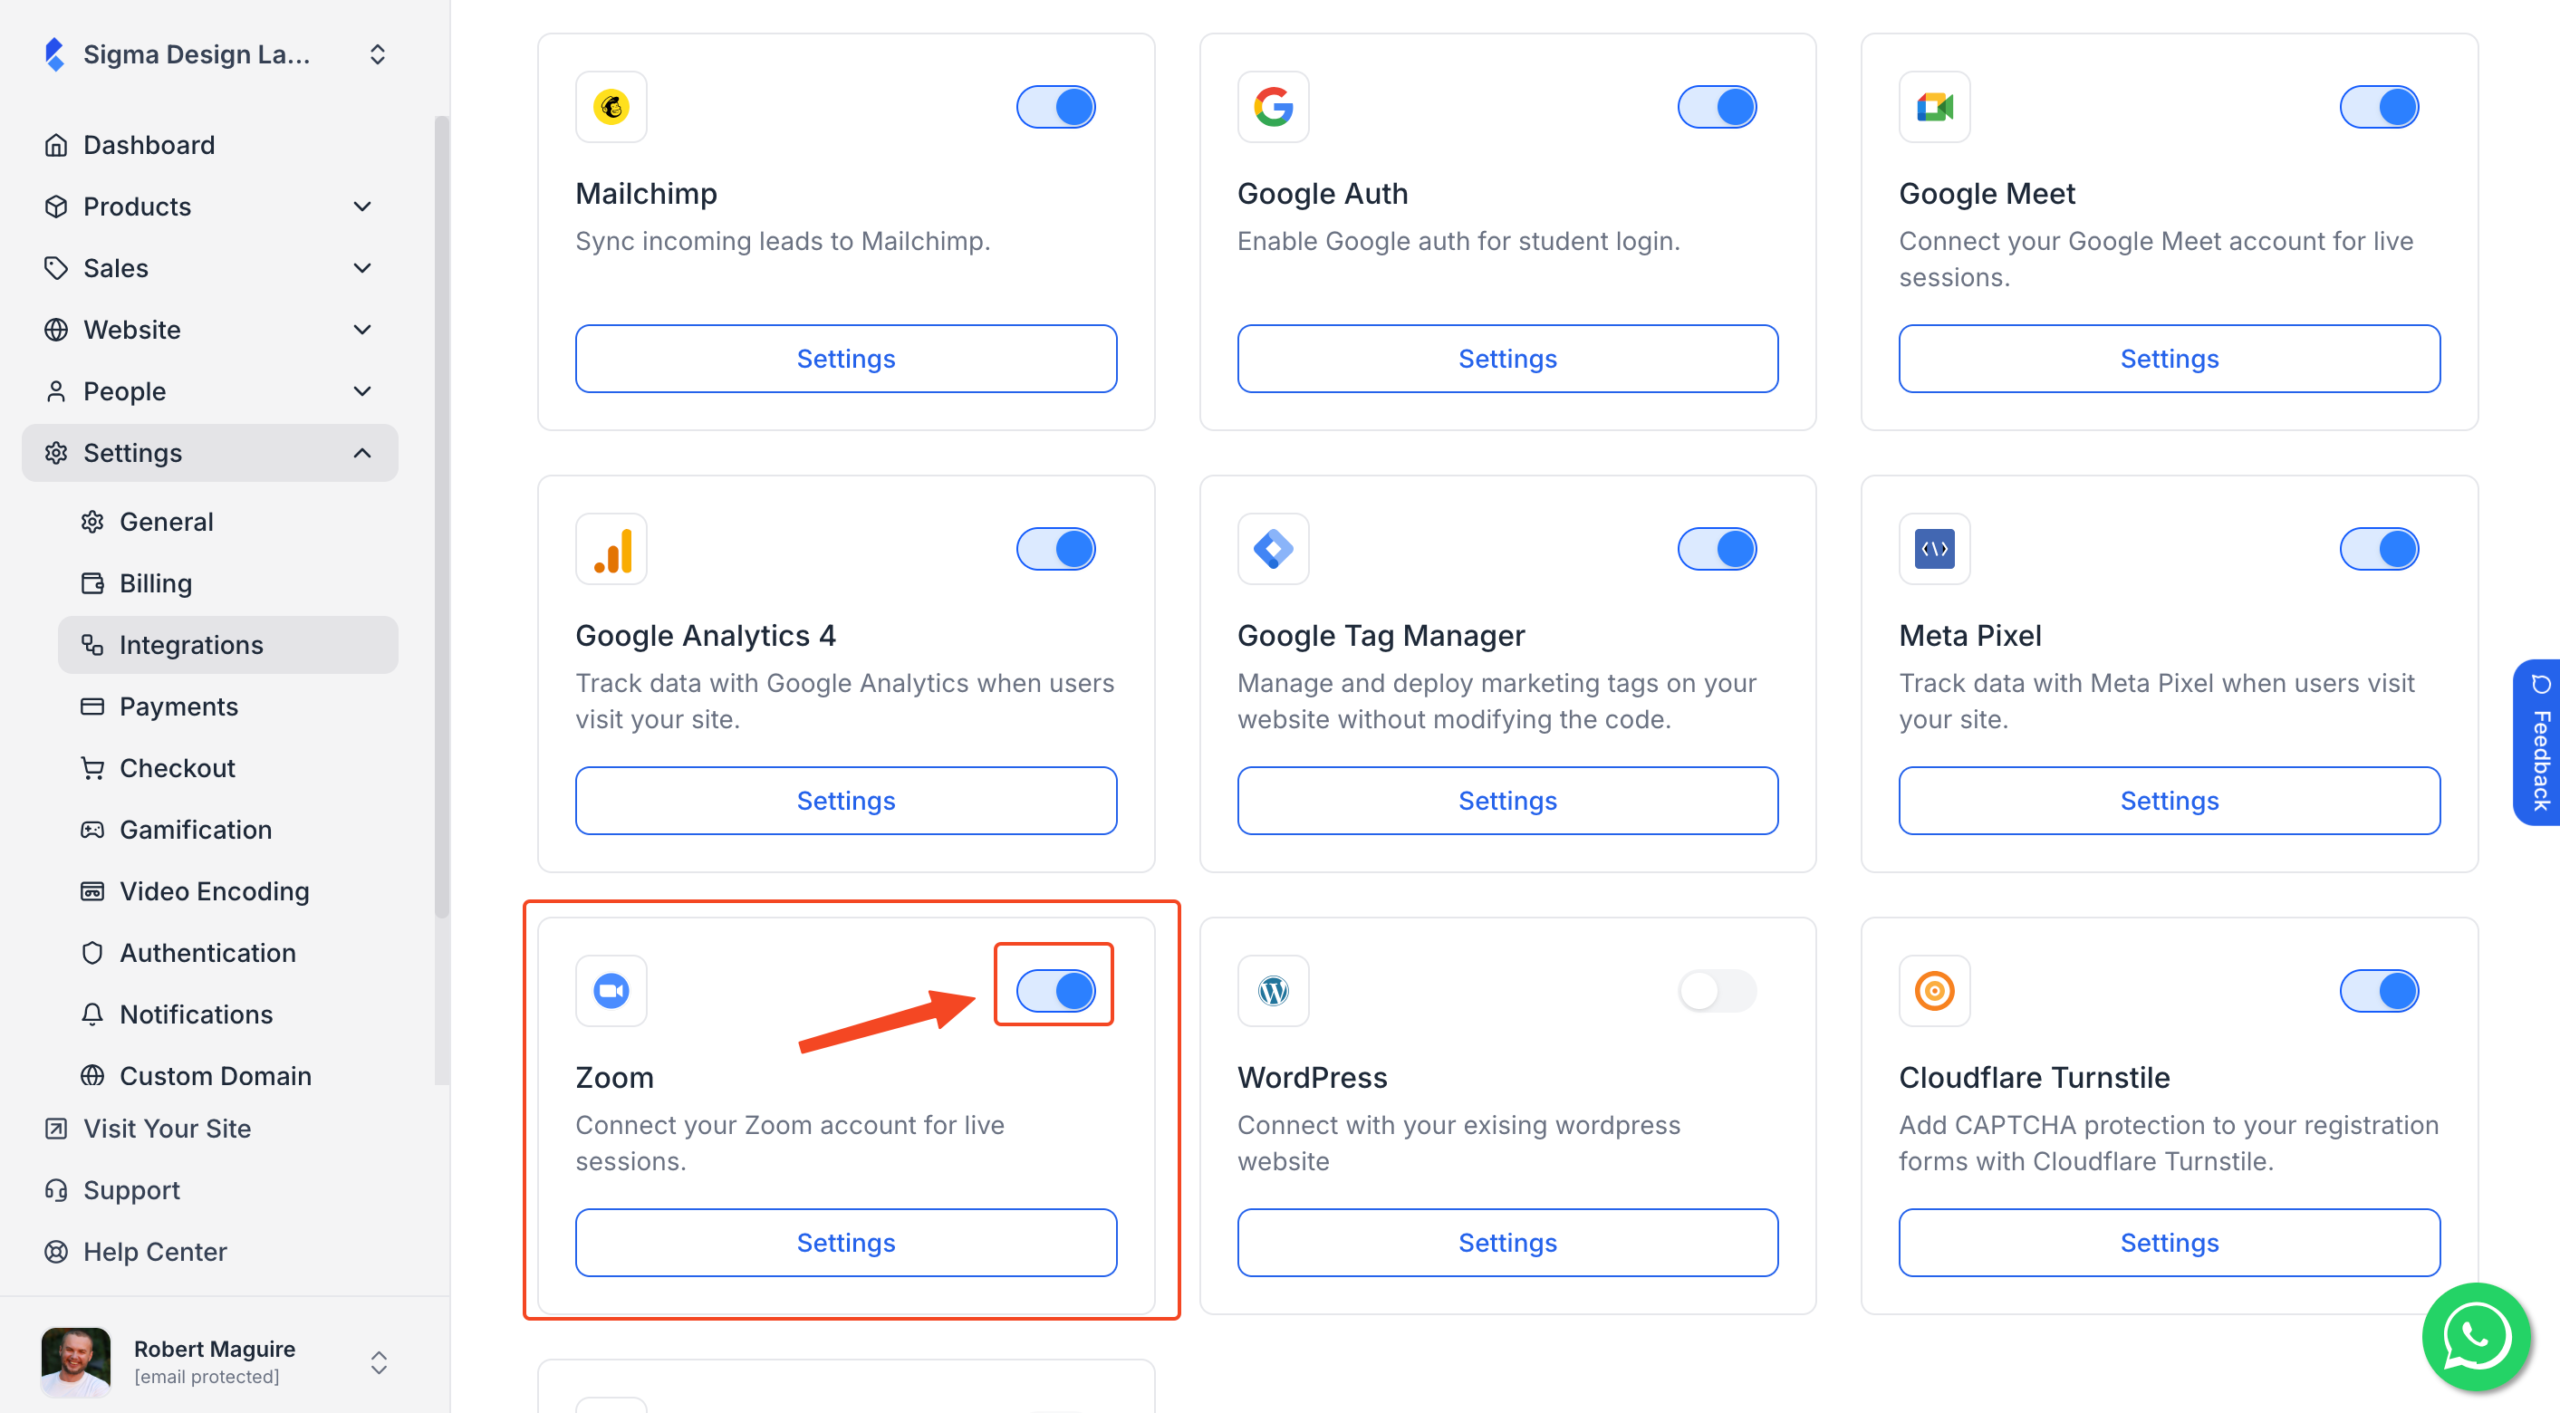
- From your admin dashboard, go to Settings > Integrations.
2. Locate the Zoom widget and click on Settings.
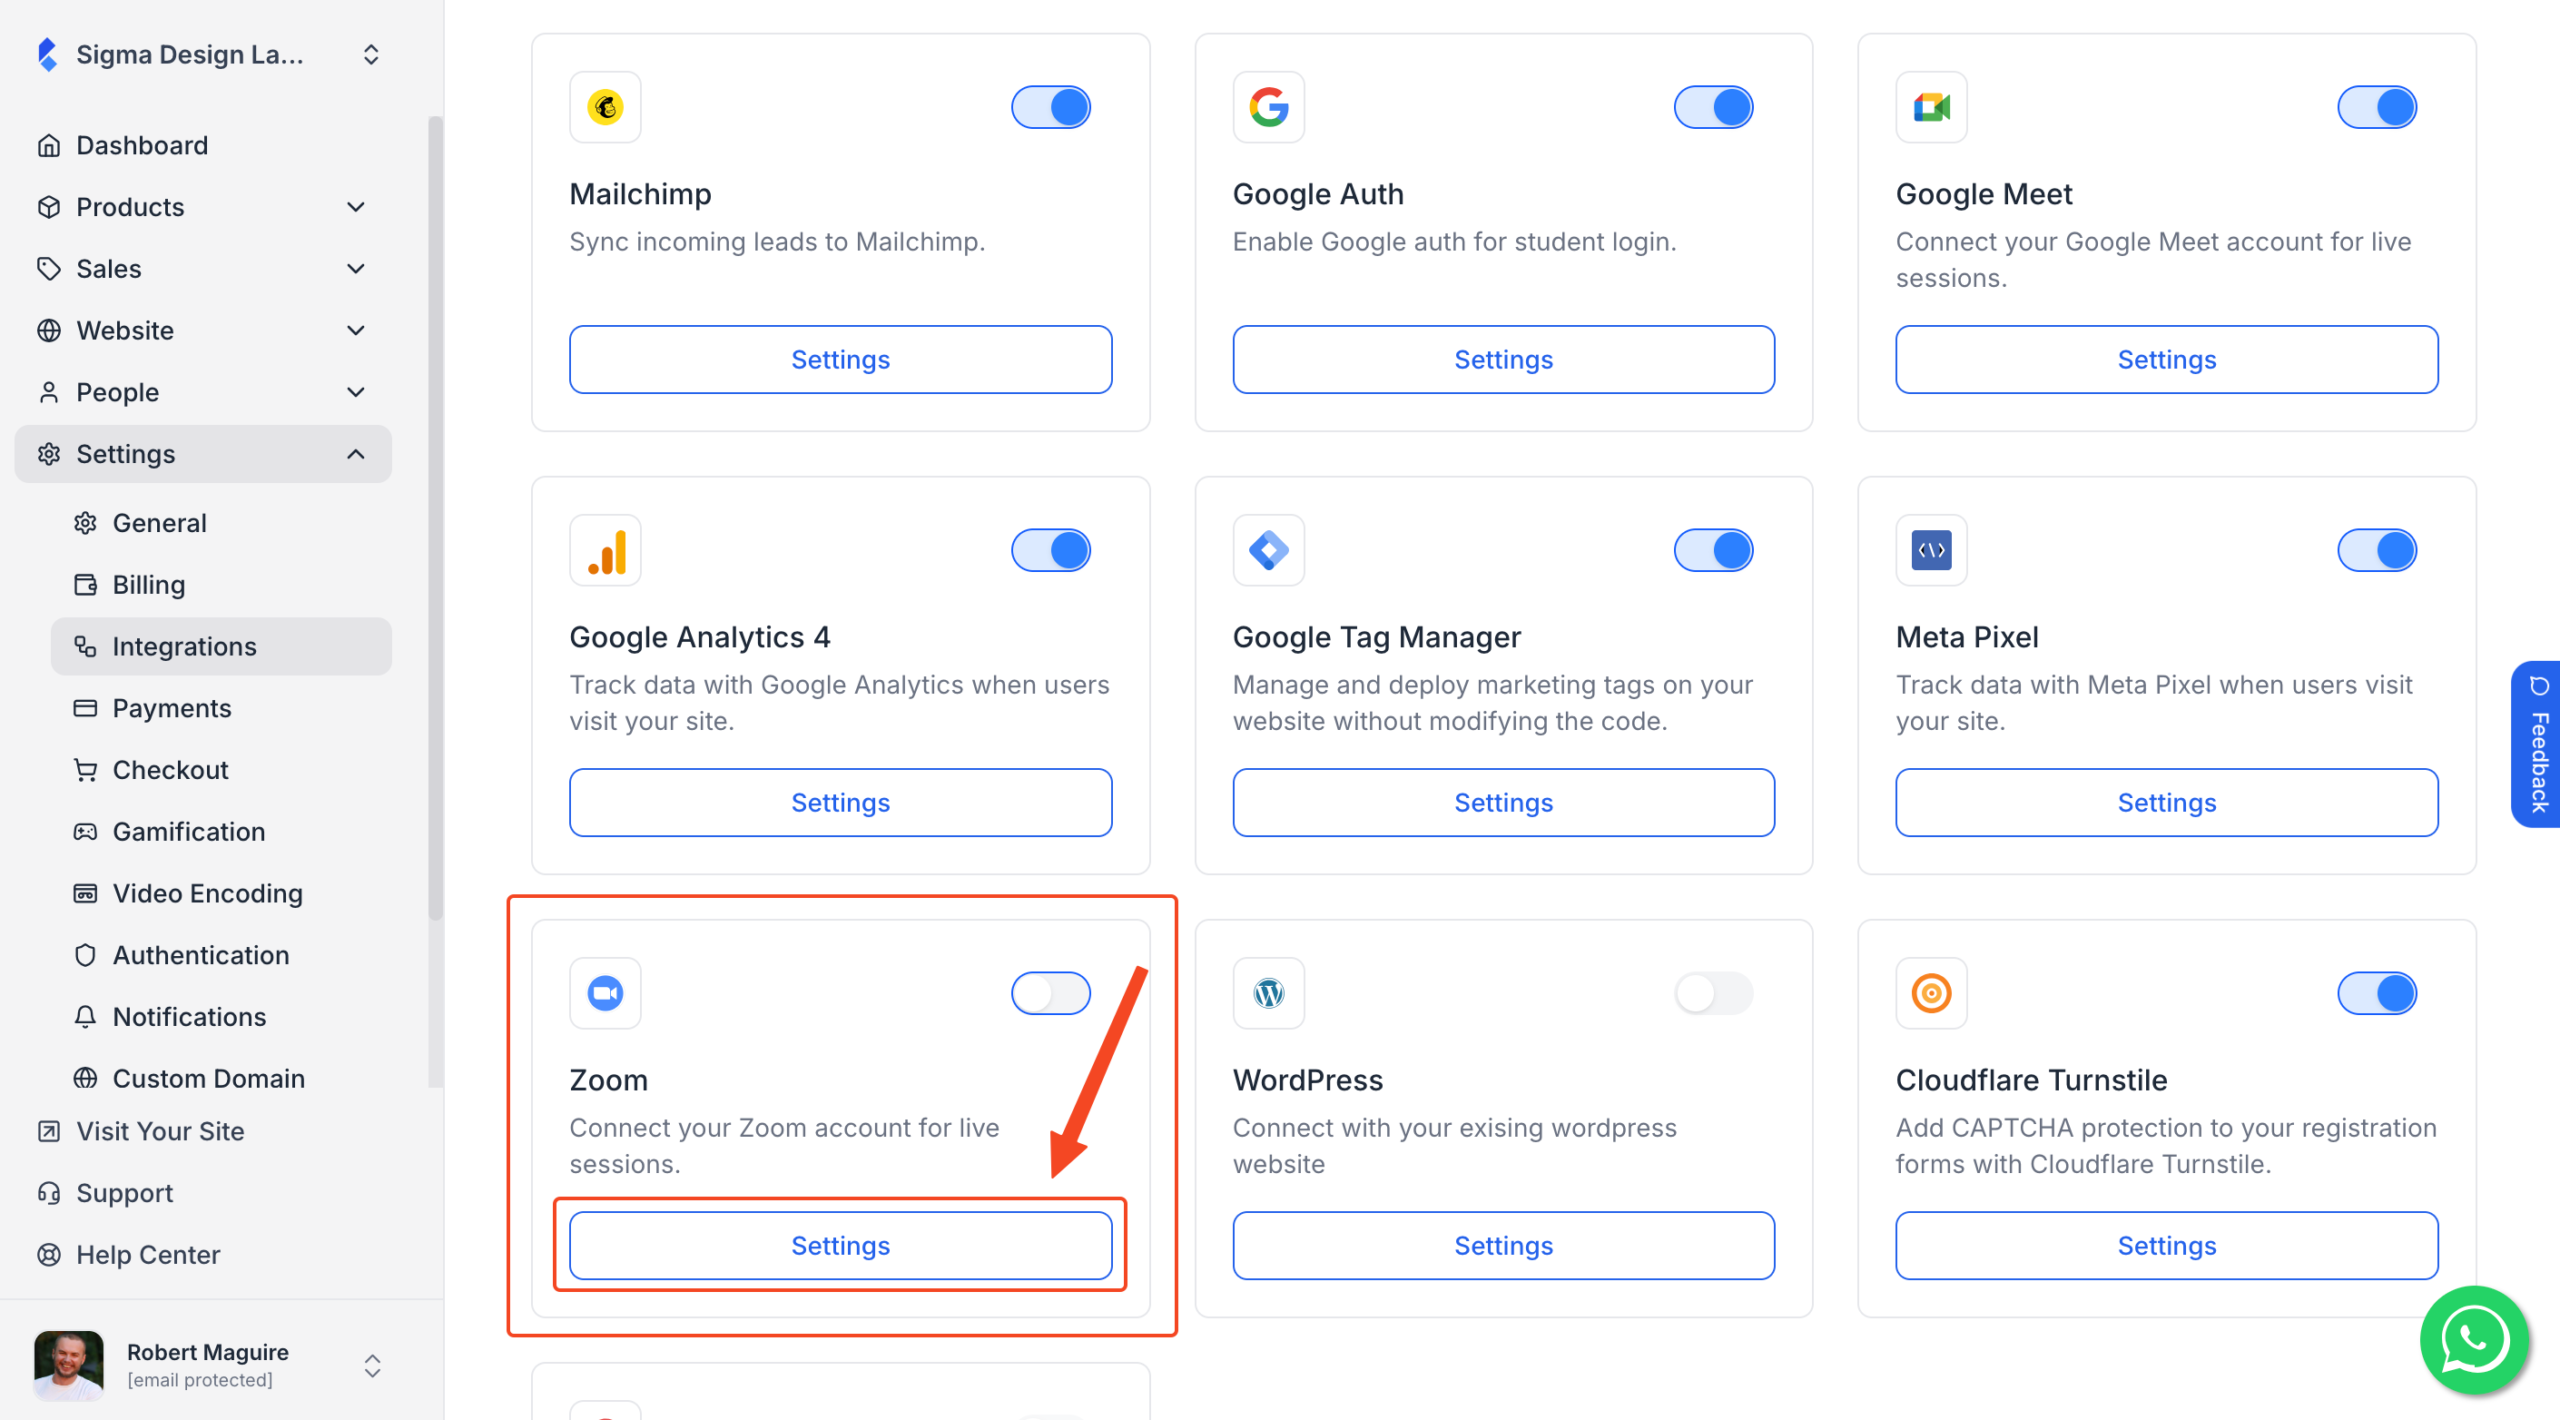
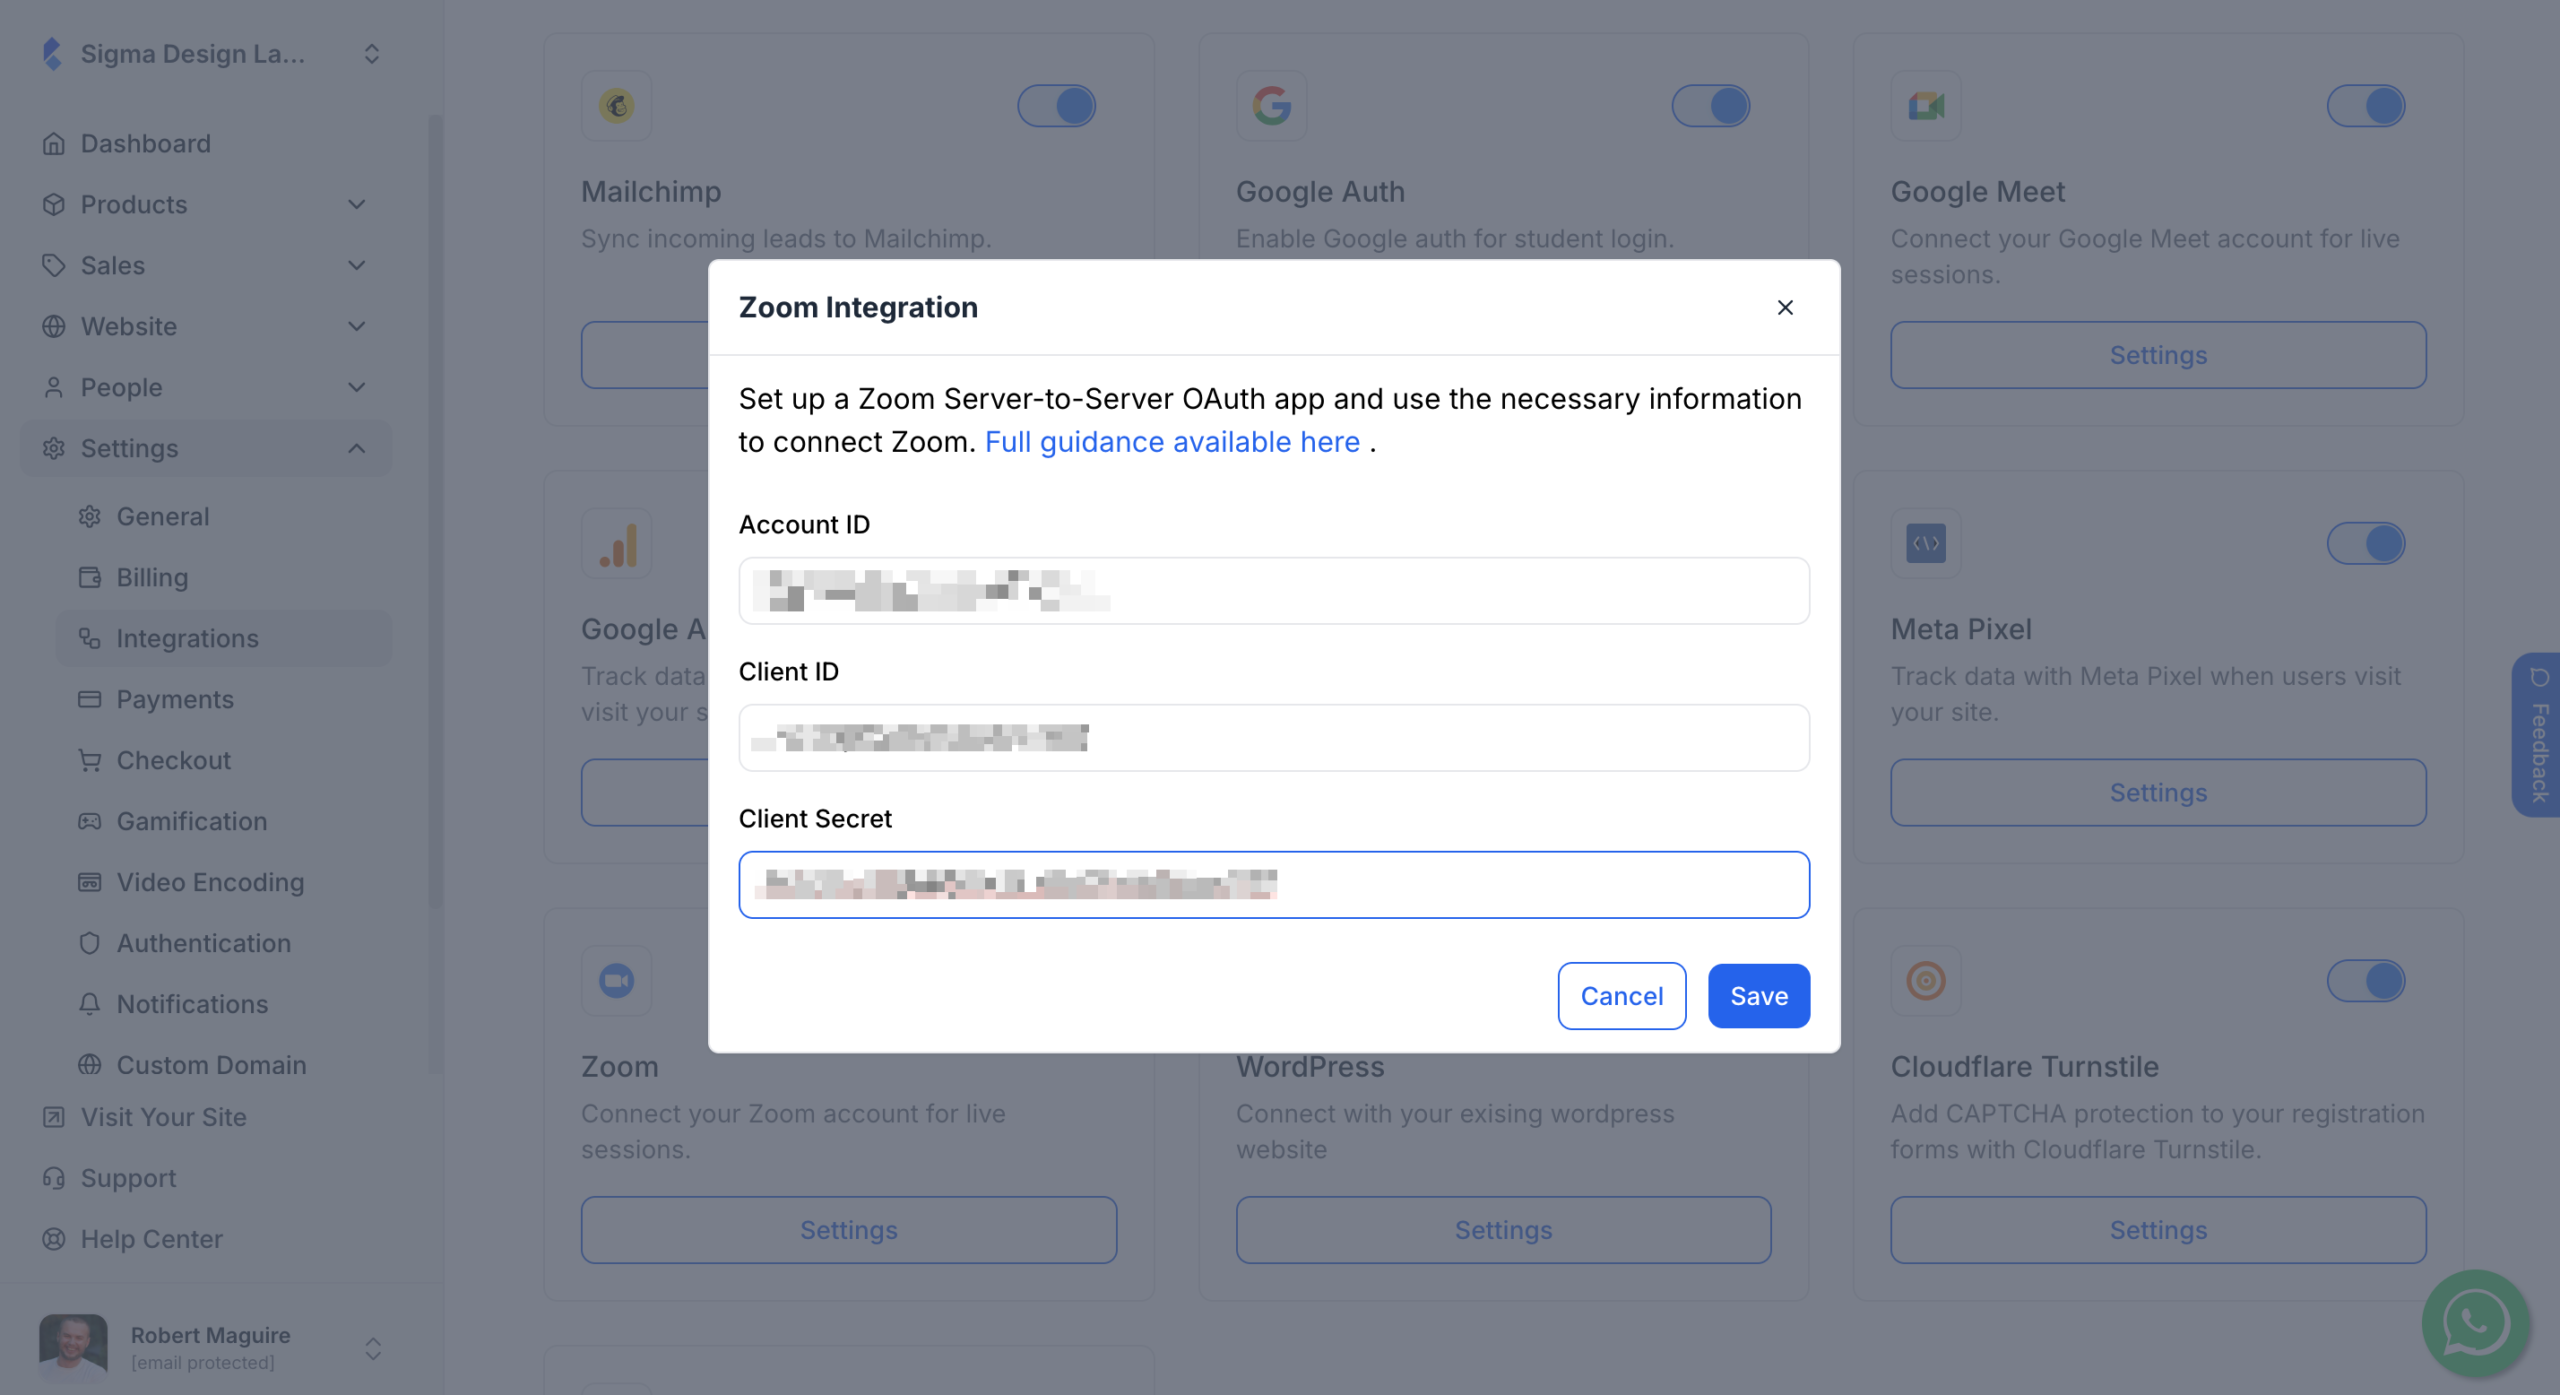
3. On the pop up you’ll asked to enter your Zoom Account ID, Client ID and Client Secret

How to Generate Zoom Account ID, Client ID and Client Secret
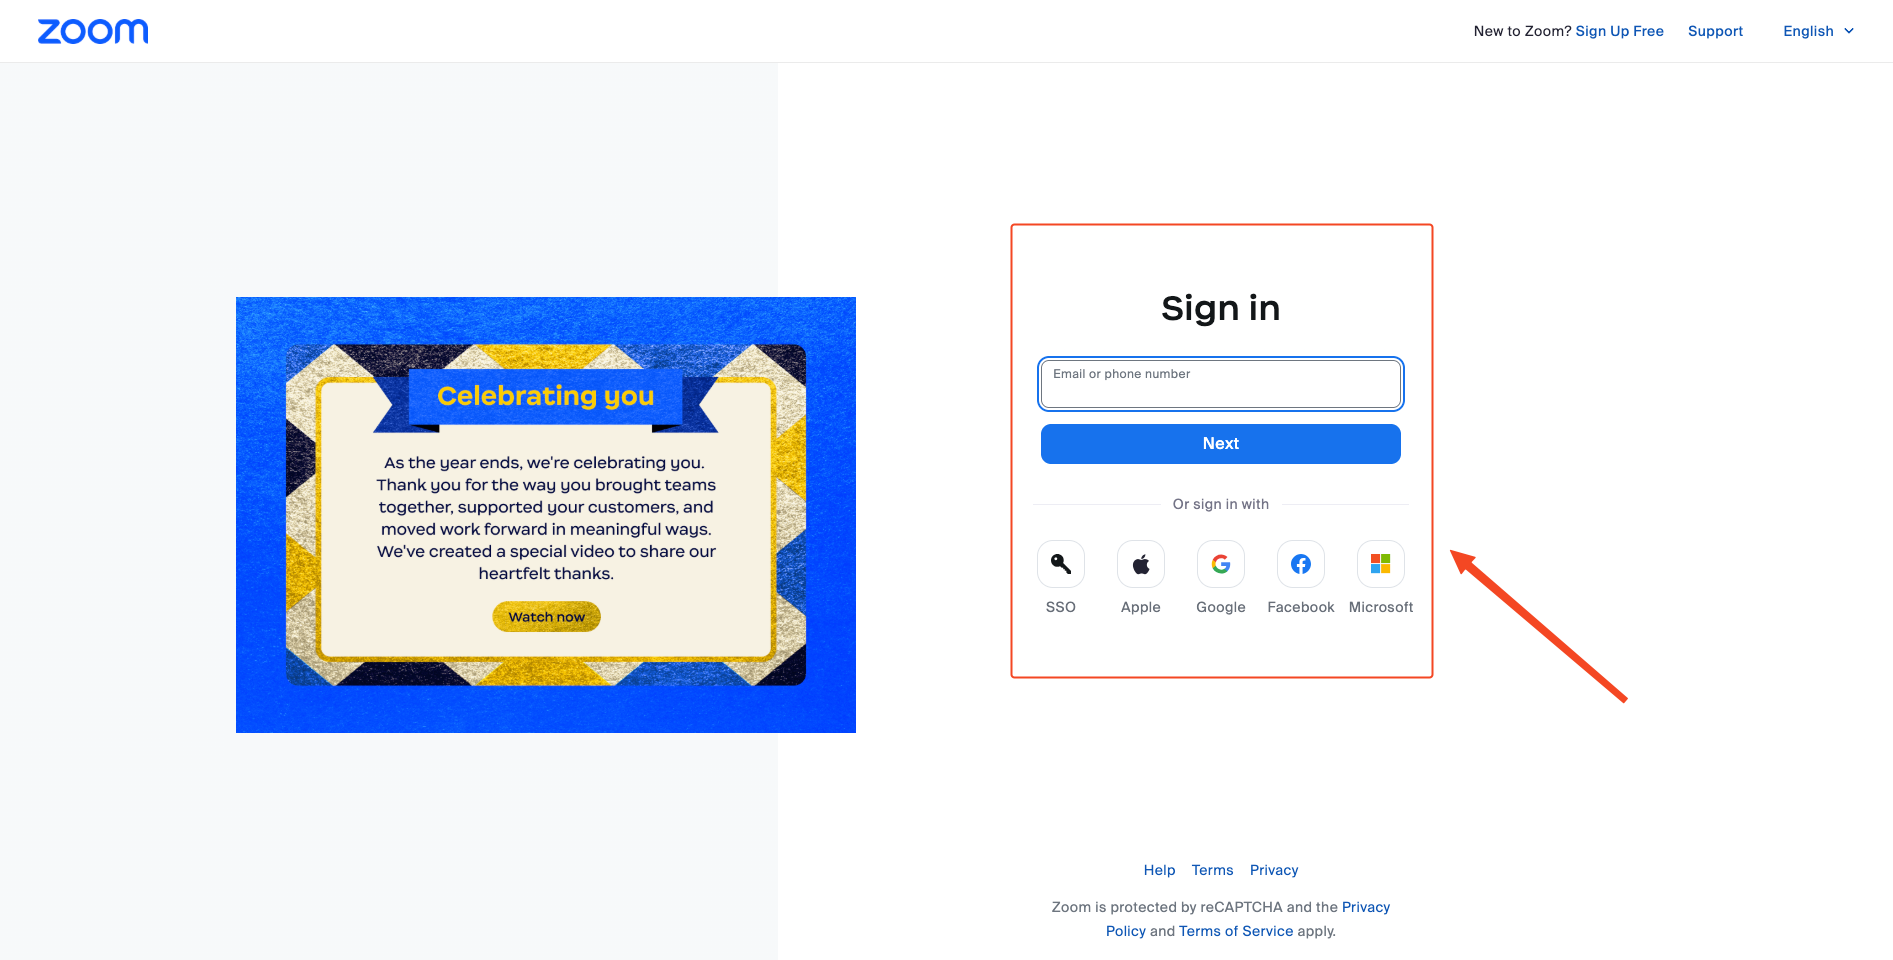
1. Sign in or sign up to your Zoom account.
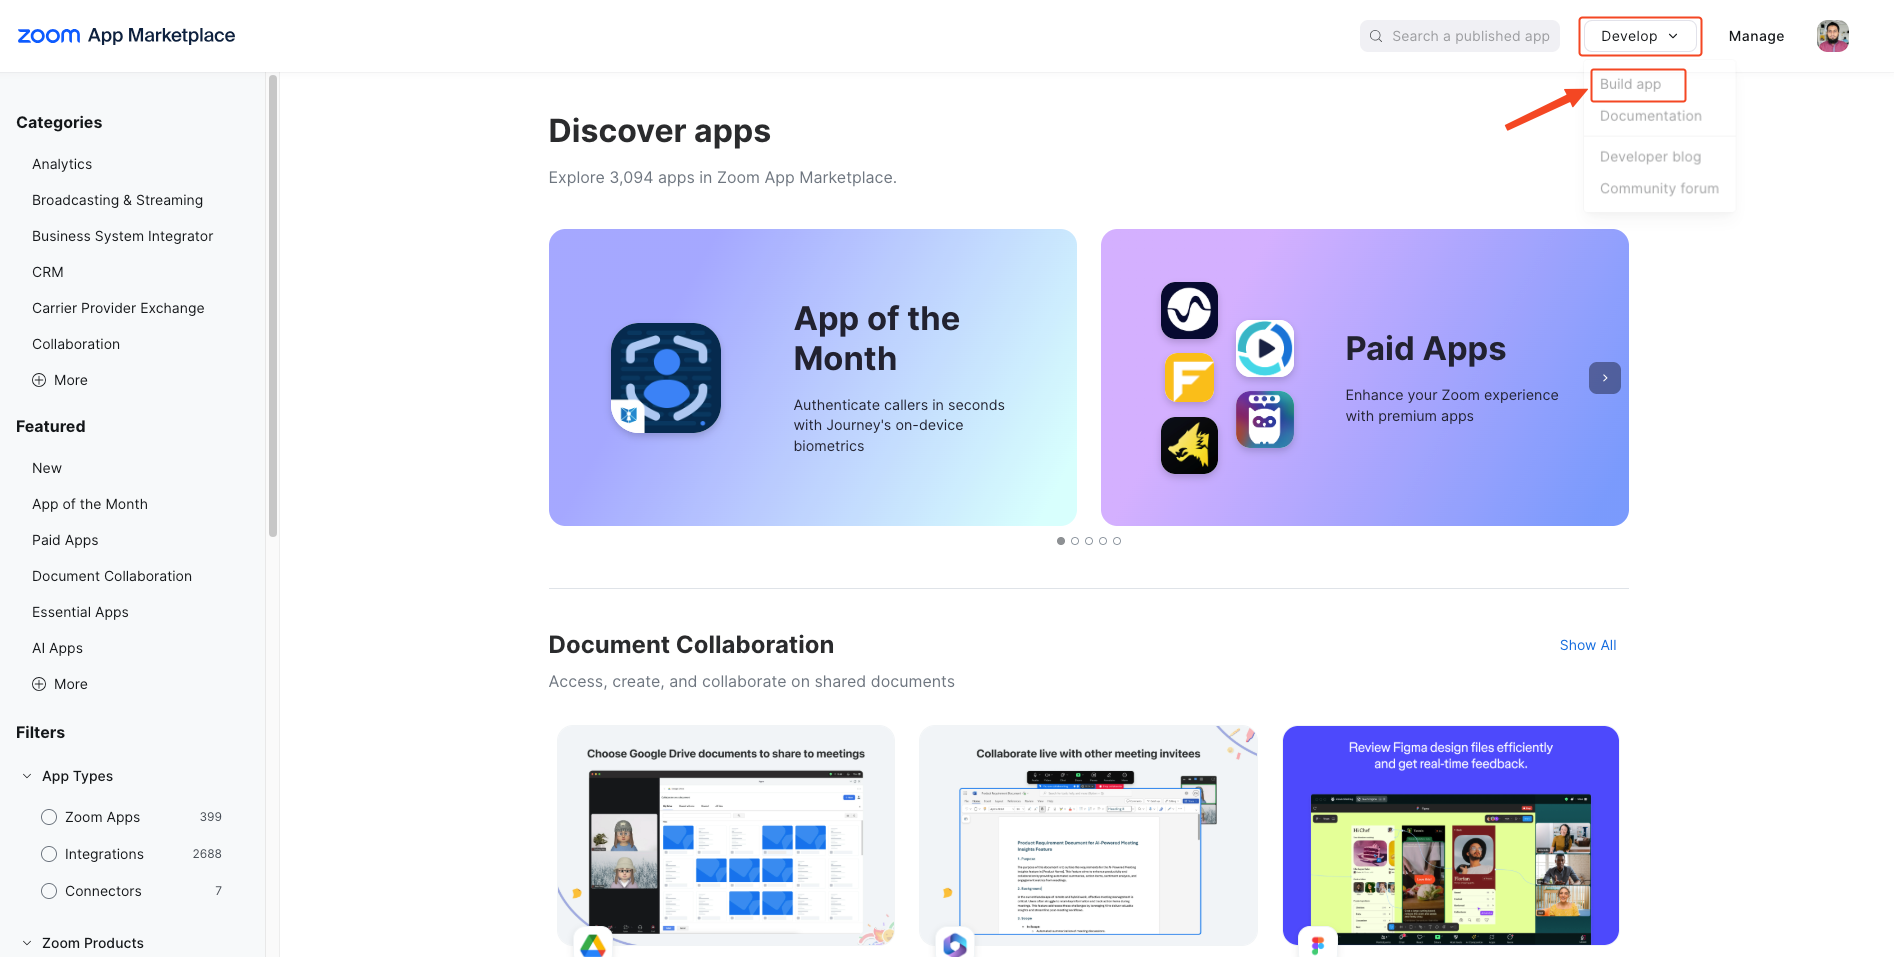
2. Then visit marketplace.zoom.com
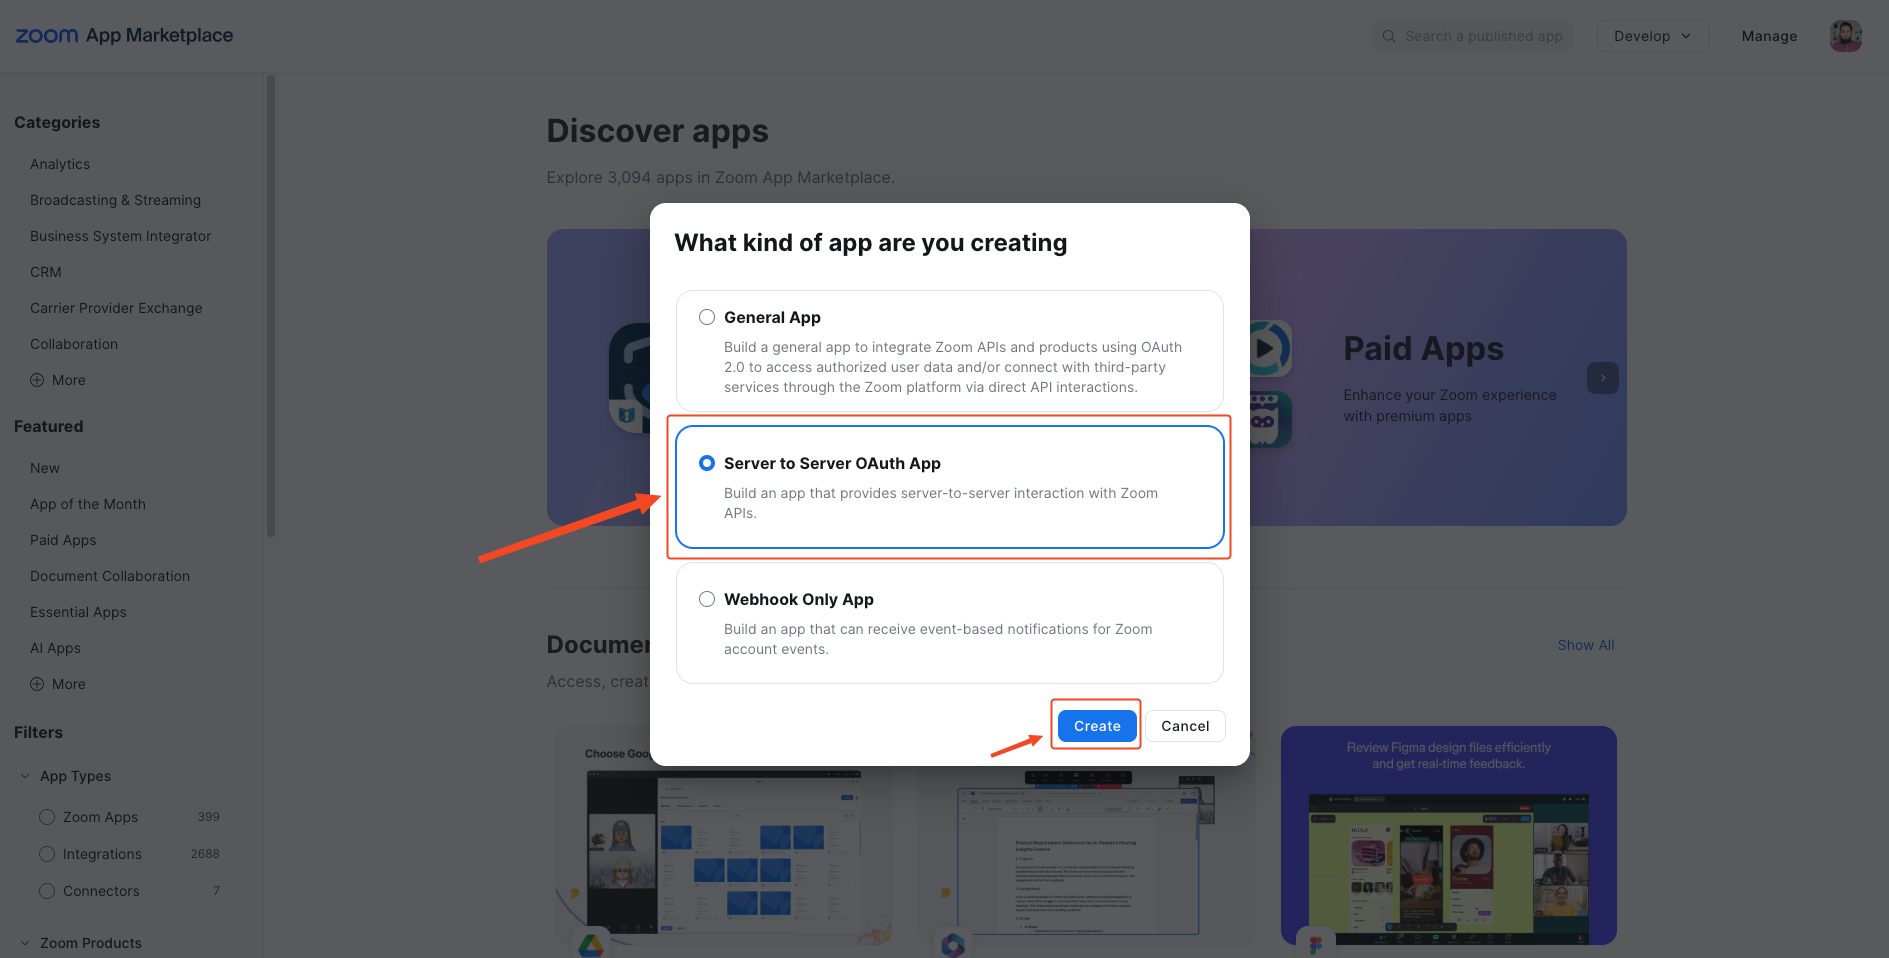
3. Click Develop and then select
4. On the pop up screen, select Server to Server OAuth App and then click Create.
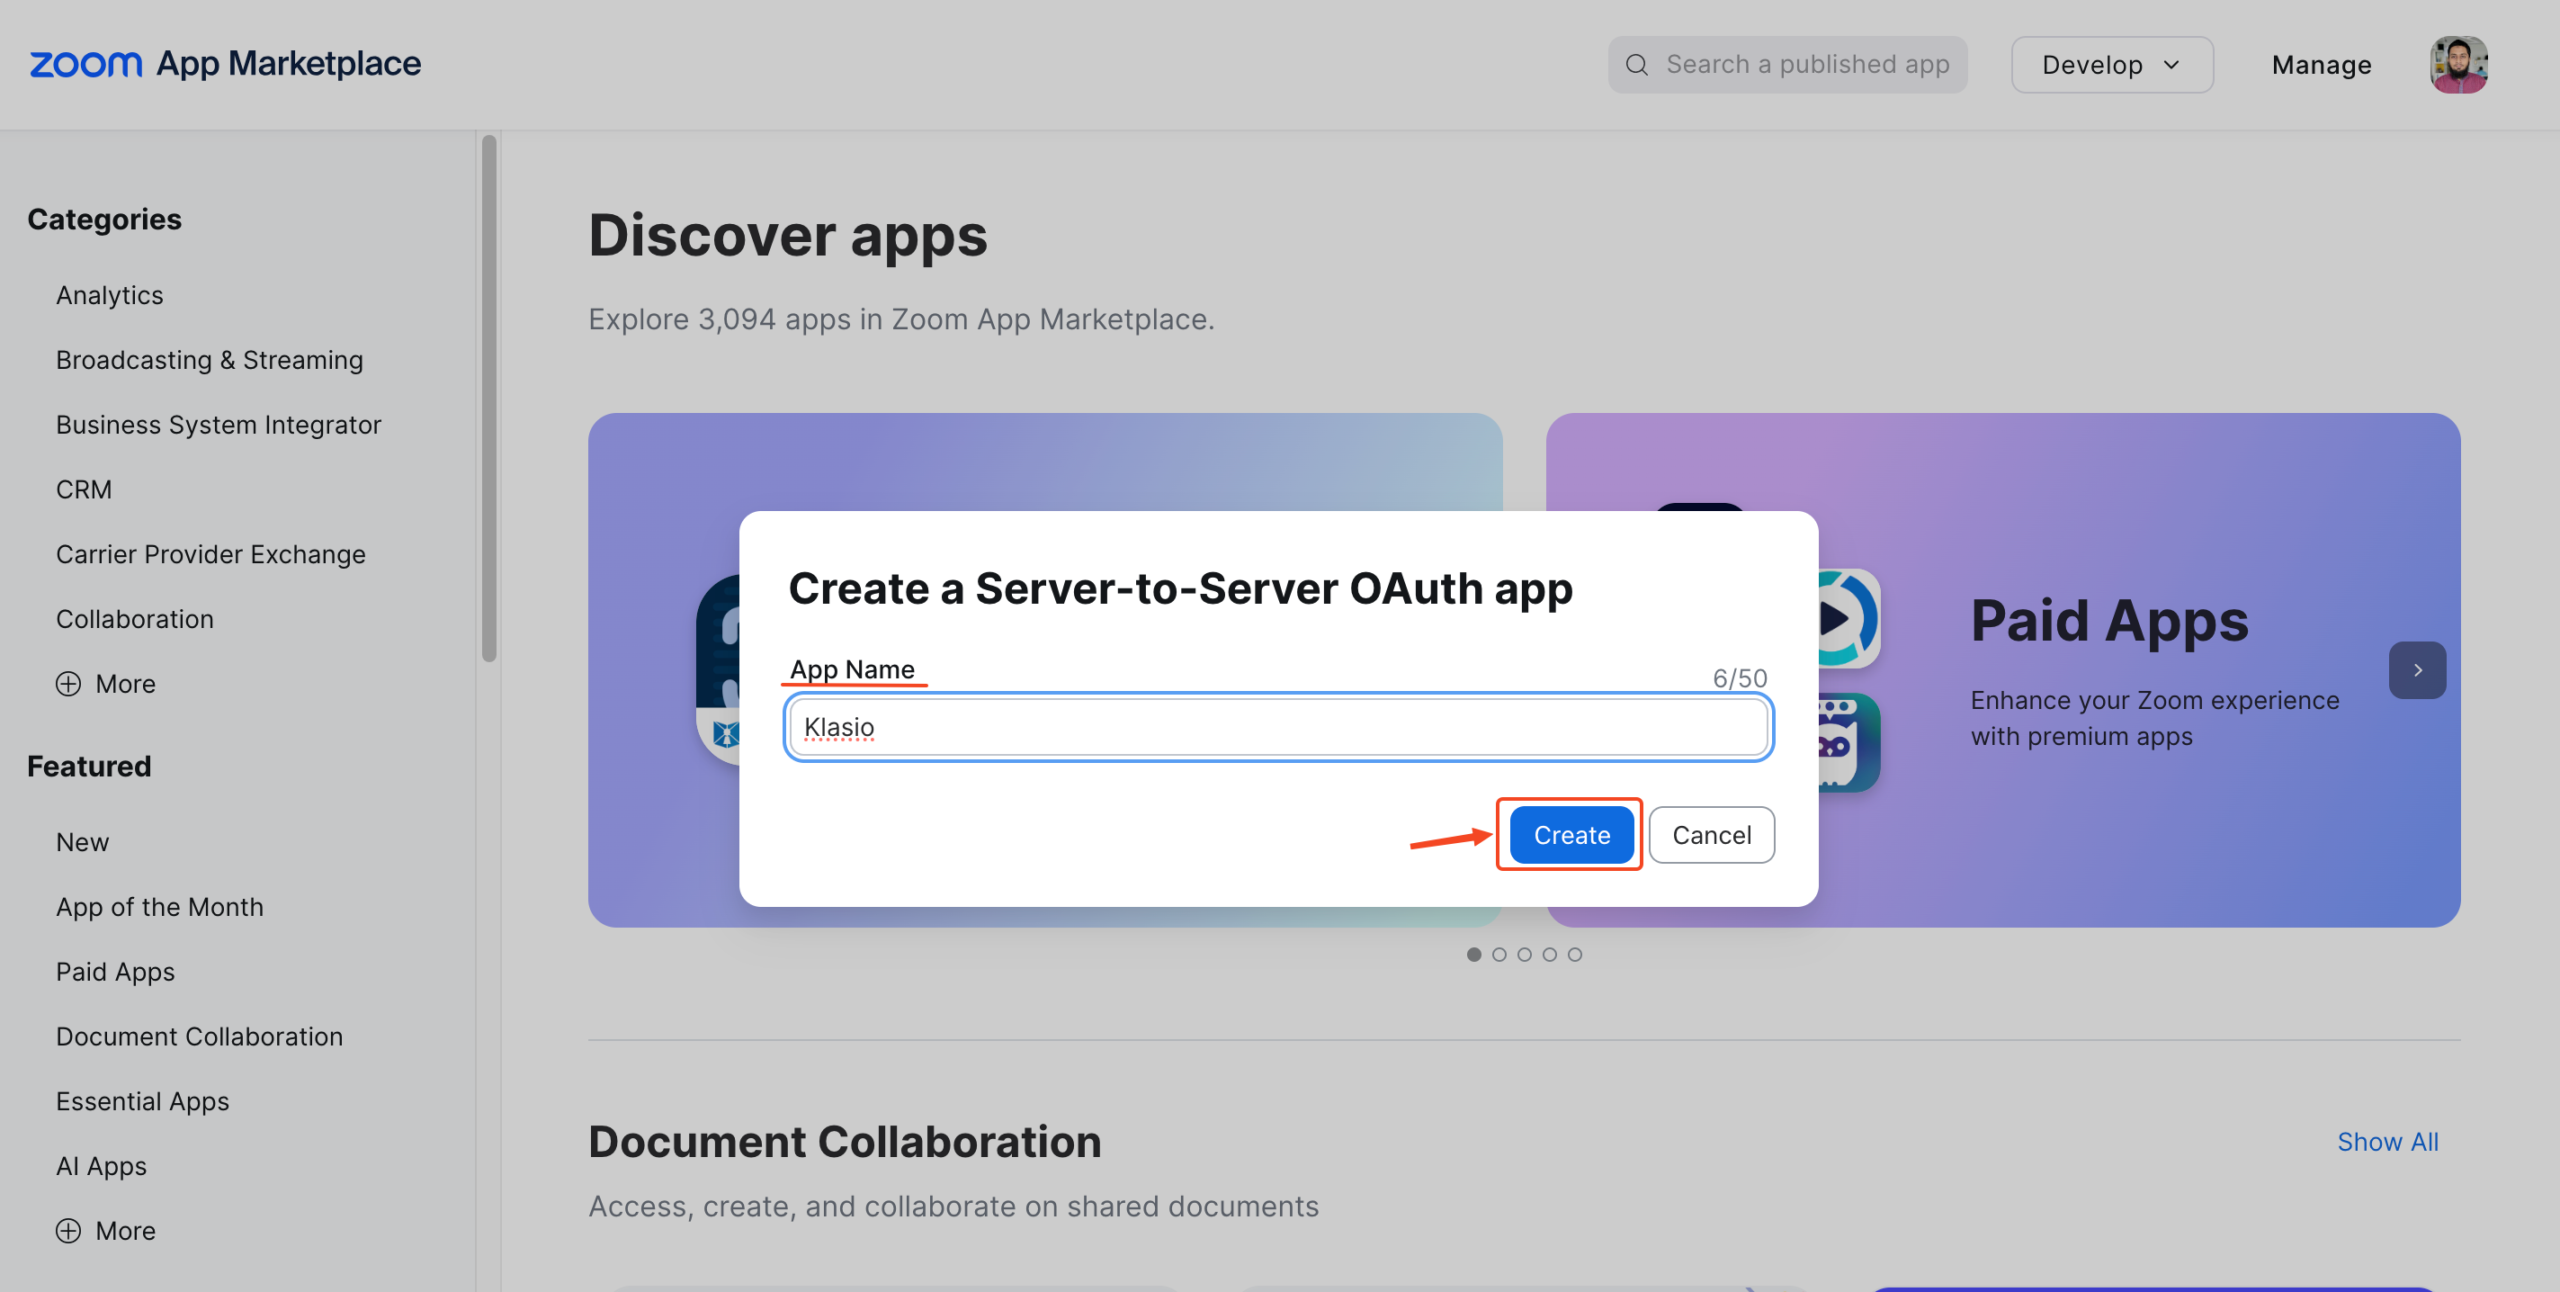
5. Next, enter App Name and click create.
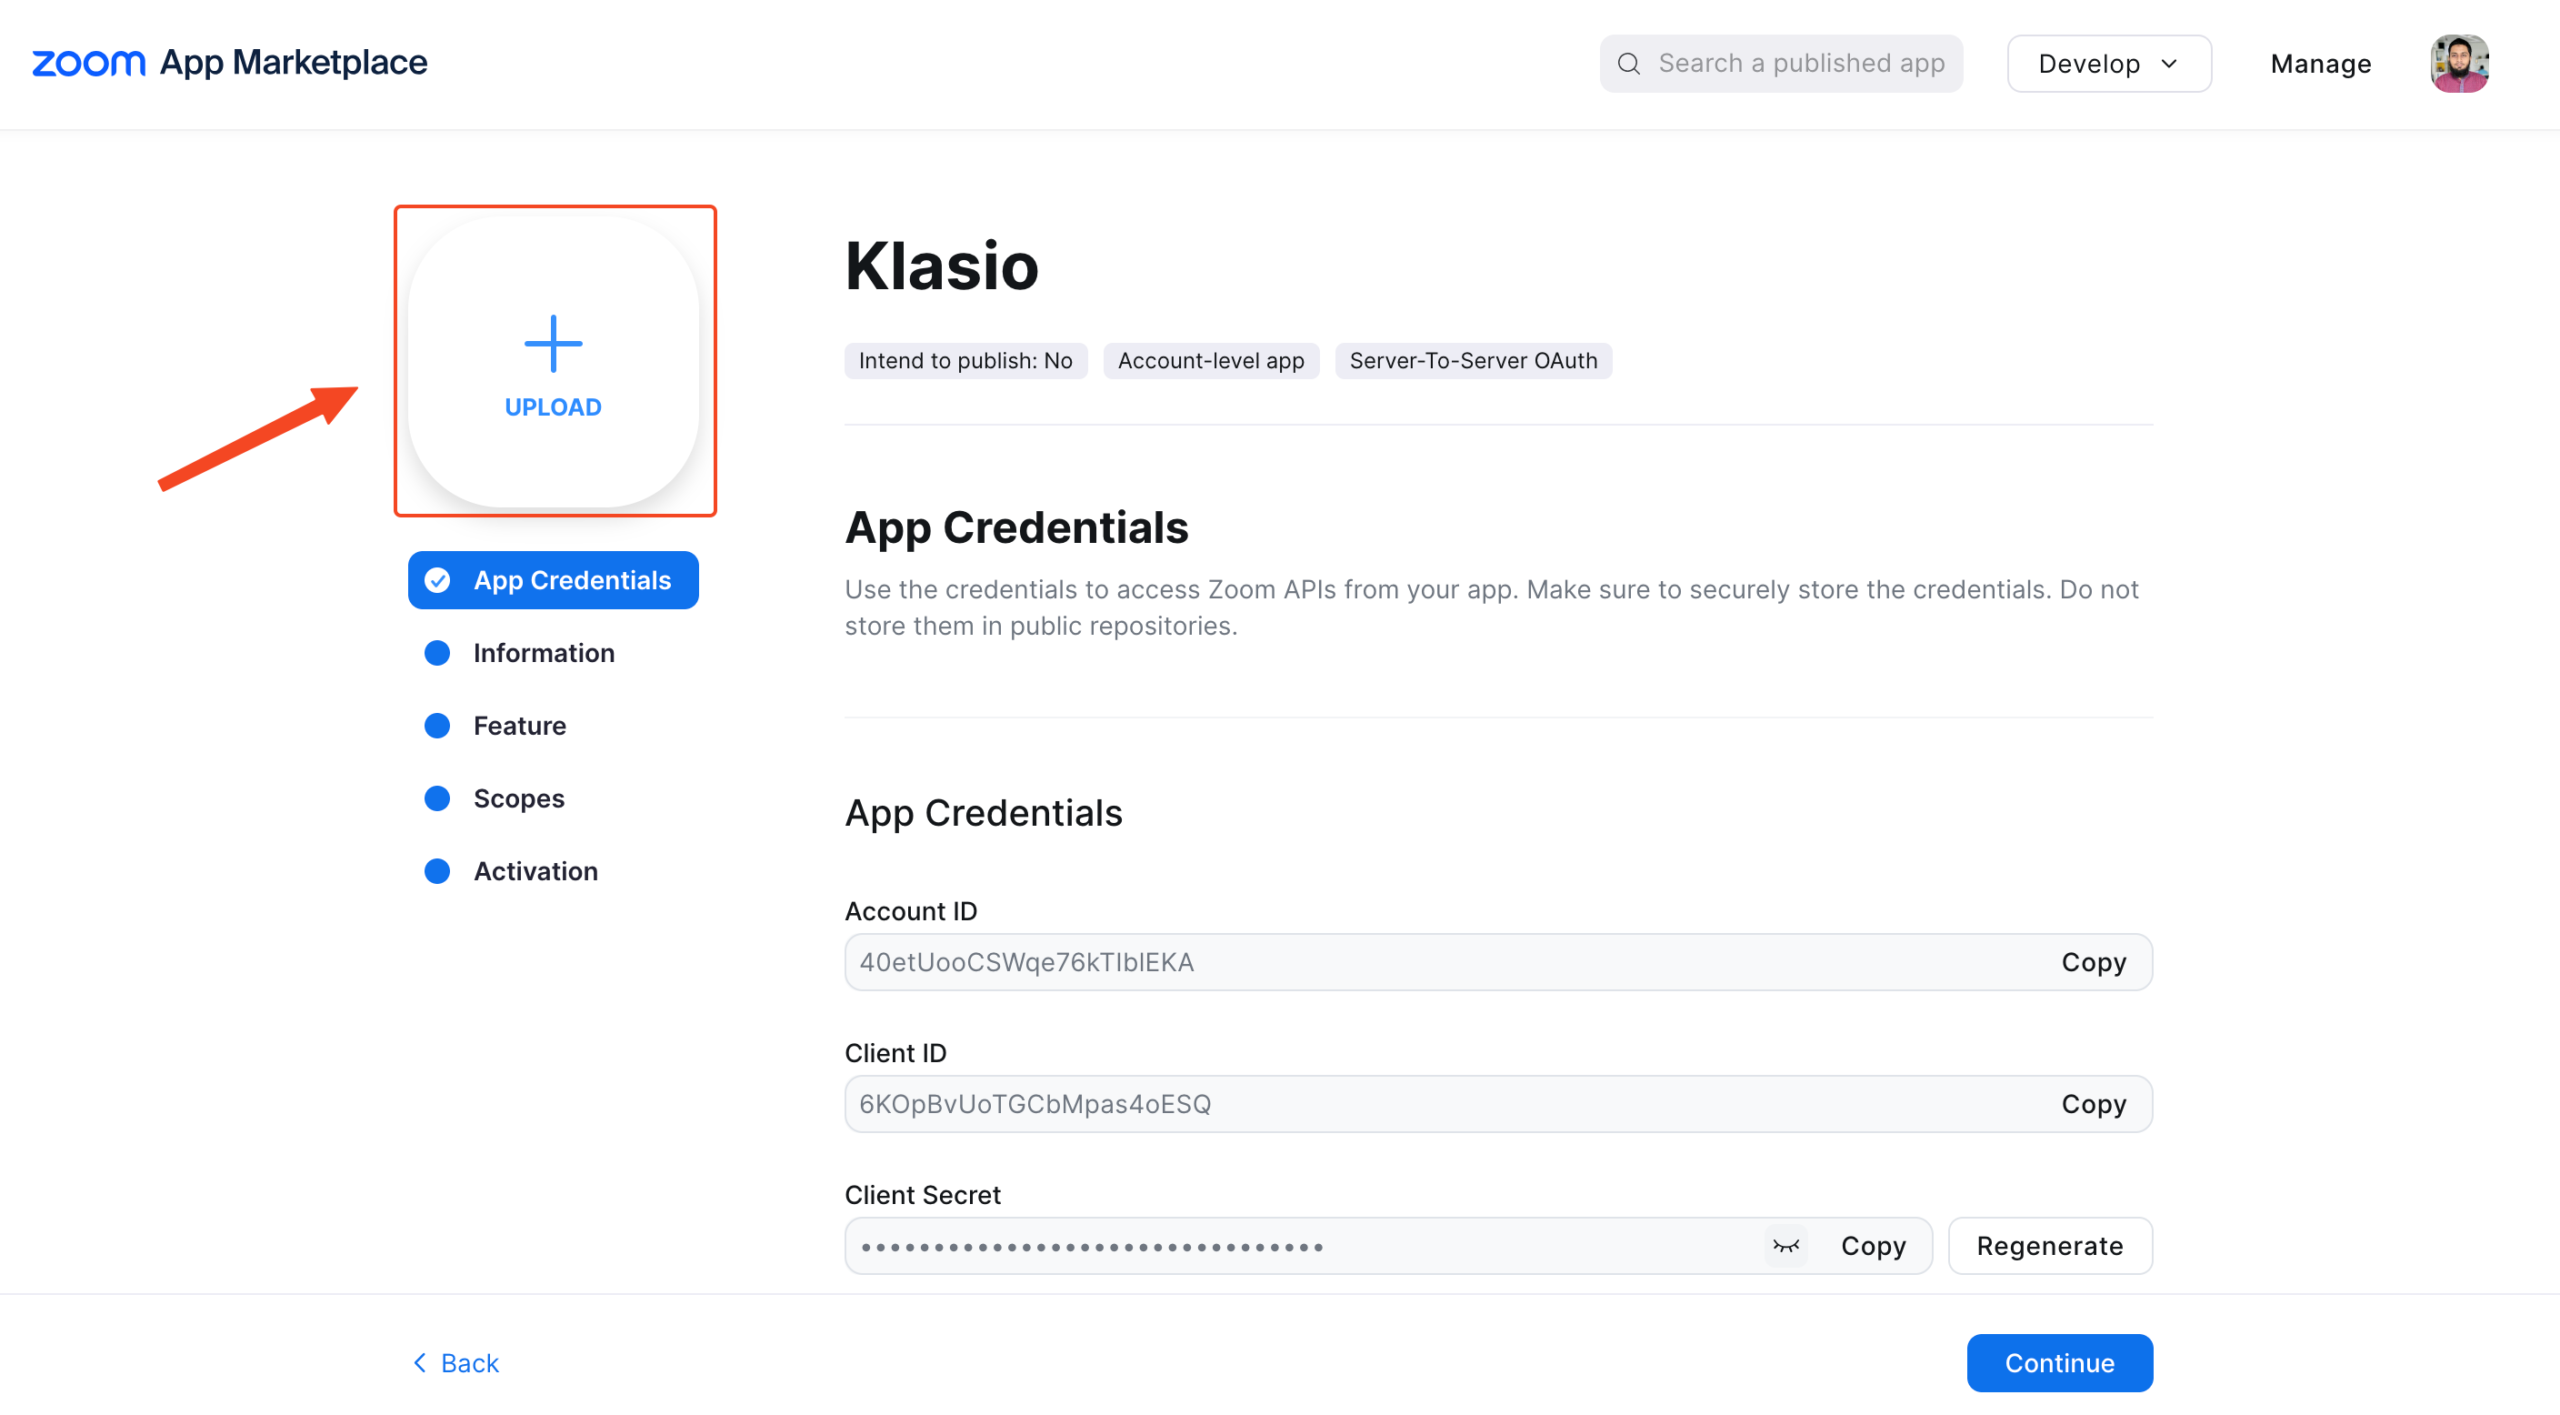
6. On the next screen, you’ll be required to enter various info about your application, for instace, uploading your logo.
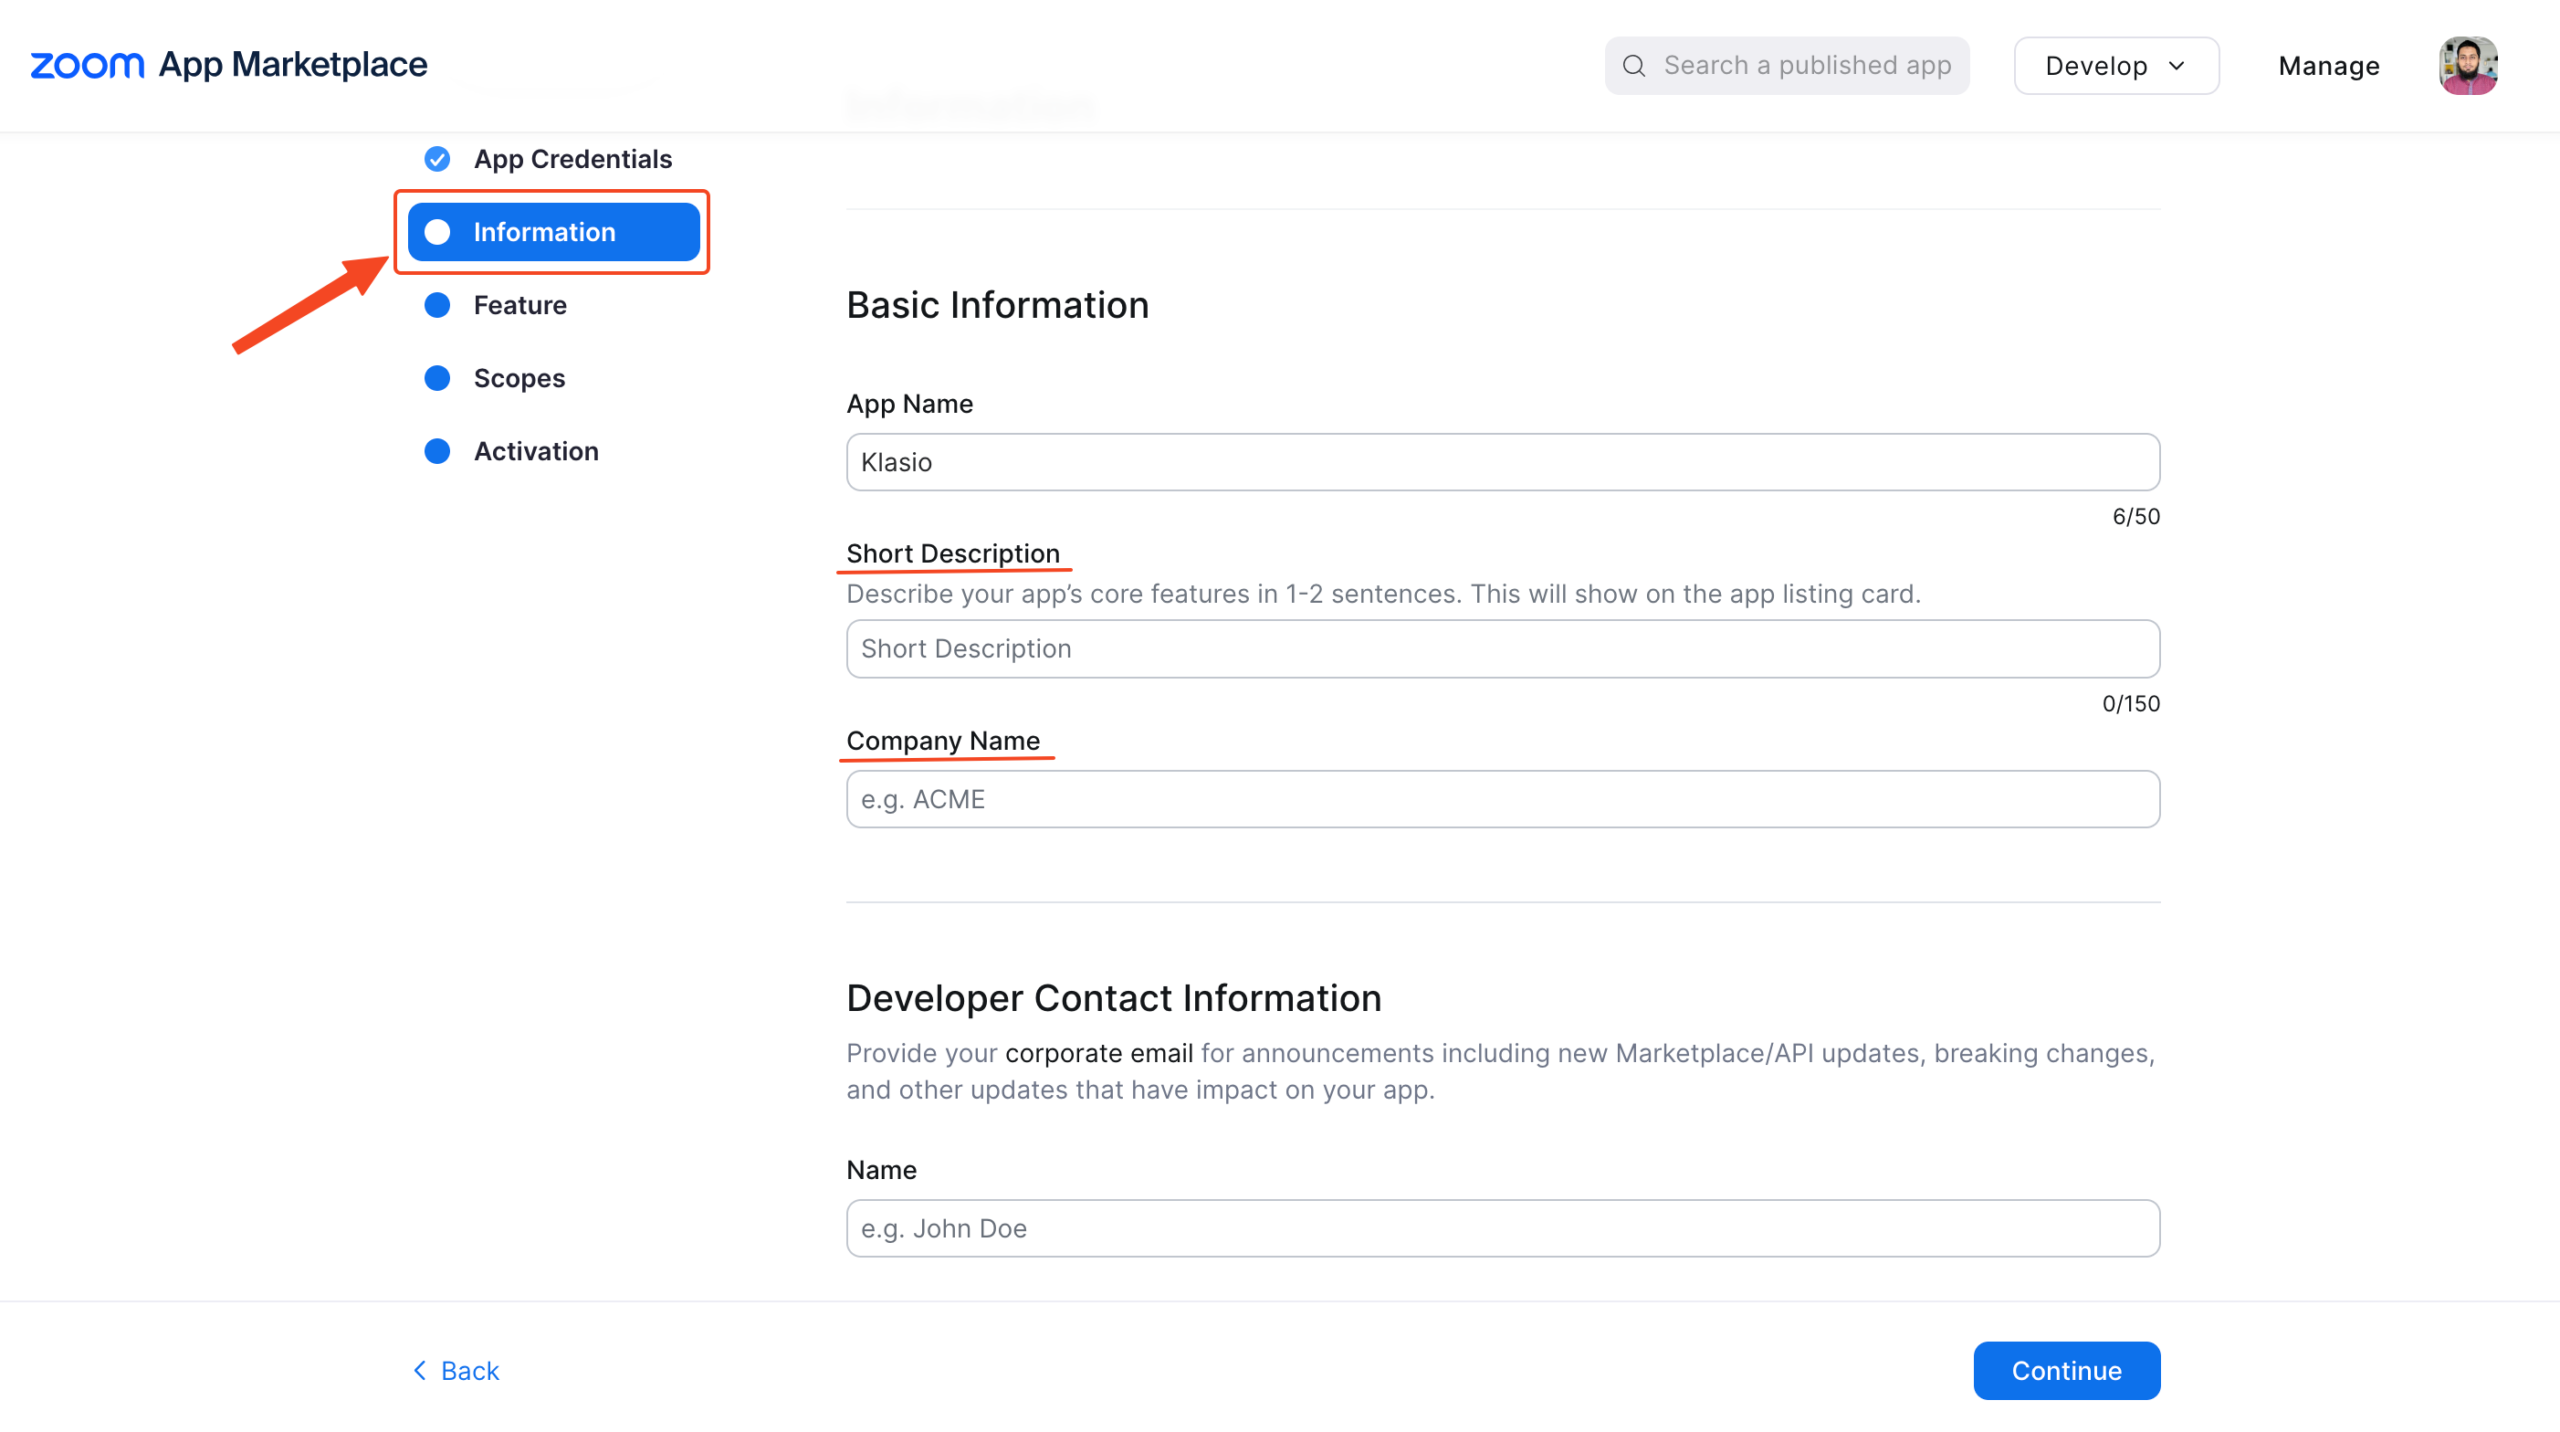
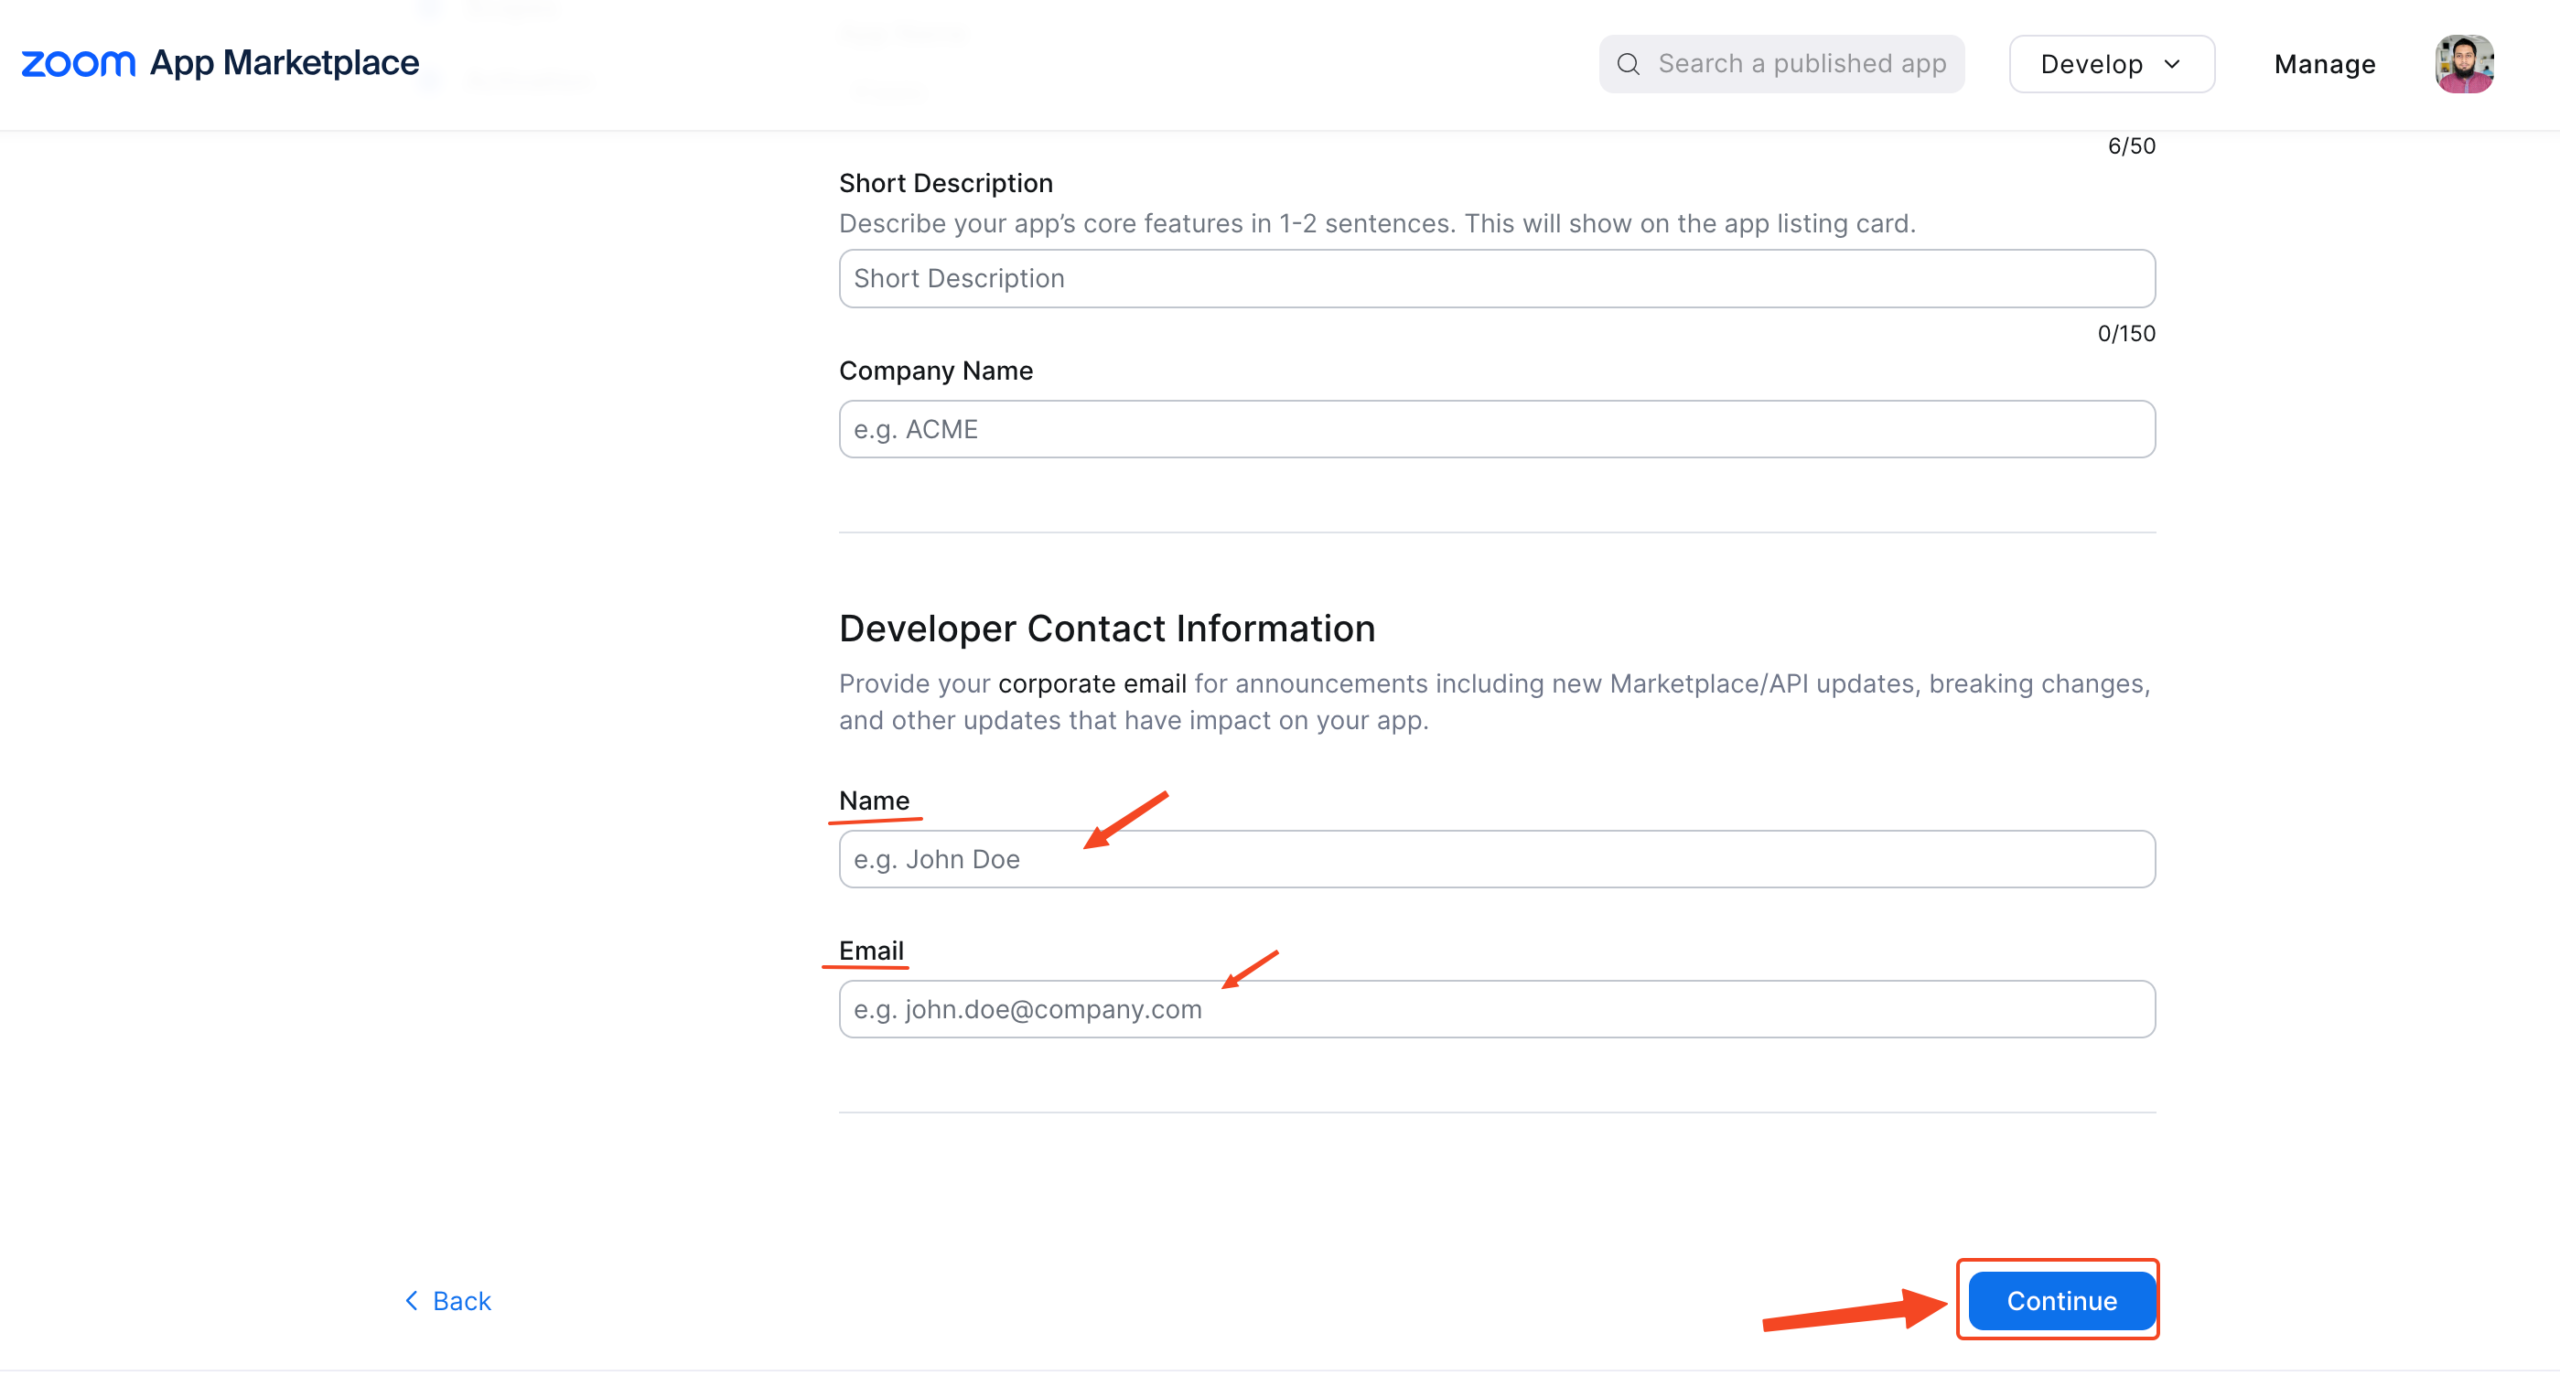
8. Under Information, insert a short description about the app, and insert the company name.
9. Insert developer contact information and hit Continue.
10. Under the Feature tab, no need to do anything, just click continue.

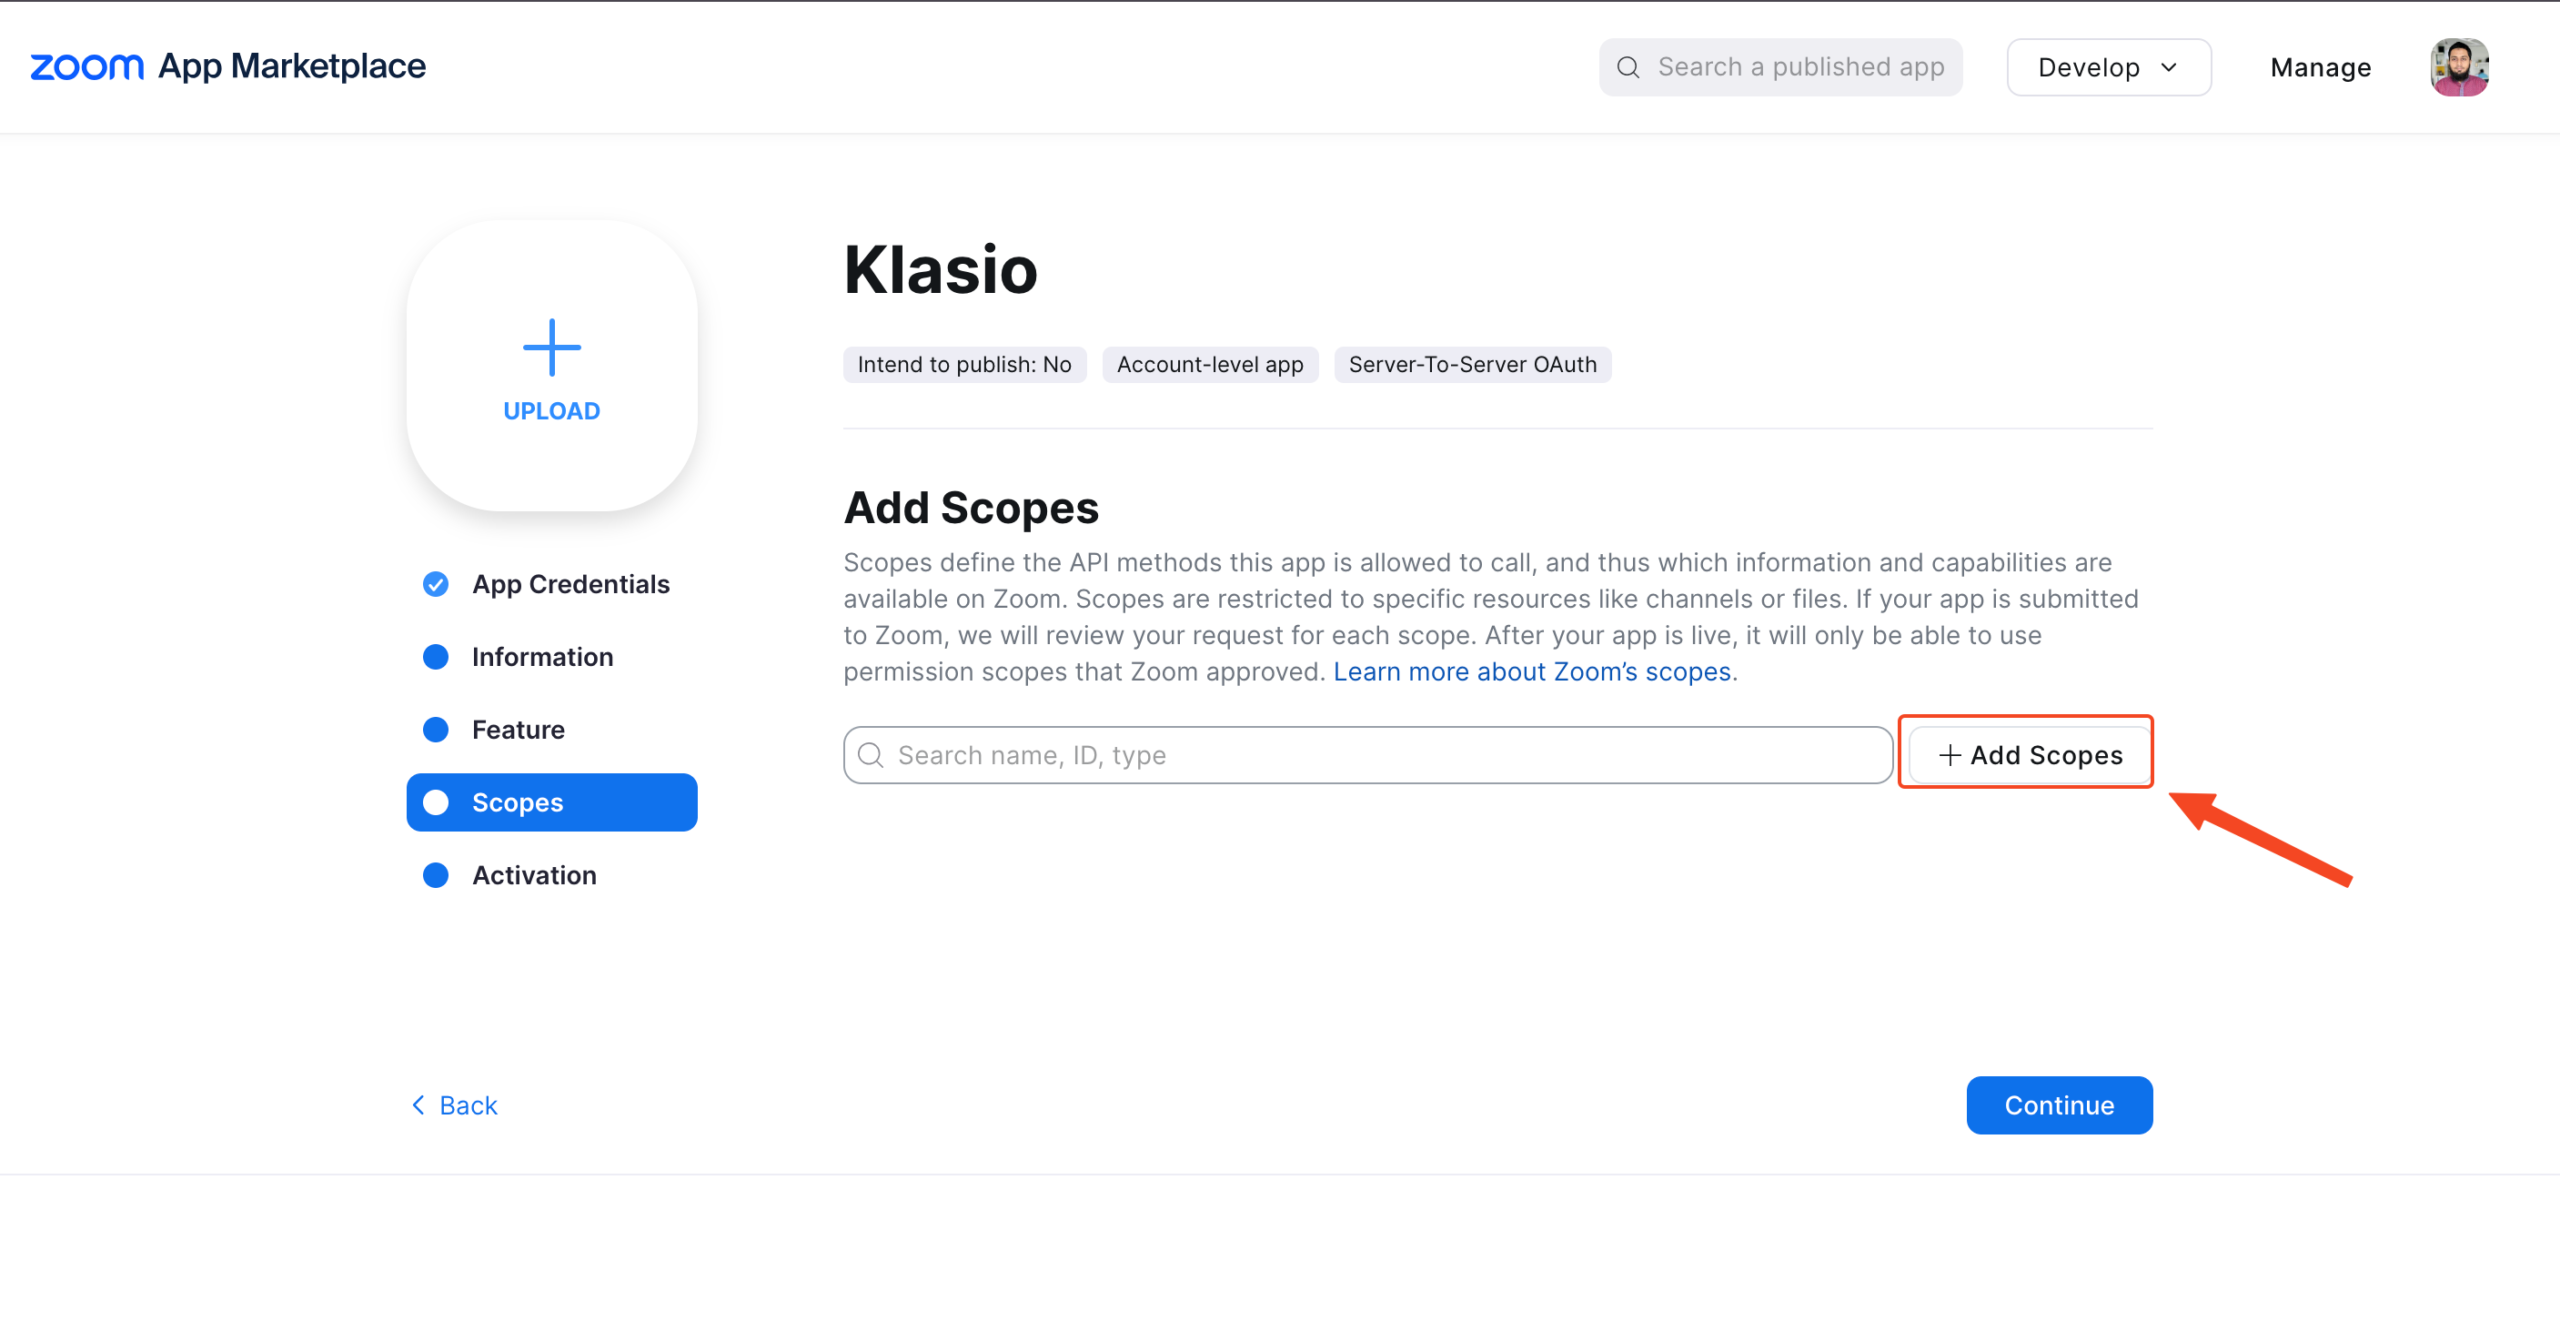
11. Then, under the Scopes tab, click Add Scopes.
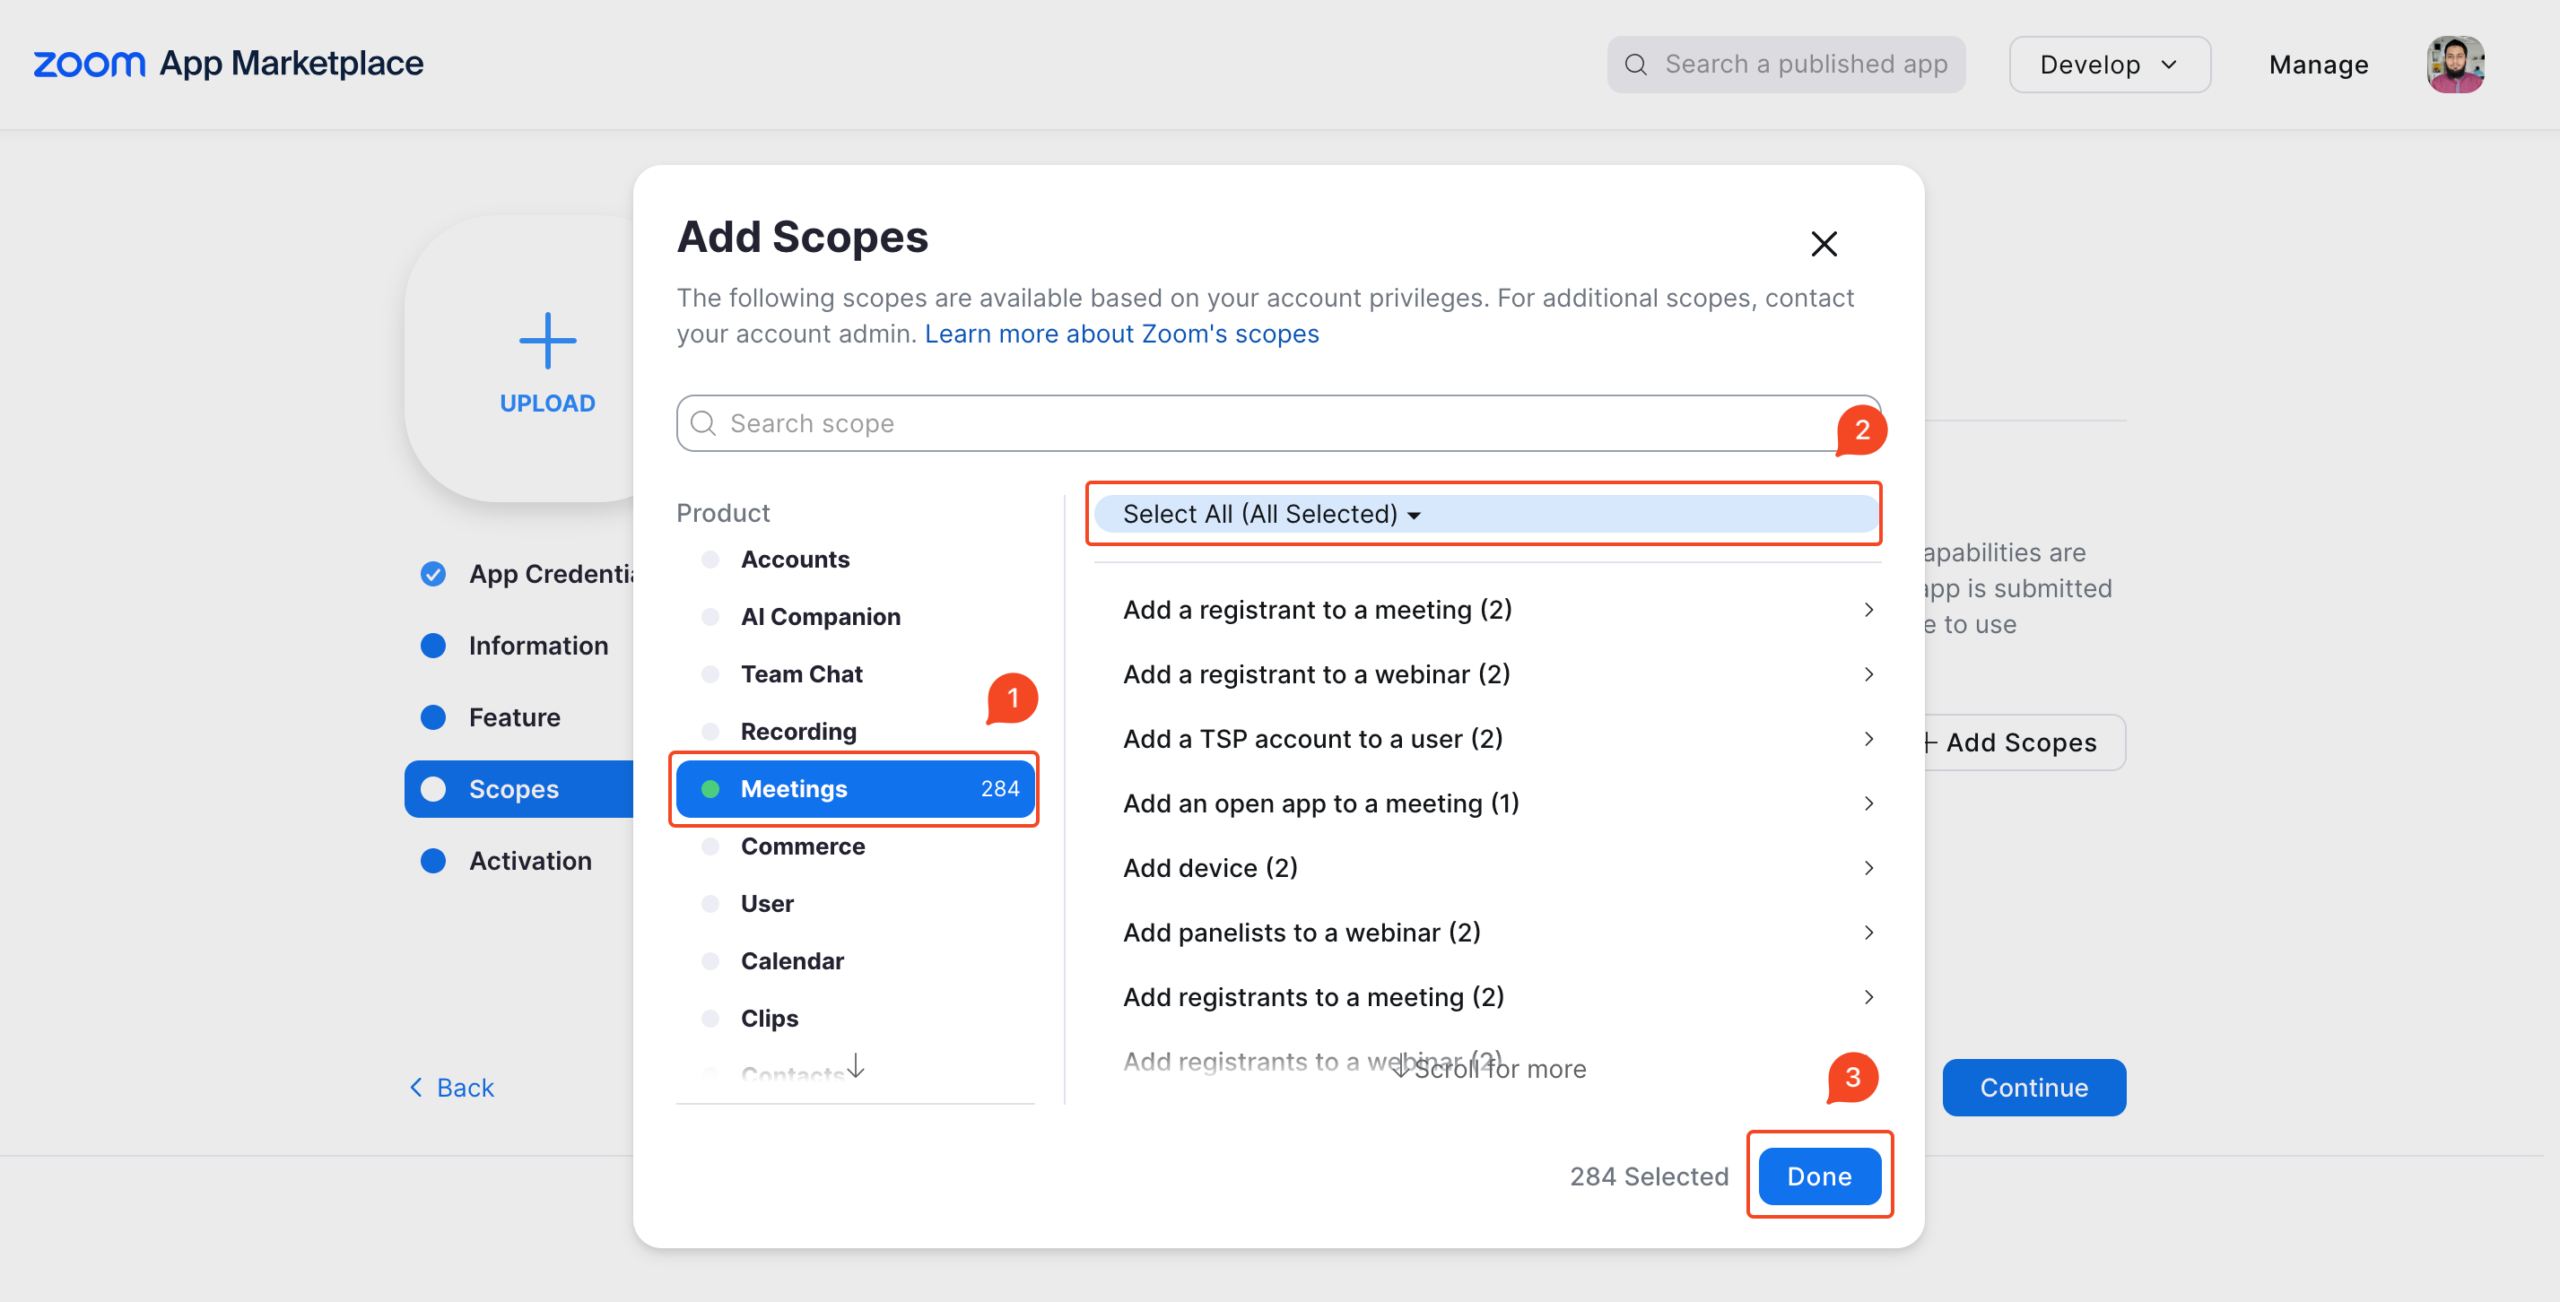
12. On the pop-up screen, search “Meeting” and then tick “Select All Meeting Permissions”. Next, click Done.
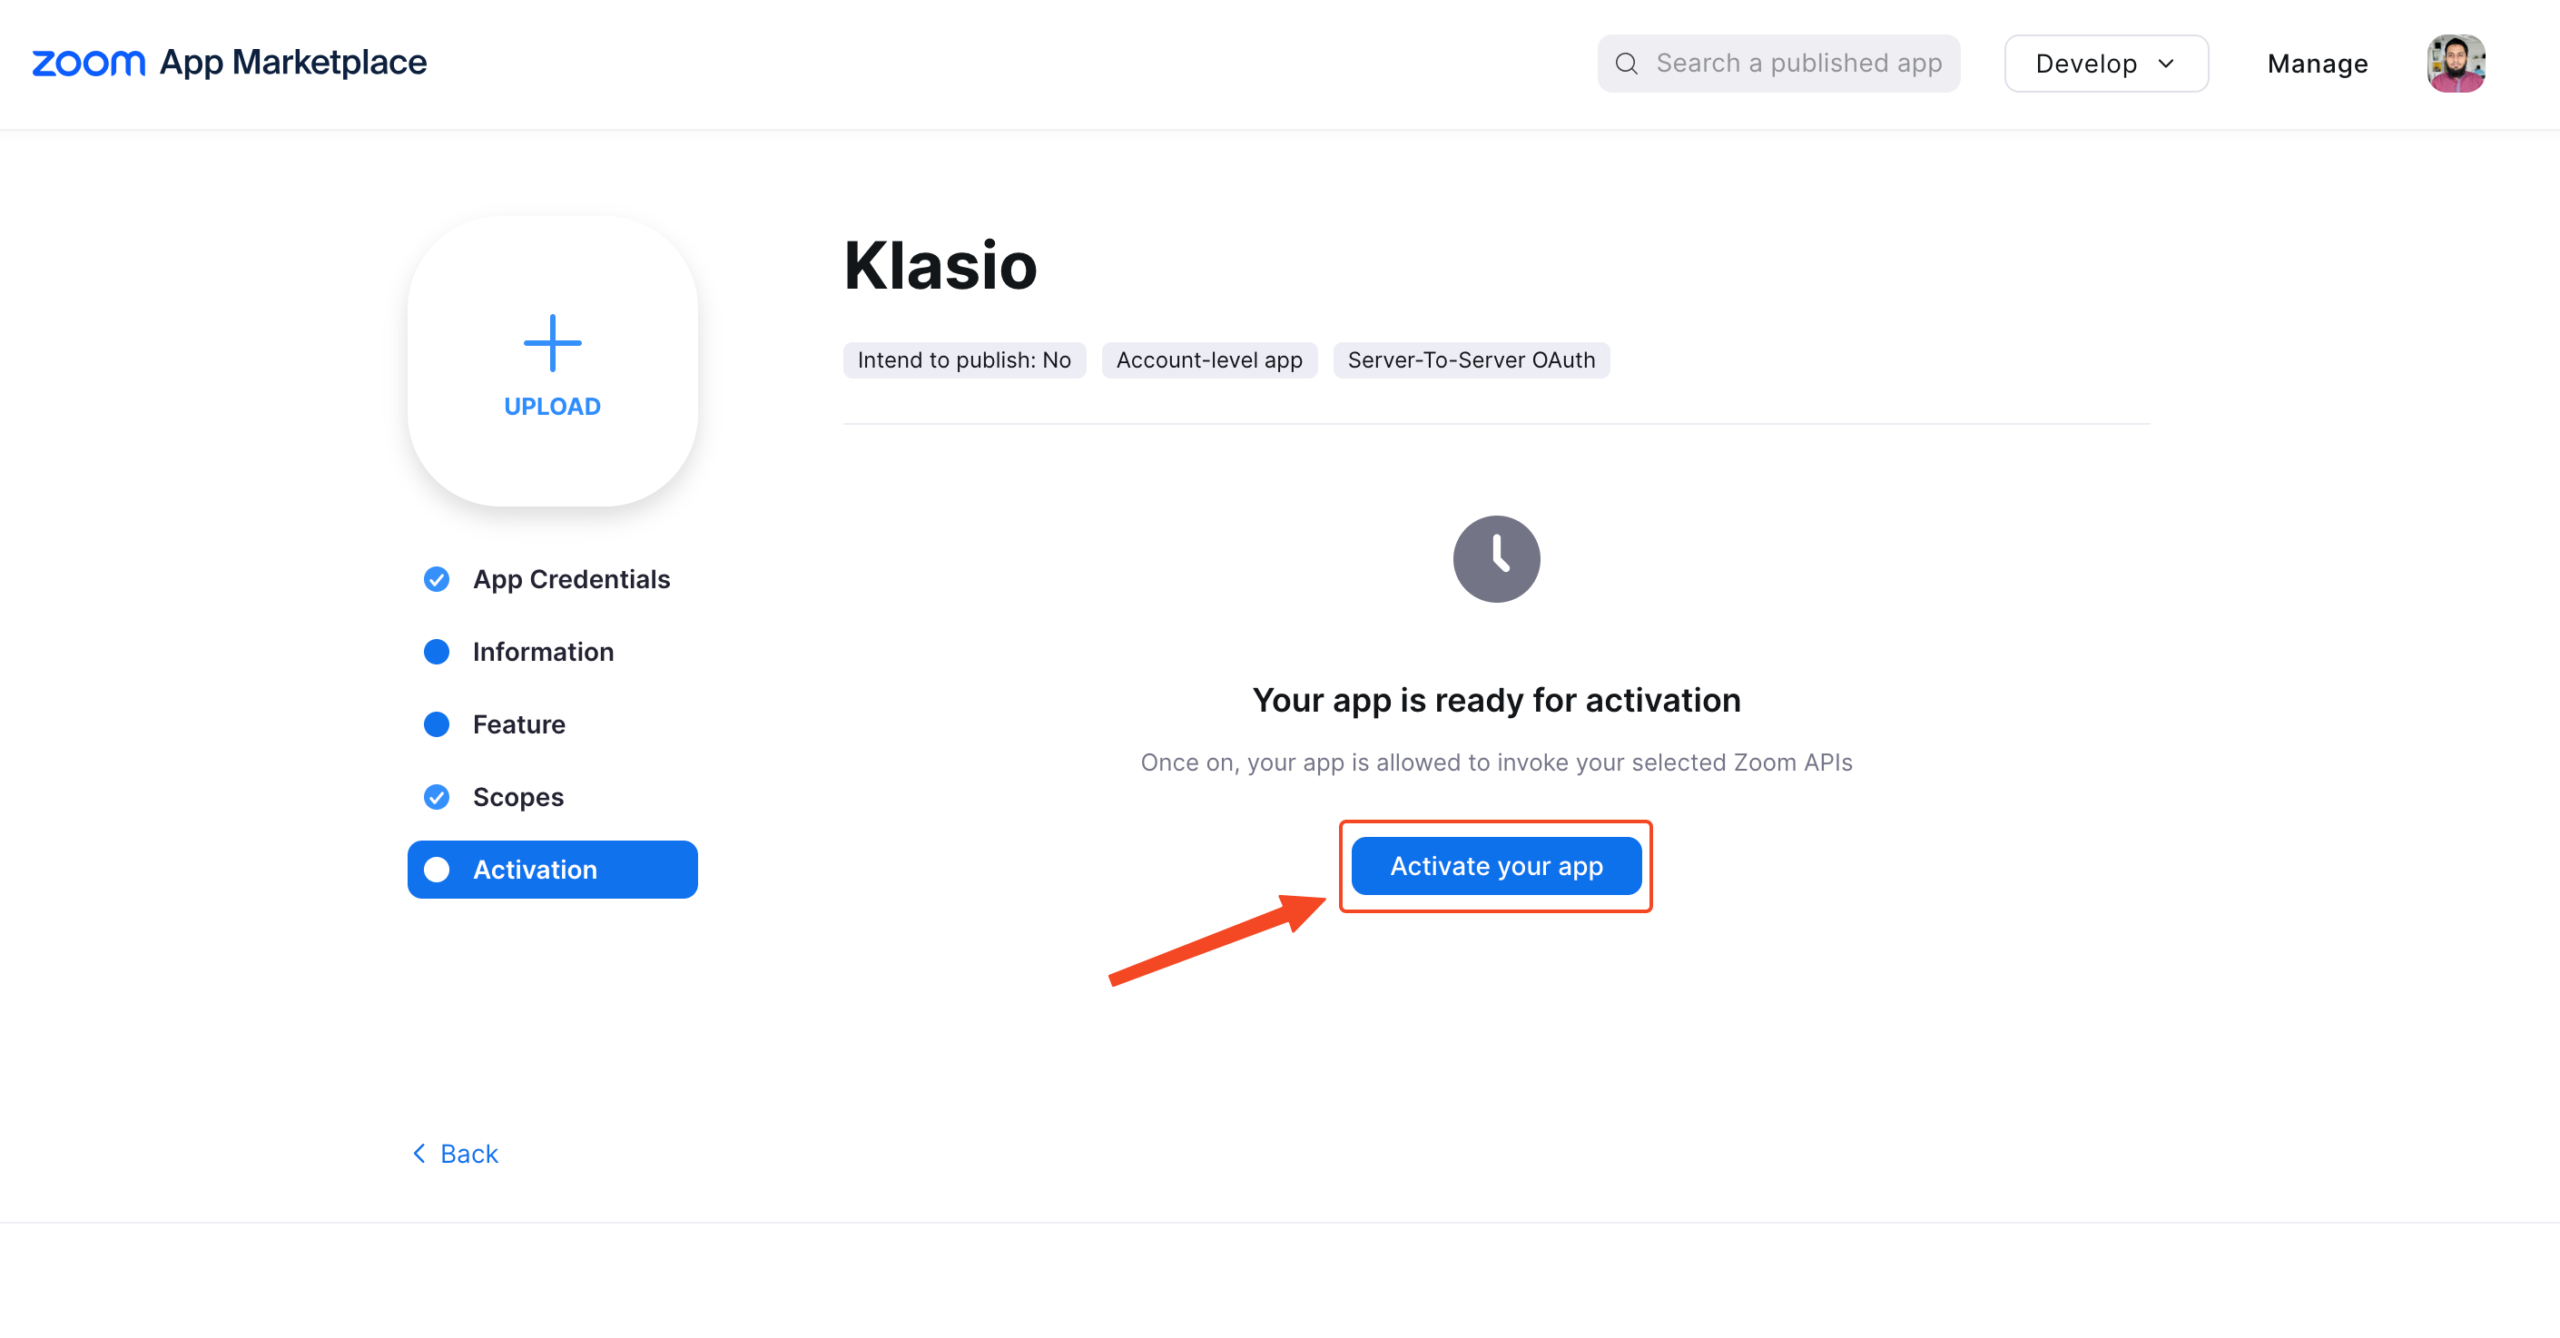
13. Next, click Continue.
14. You’ll be asked to activate your app. Click on it.
15. Now, if you go back to the App Credentials tab, you’ll find your desired Account ID, Client ID, and Client Secret.
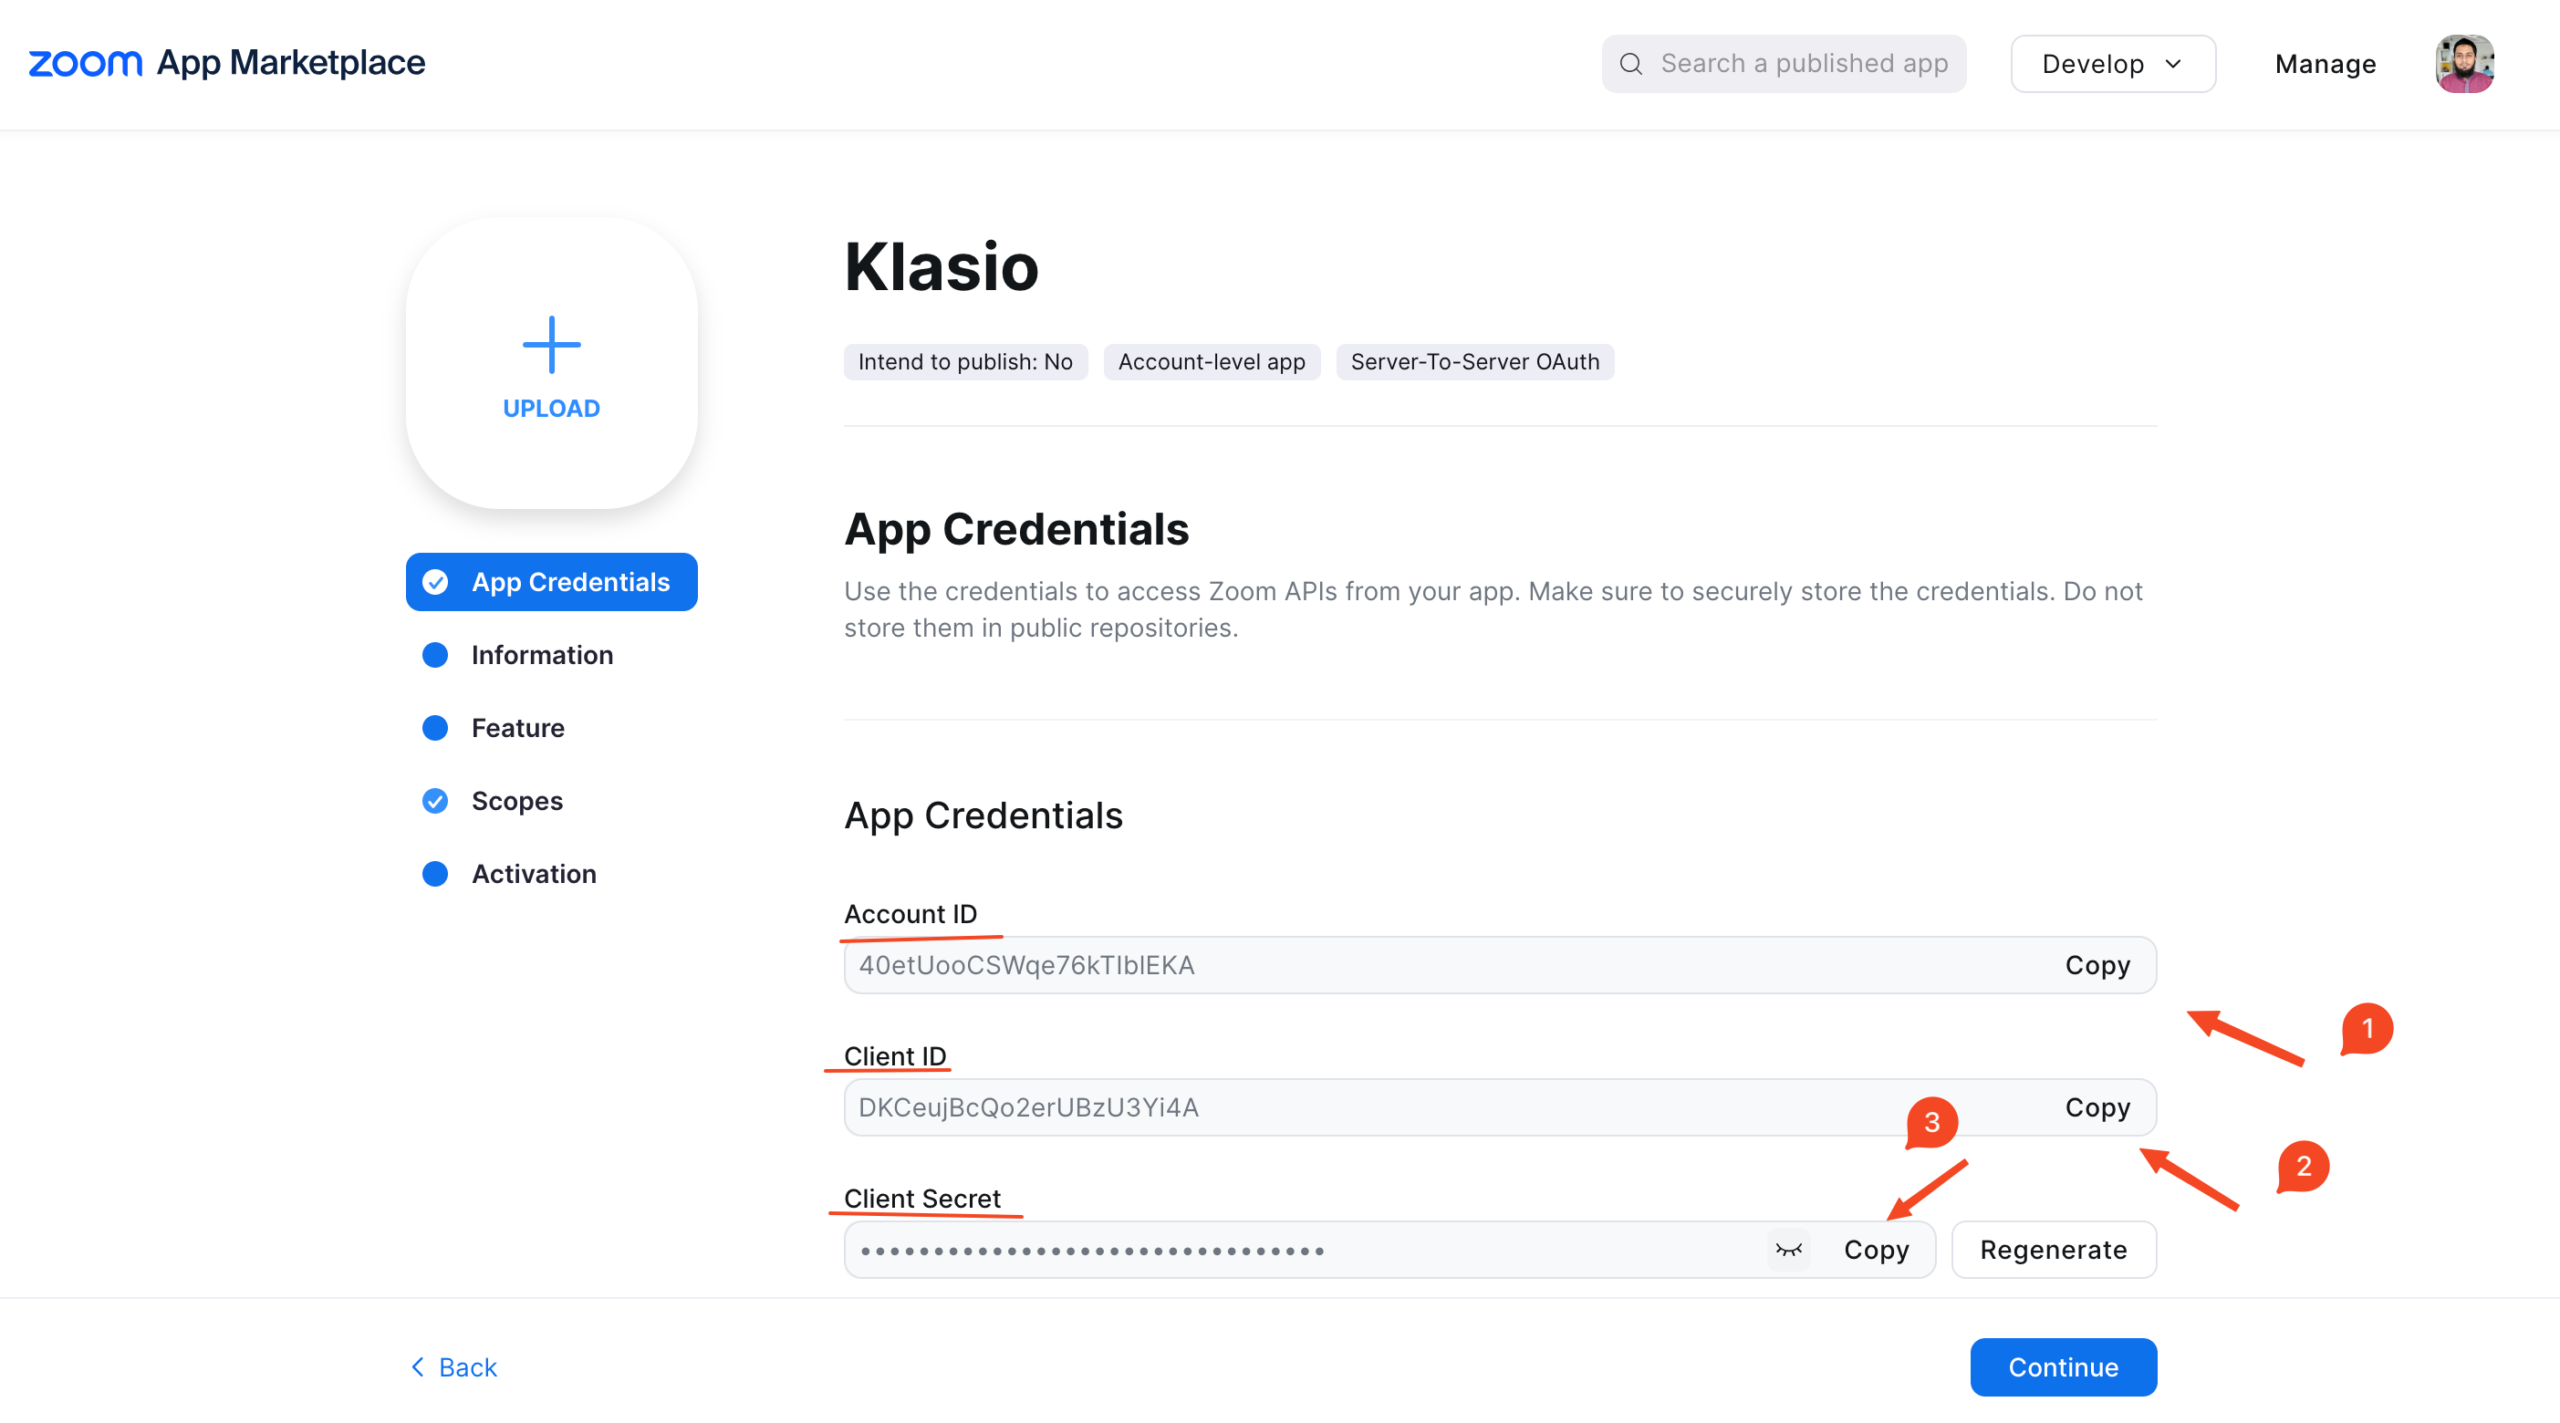
16. Copy and paste these into the Klasio app pop up and hit Save.
17. You’ll see that Zoom has been configured, and this toggle is on.
Offering Live Sessions as an Instructor in Klasio
- First, log in to your Klasio instructor account. To log in to your instructor account, you should go to your academy login page.
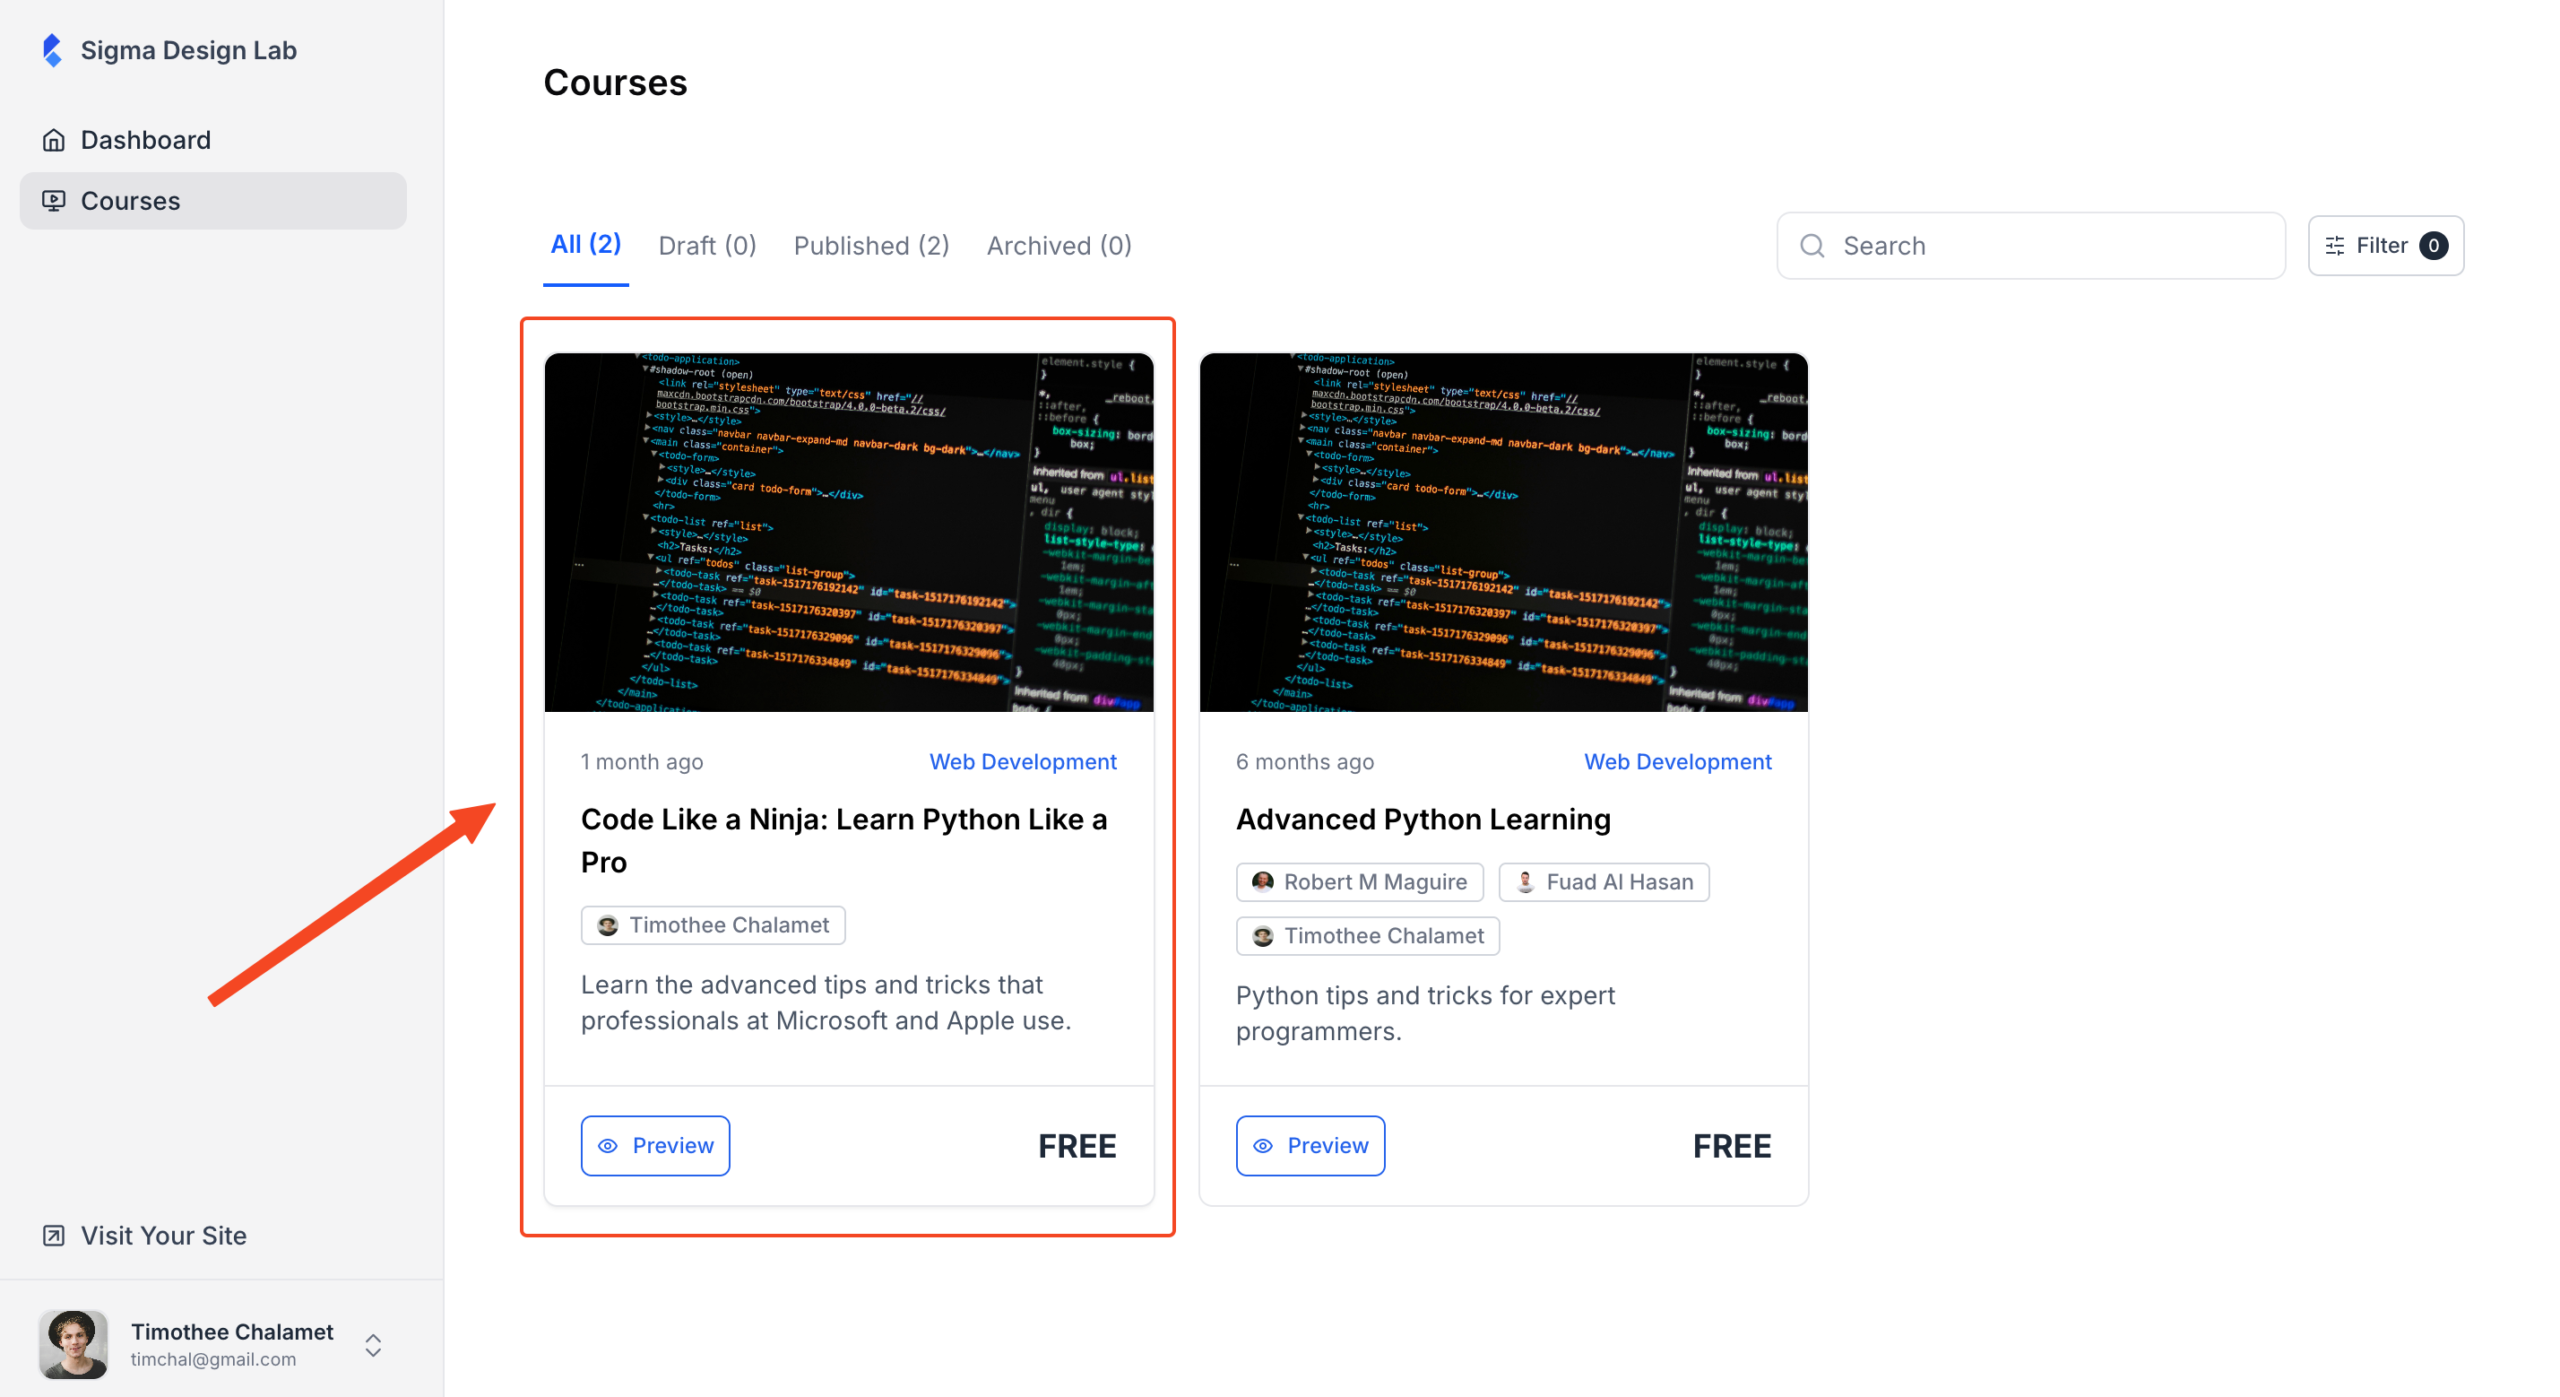
- From the navigation menu, go to “Courses.”

3. Choose the course you want to add a live lesson.
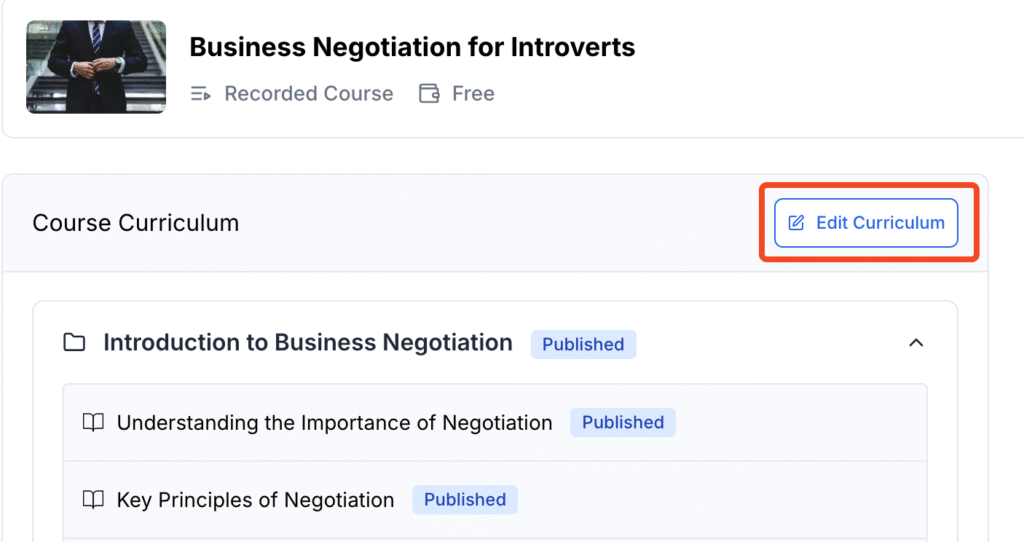
4. Click on “Edit Curriculum.”
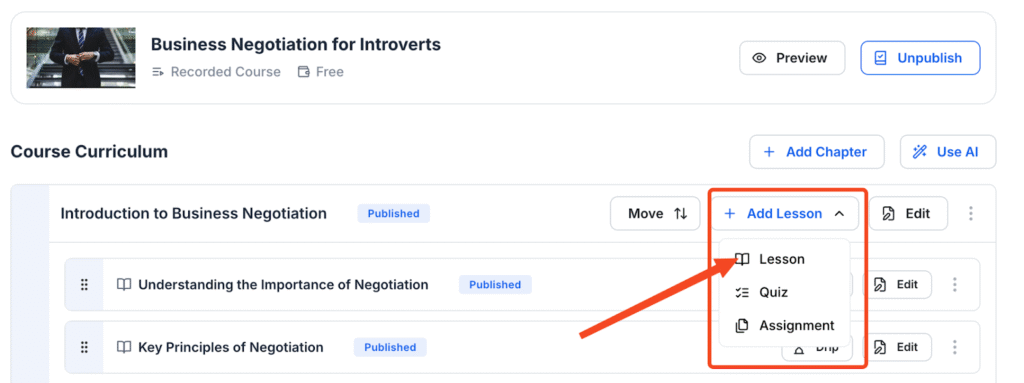
- Click on “Add Lesson” and from the dropdown, select “Lesson.”
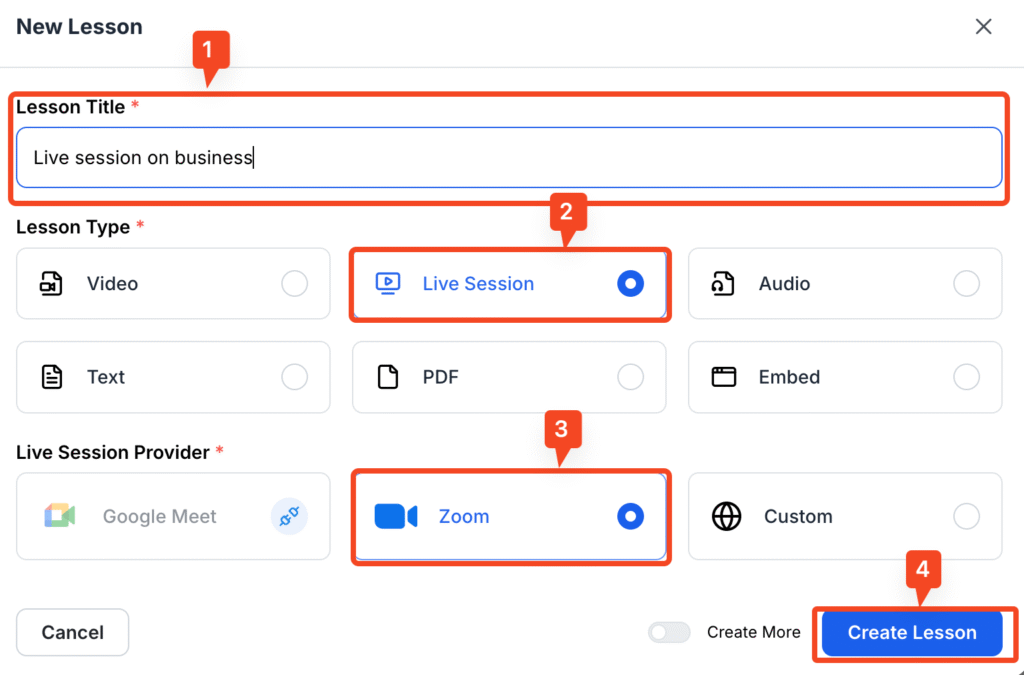
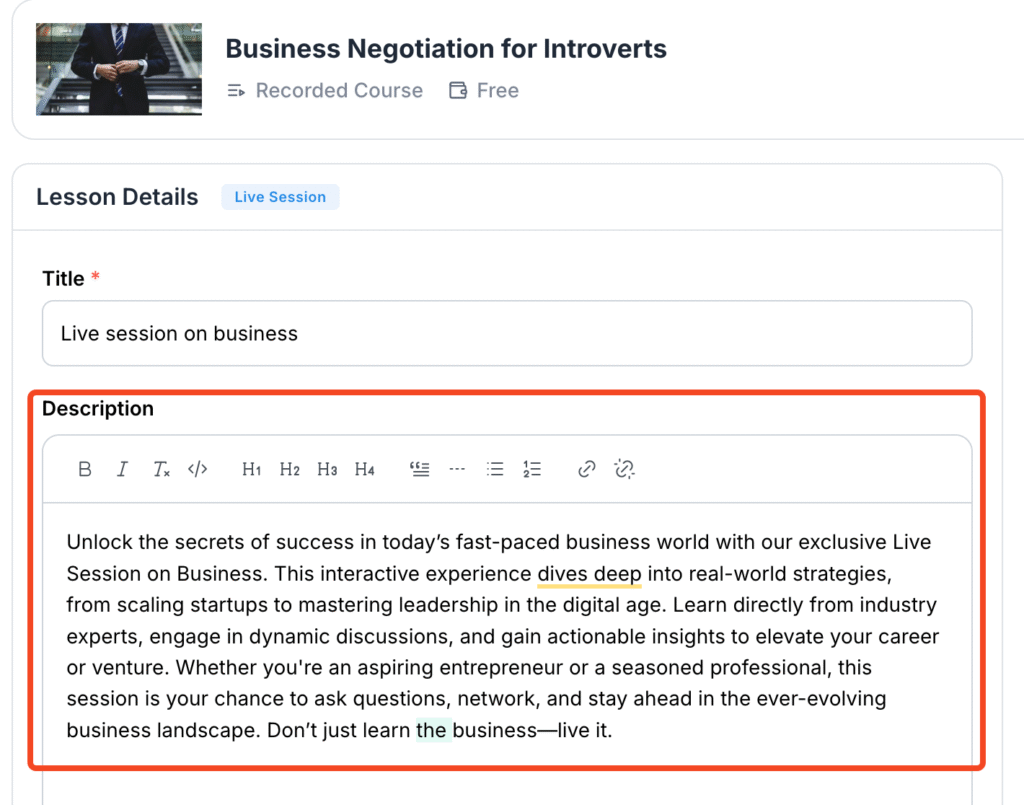
- First, give your live session a title, then select “Live Session” and choose “Zoom.” Finally, click on “Create Lesson.”
- You will be taken to the lesson editor, where you can add a description to explain your live session.
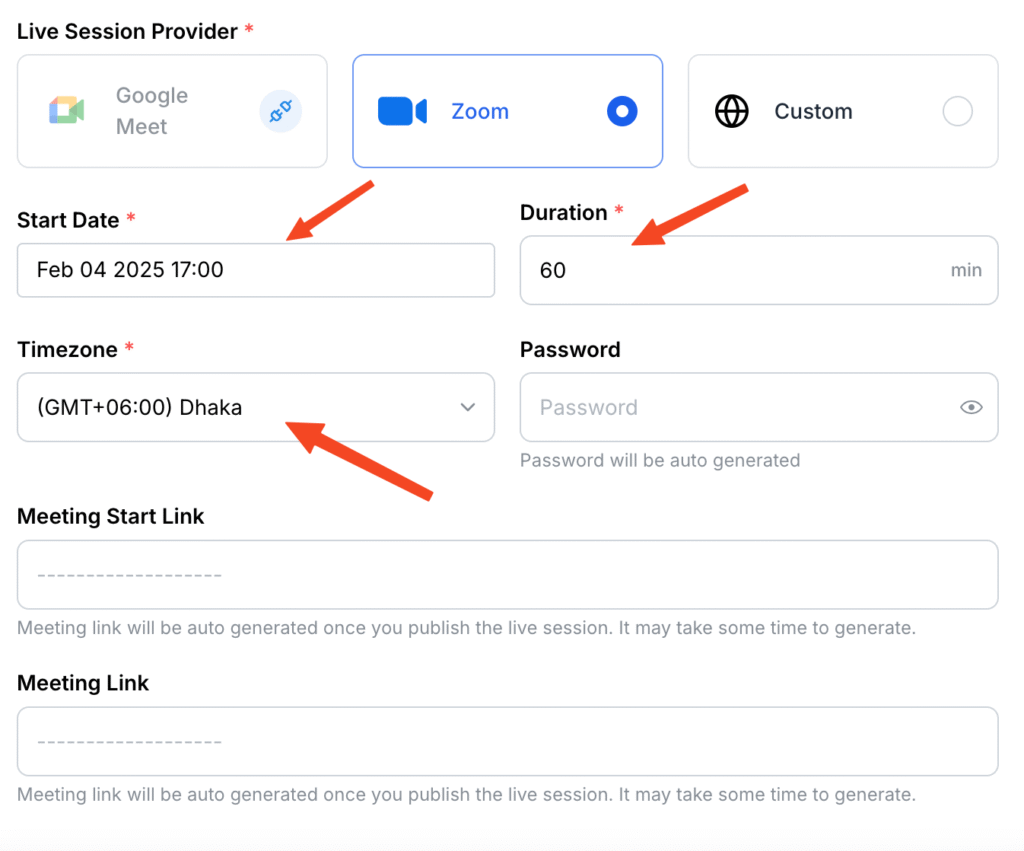
- You can also set essential details such as date, time, duration, and time zone.
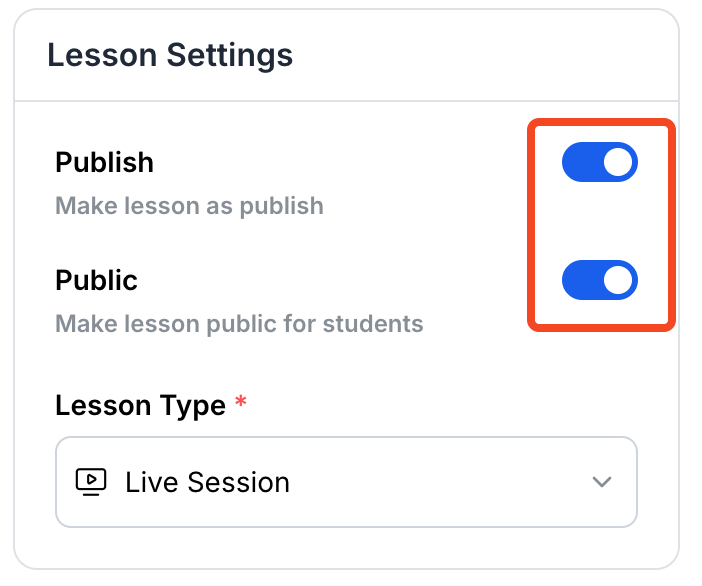
- Once you are done, publish the live course and make it public.
- Now, it’s time to save the changes, or you could also see a preview of what the session would look like to your students.
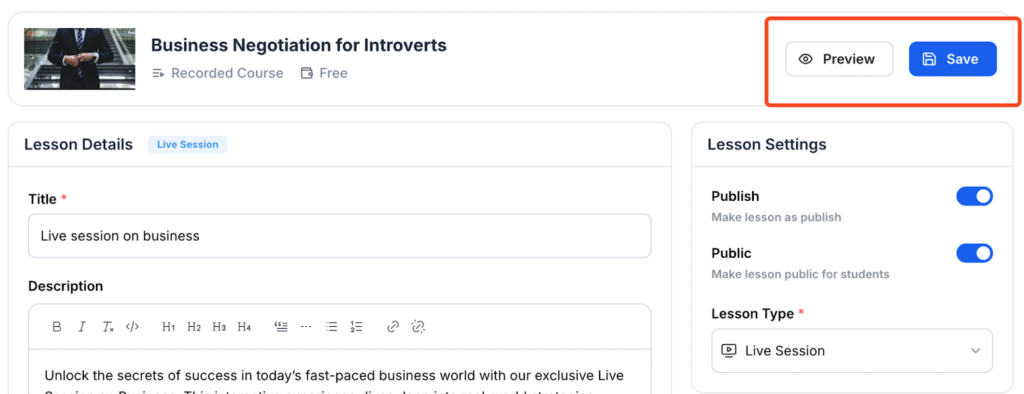
- After publishing and saving the course, you will find the meeting link here.
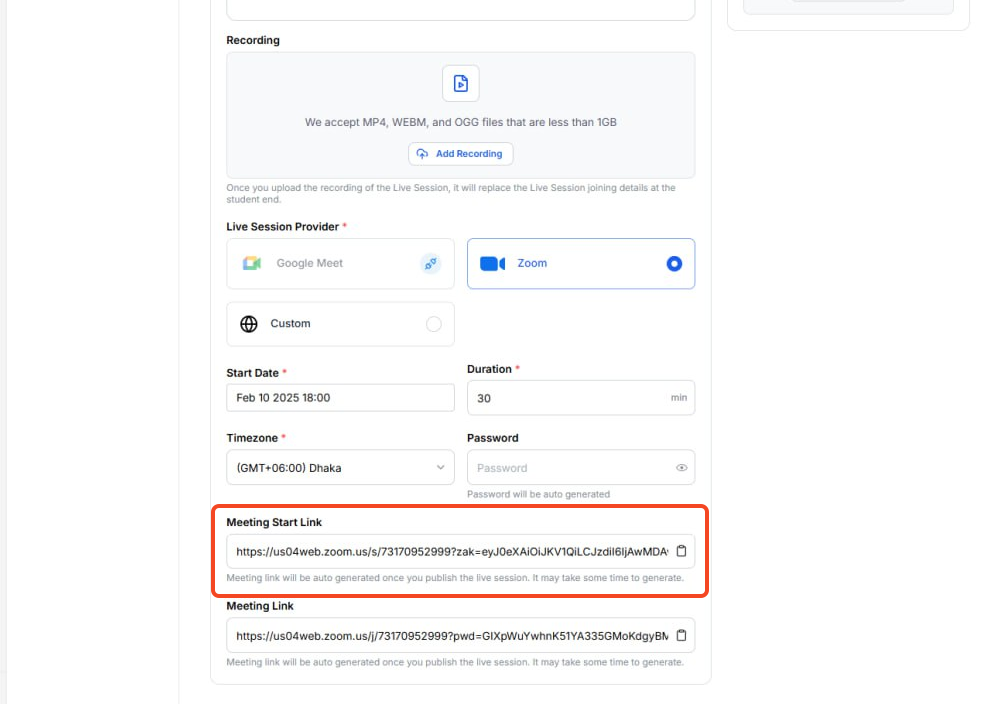
- Now, copy the Zoom session link and paste it into the browser when it’s time for the session.
Accessing Live Sessions as a Student in Klasio
- First, log in to your student account from the course website.

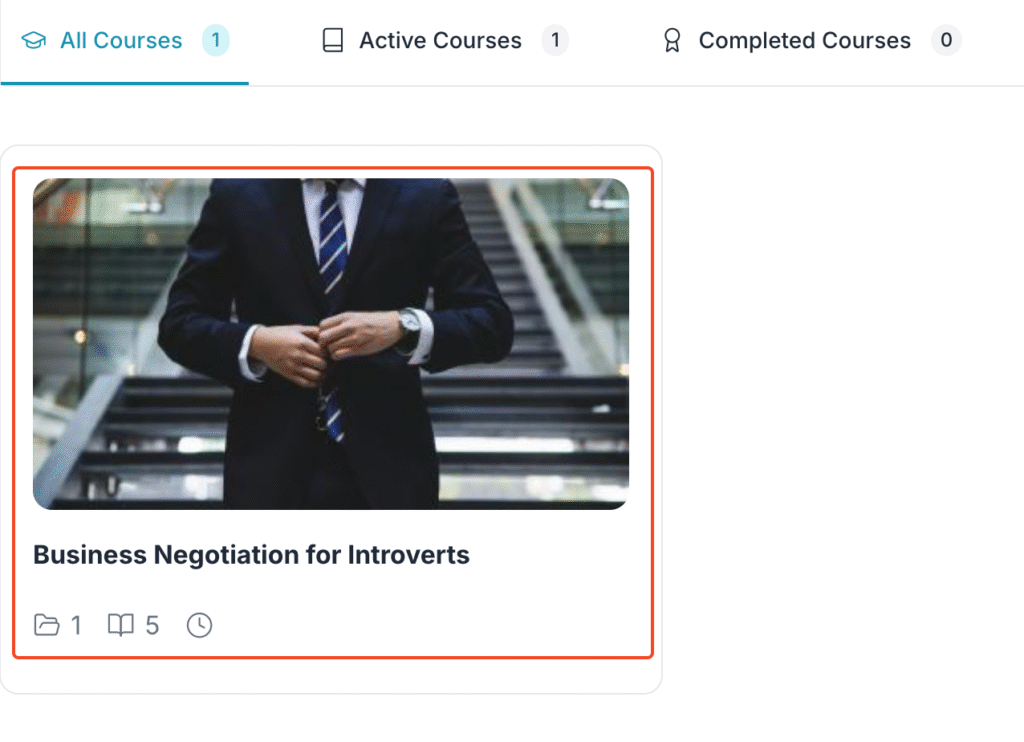
- Choose the course you are enrolled in for the live session.
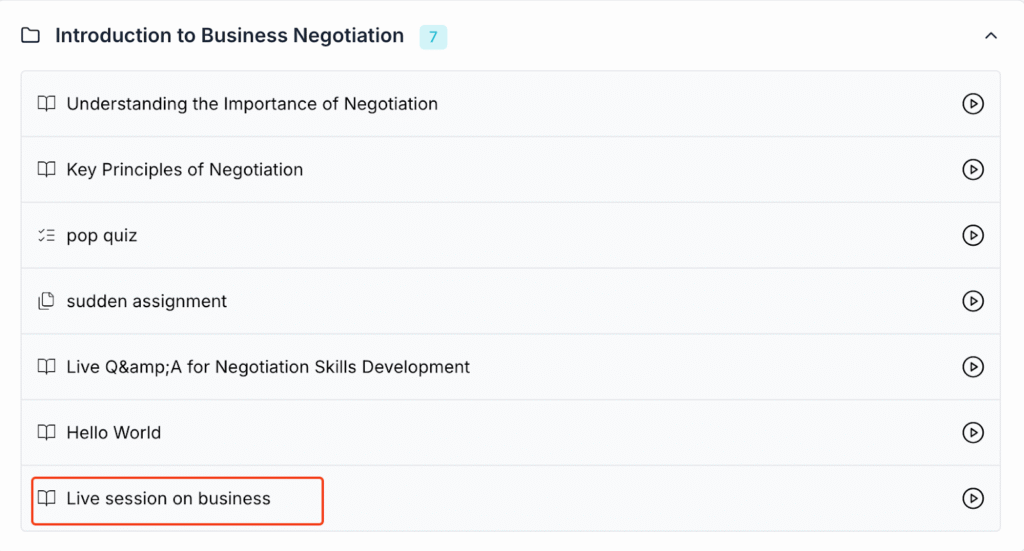
- Then, choose the lesson that contains the live lecture.
- When you click on the live lesson, you will be directed to a new window where you will get the link to join.
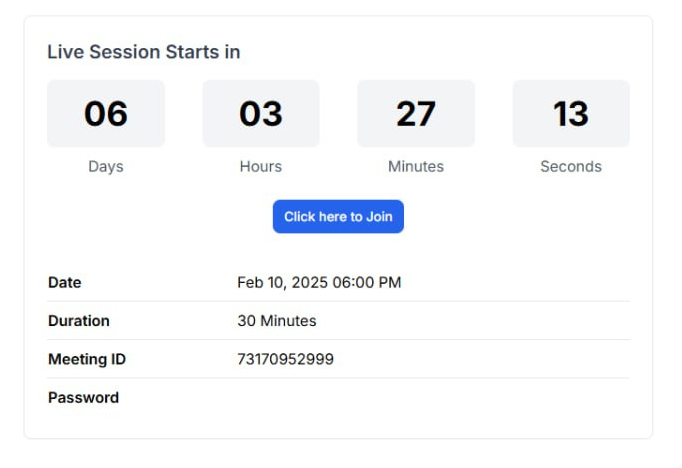
- Once you click on “Click Here to Join,” you will be taken to join the live session. Enter your name and click “Join” to join the meeting.
