Klasio now supports Razorpay integration, so you can take payments from your students more easily.
However, to integrate Razorpay with Klasio, you must have a Razorpay account. So, if you don’t have a Razorpay account, open one first.
Once you do open your Razorpay account, here’s how to integrate it with Klasio:
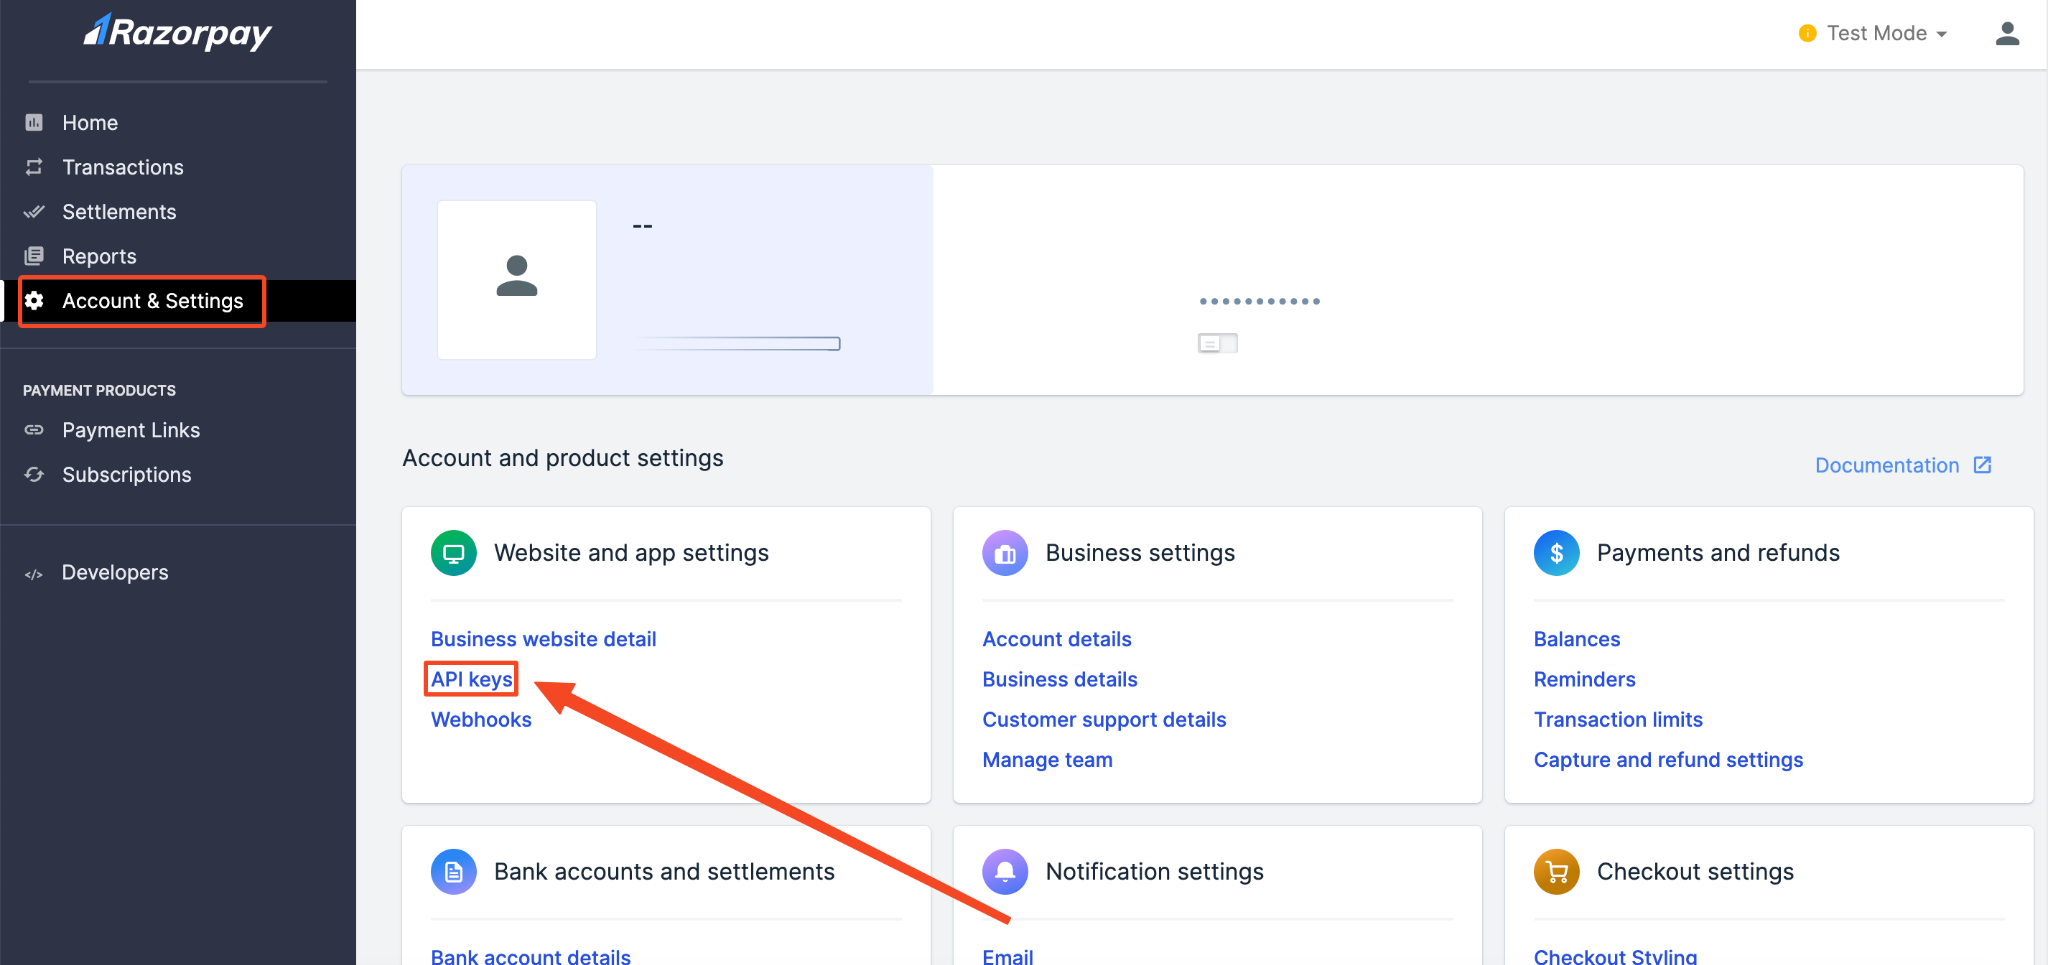
- Log in to your Razorpay account and from the dashboard, go to “Account Settings.” Then click on “API Keys” under “Website and app settings”.
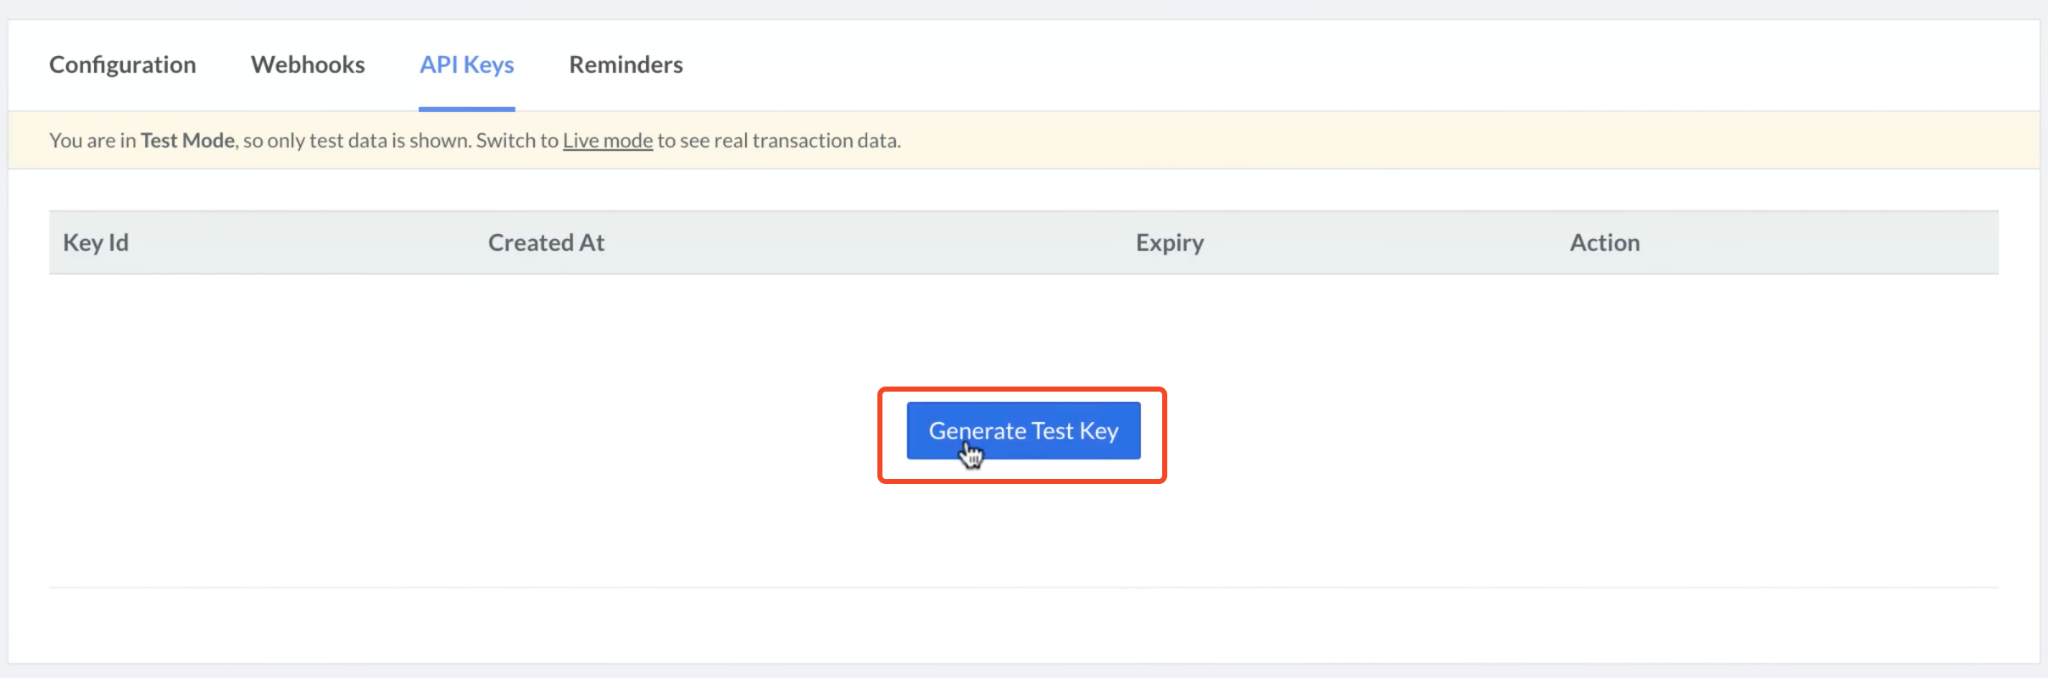
- On the next screen, you will see a button to “Generate API Keys.” Click on it.
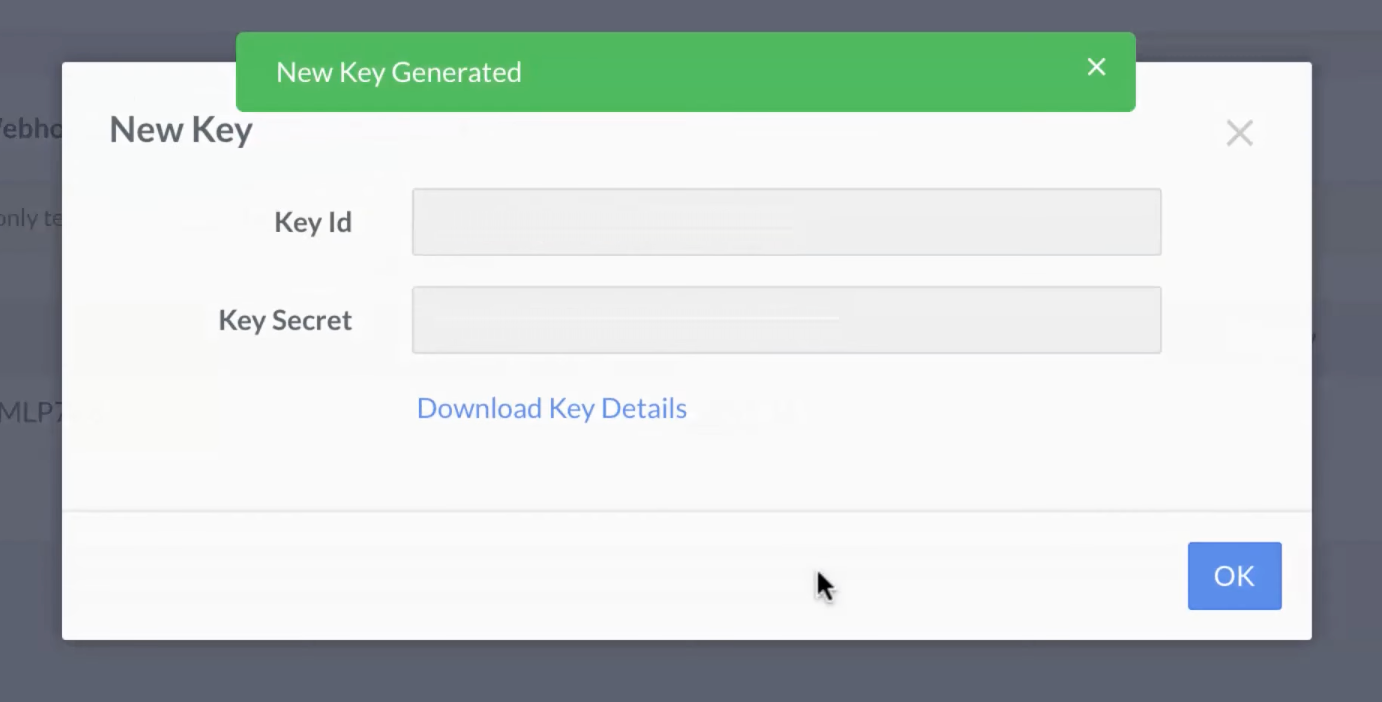
- Doing so will simply generate the API key and secret. Then, you can download this information by clicking on the “Download Key Details” button.
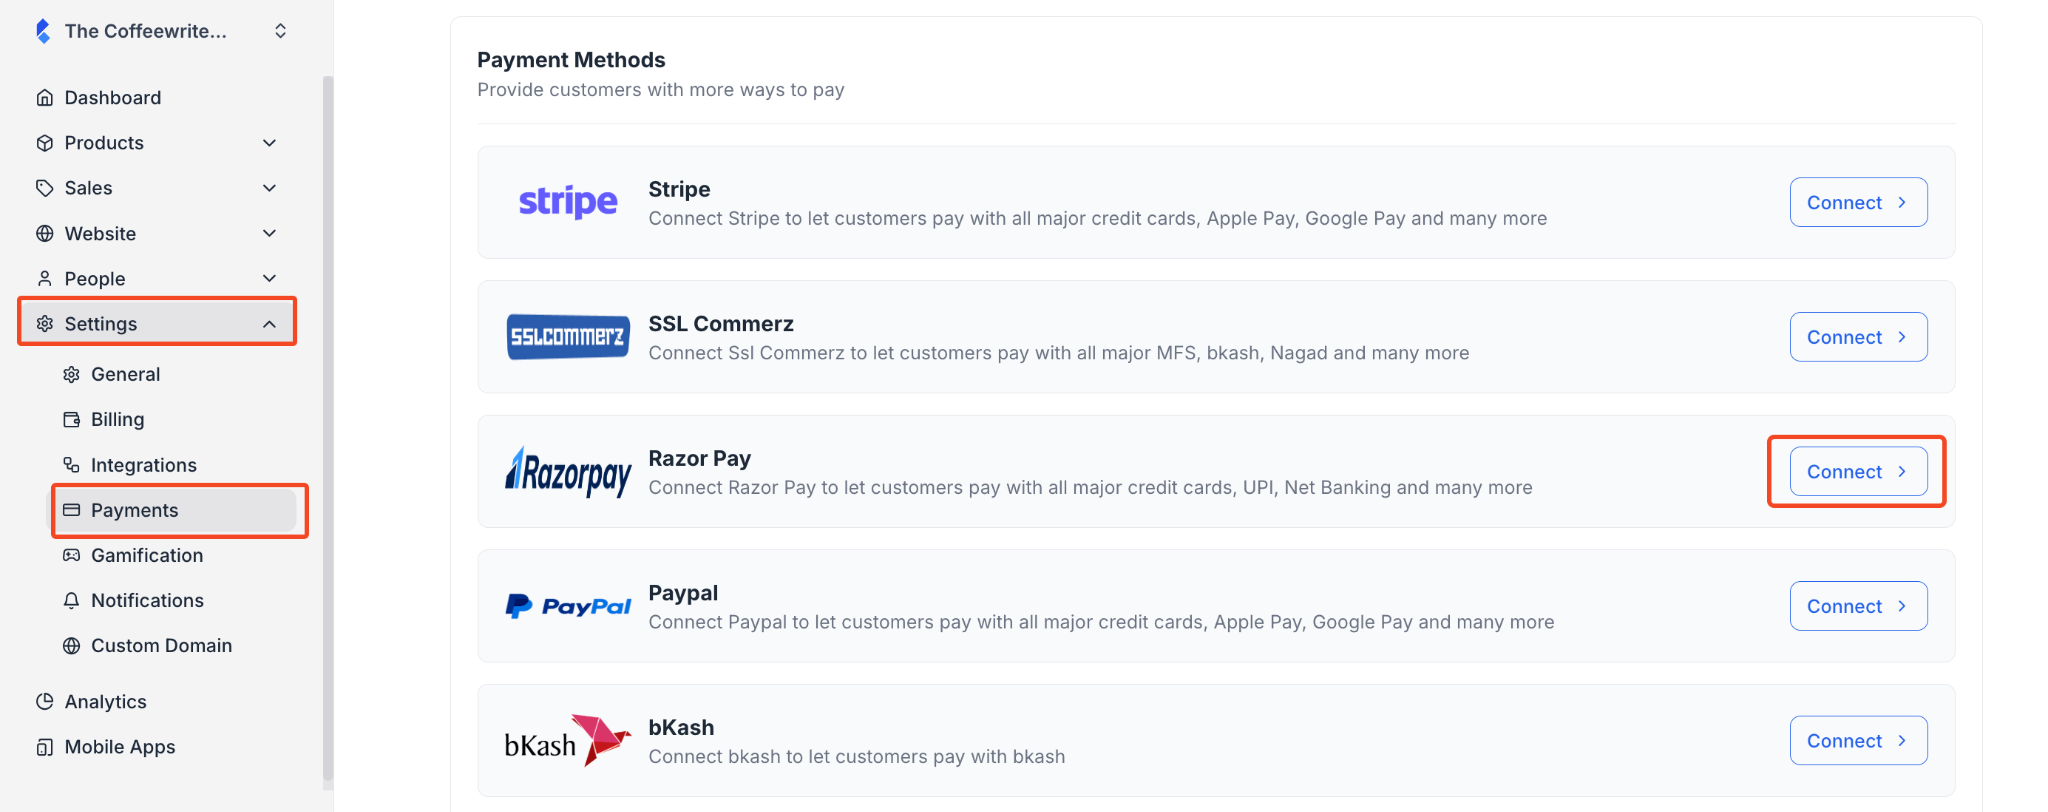
- Now, log in to your Klasio account and navigate to Settings > Payments from the dashboard. Find “Razorpay” on the right and click on the “Connect” button.
- Once you click on the connect button, a popup will appear asking you to set a name, description, the API key, and the secret. Simply provide all the necessary information and enable the toggle button to make Razorpay available to your customers at checkout.
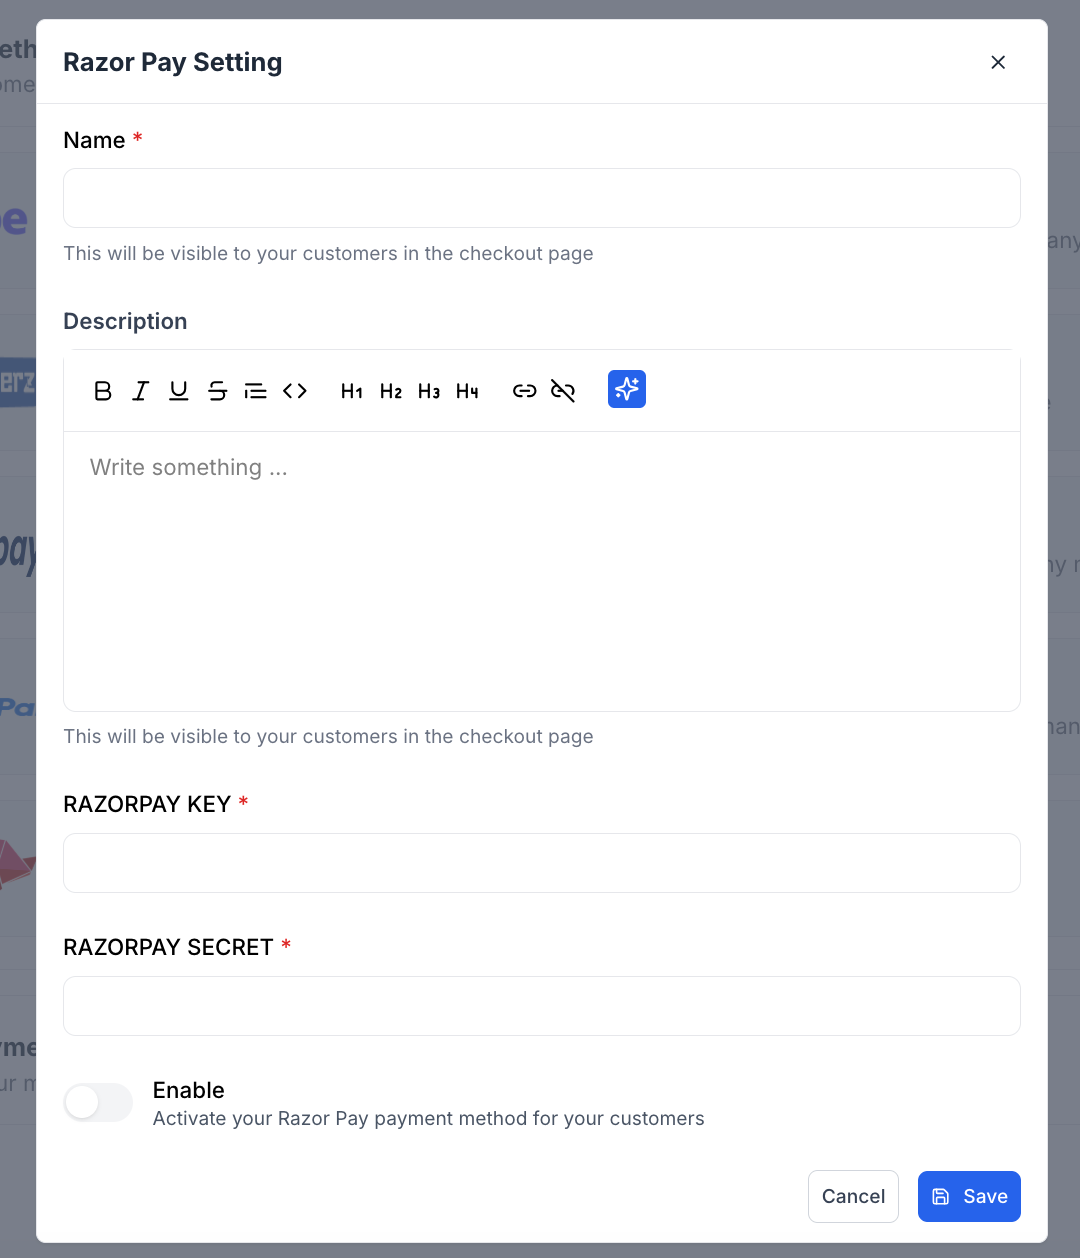
- Once you’re done providing all the information, click on the “Save” button.
By following these steps, you have successfully integrated Razorpay with your Klasio account.