Klasio allows you to customize the checkout process for your students. You can decide what kind of information you will require from your students during the checkout. Here’s the process on how you can customize the checkout:
1. From your dashboard, expand “Settings” and click on “Checkout“. On the new page, you will see all the available options that you can customize.
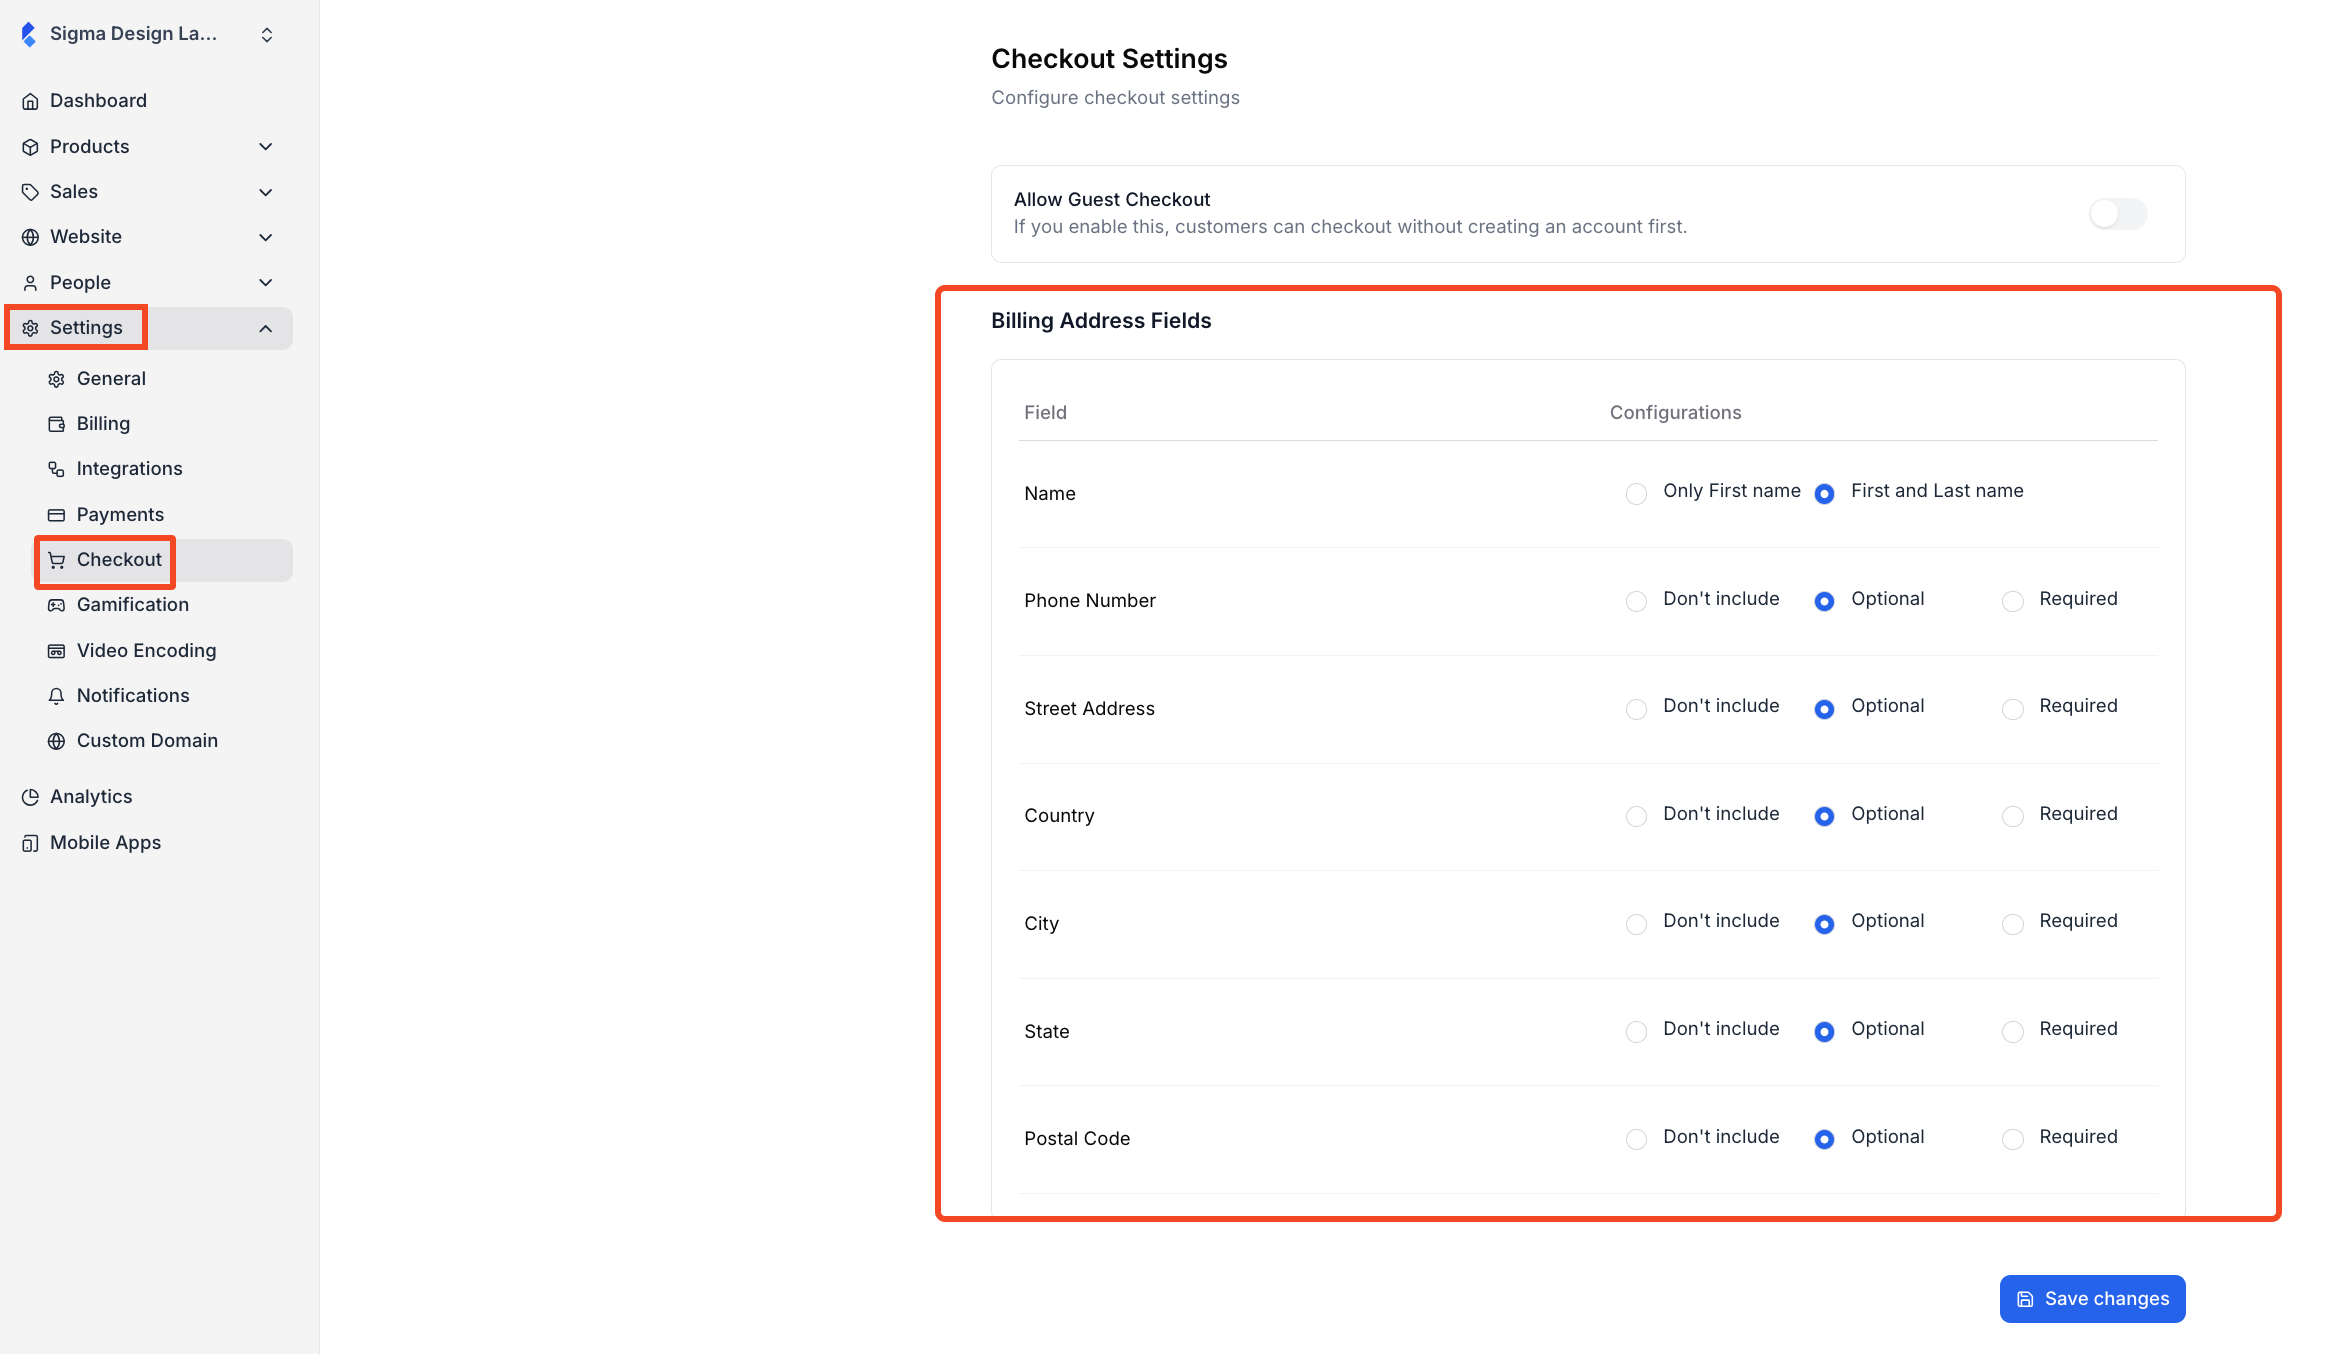
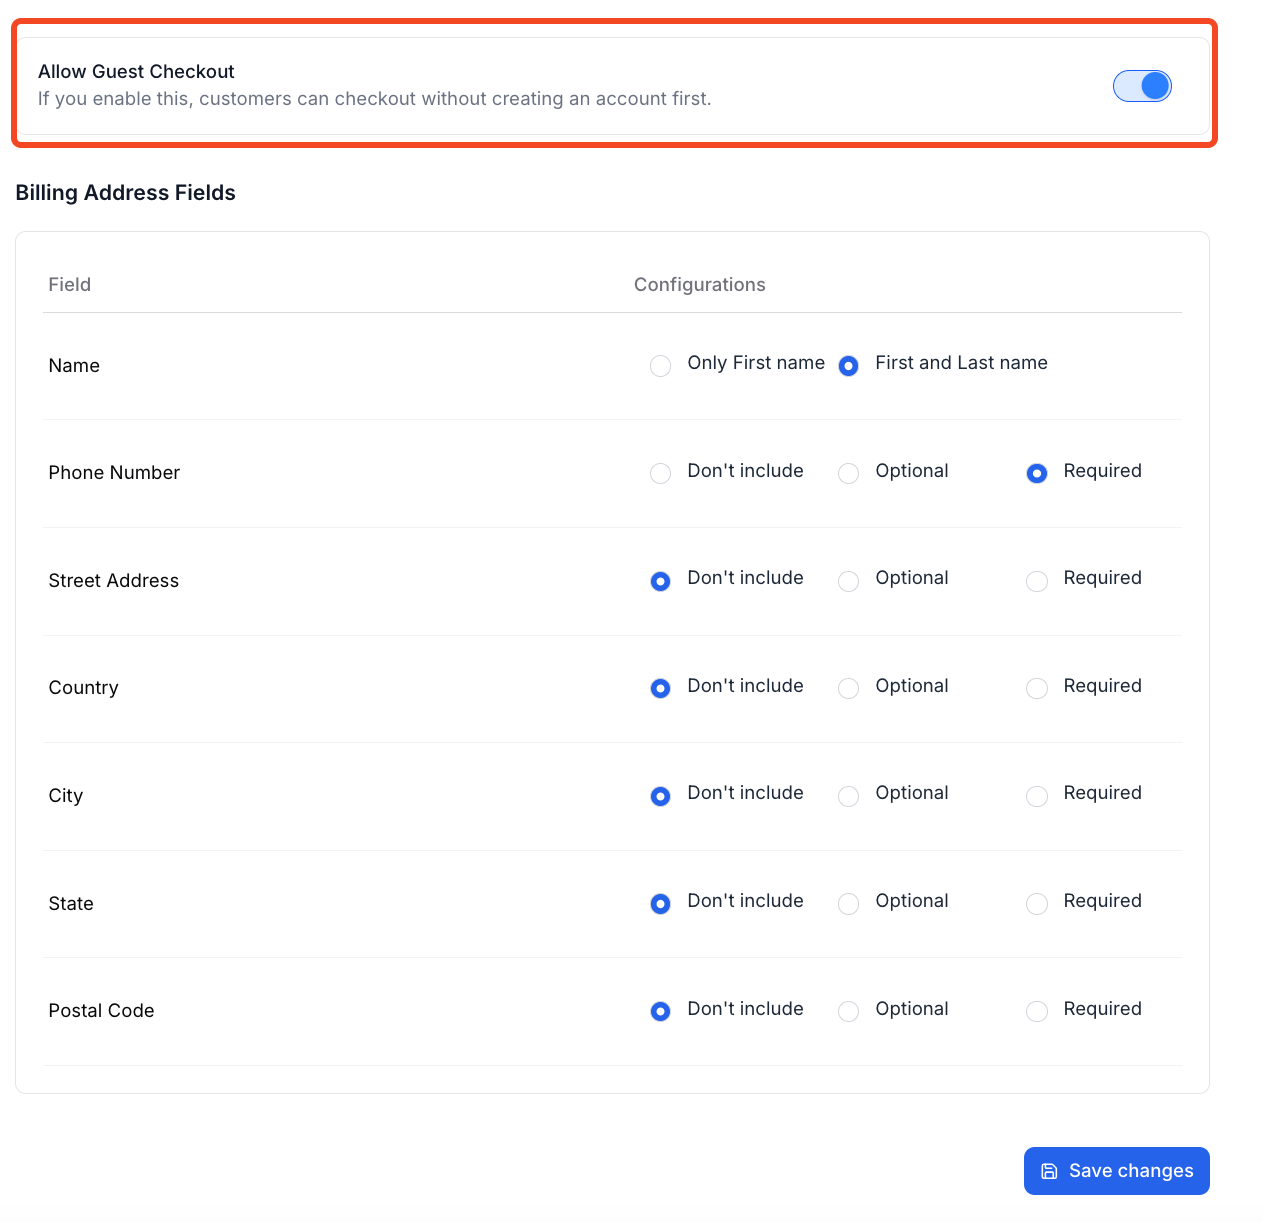
2. You have 7 field presets, including Name, Phone Number, Street Address, and more, that you can customize. Only the Name field is mandatory by default; you will have to choose if you want both the first and last name of your student or just the first name.
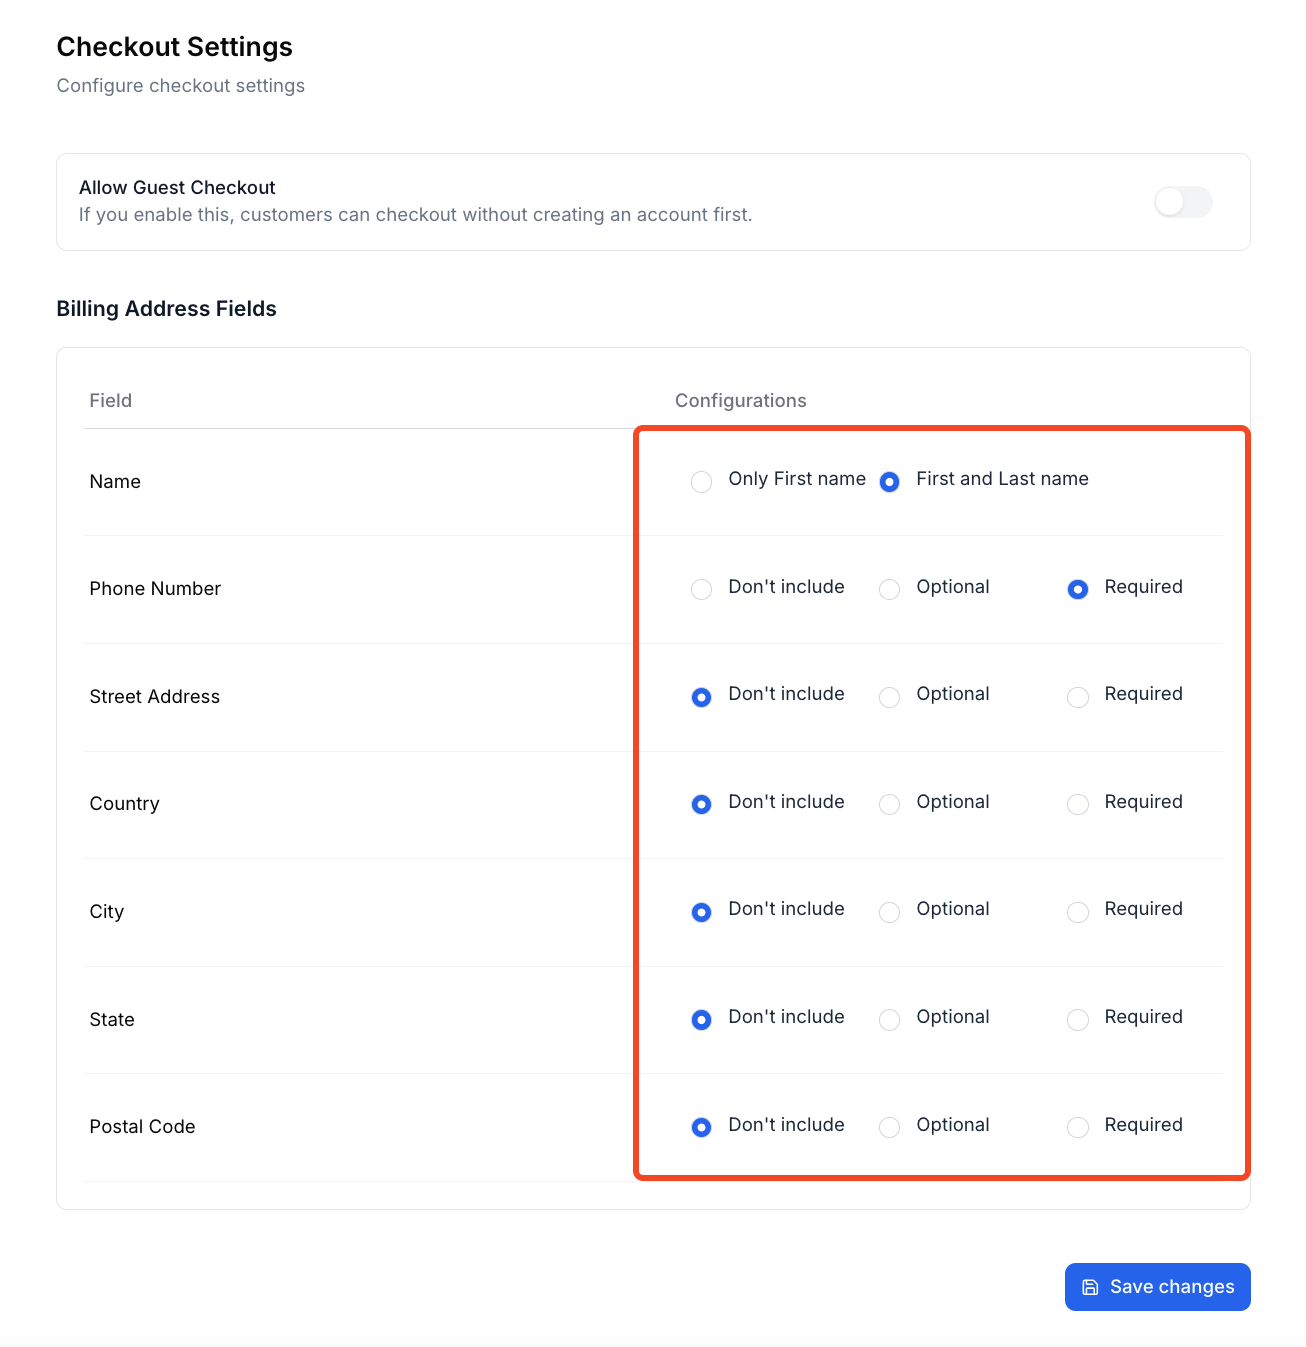
3. The rest of the options, you can choose not to include, keep them optional, or make them mandatory. Customize your checkout form as you see fit. As for our example, we will keep the Name and Phone Number mandatory and will not include the rest of the fields. Then, we click on the “Save Changes” button to save the changes.
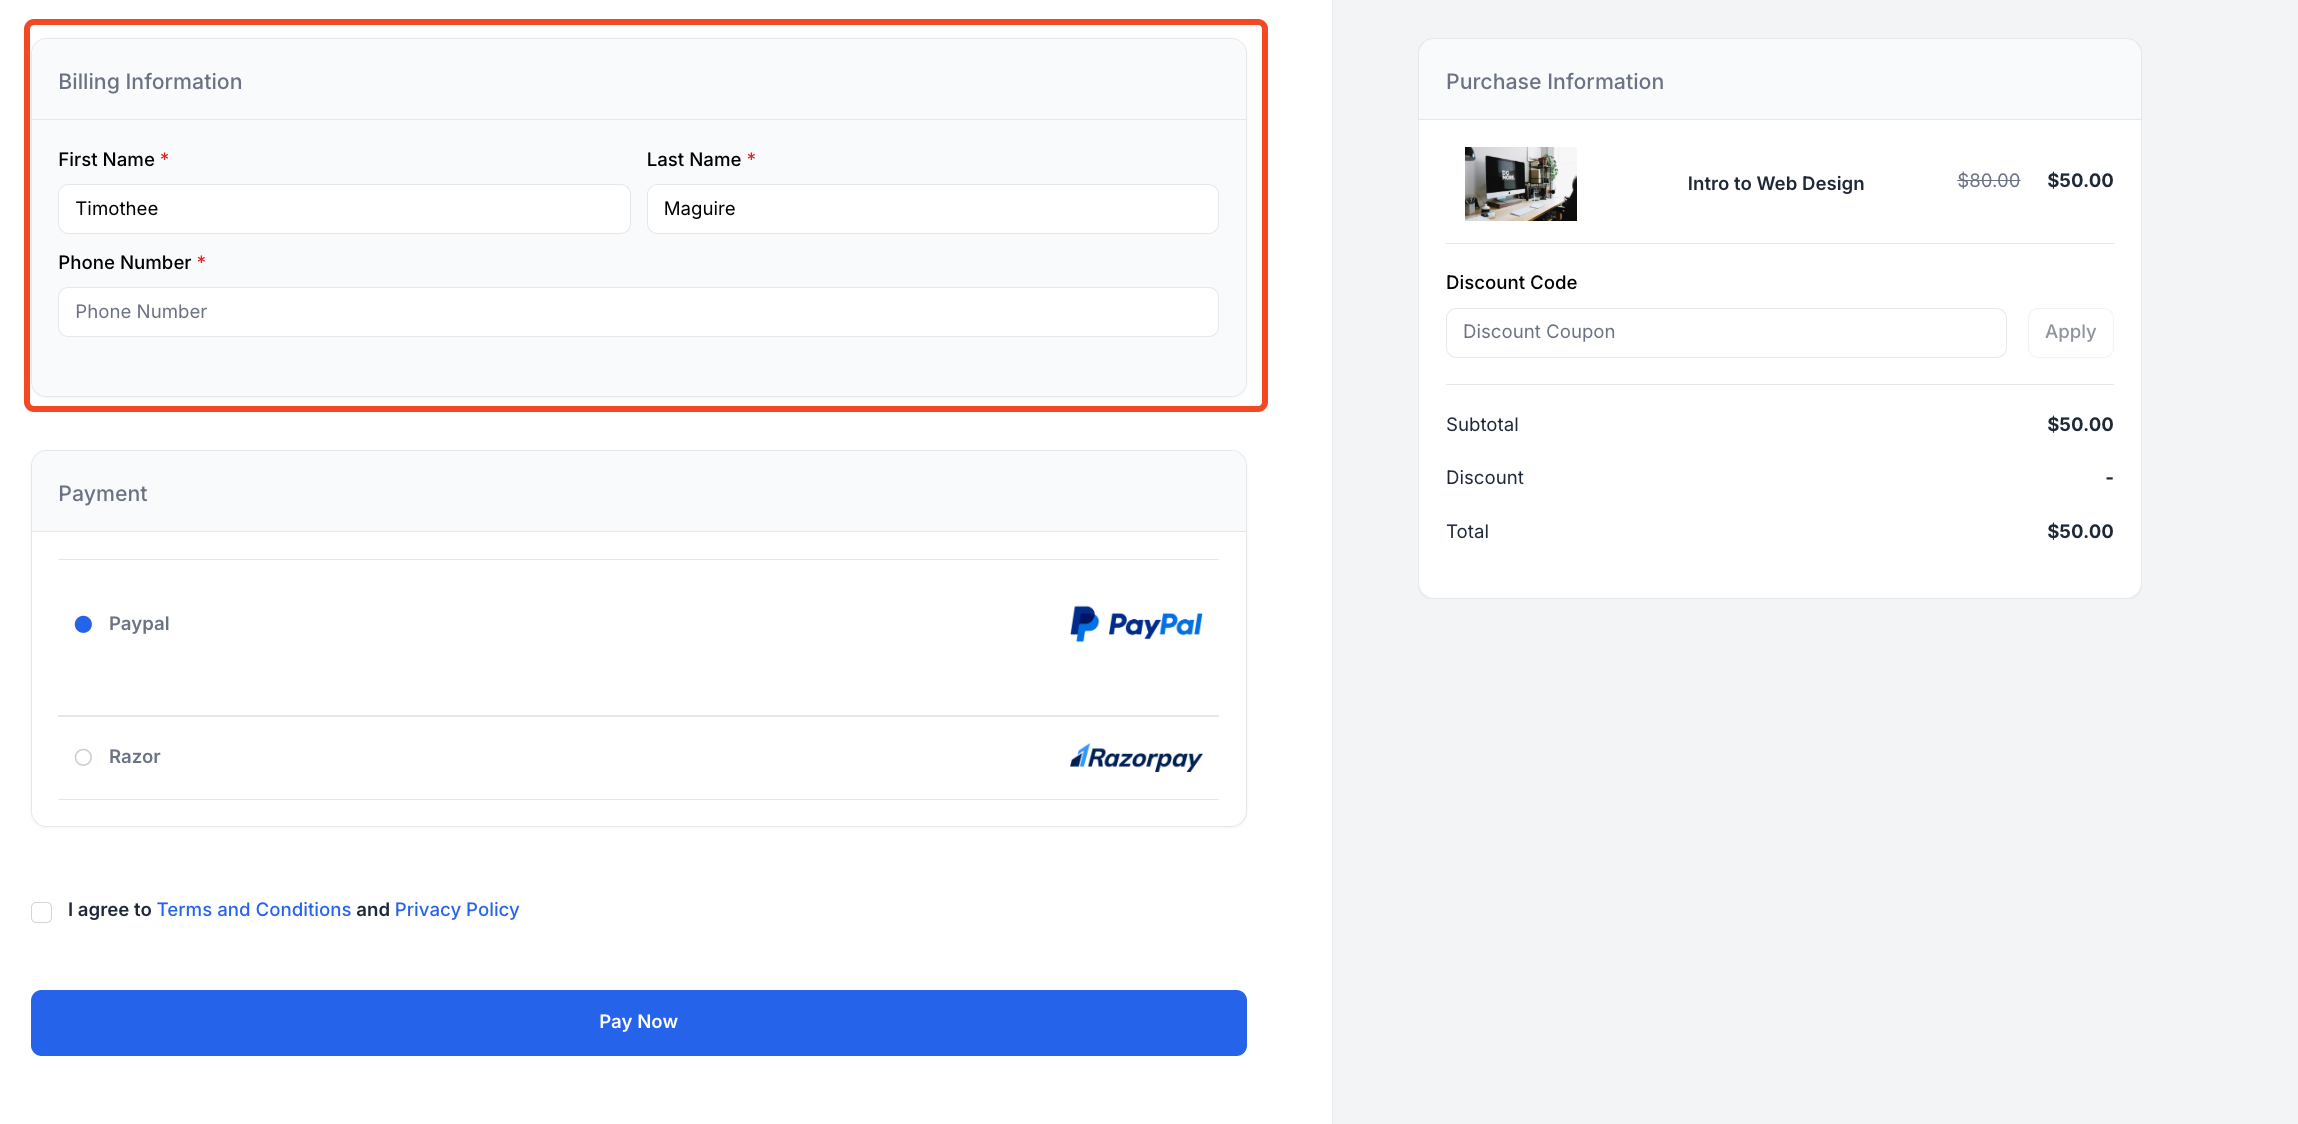
4. Here’s what the checkout form will look like for your students.
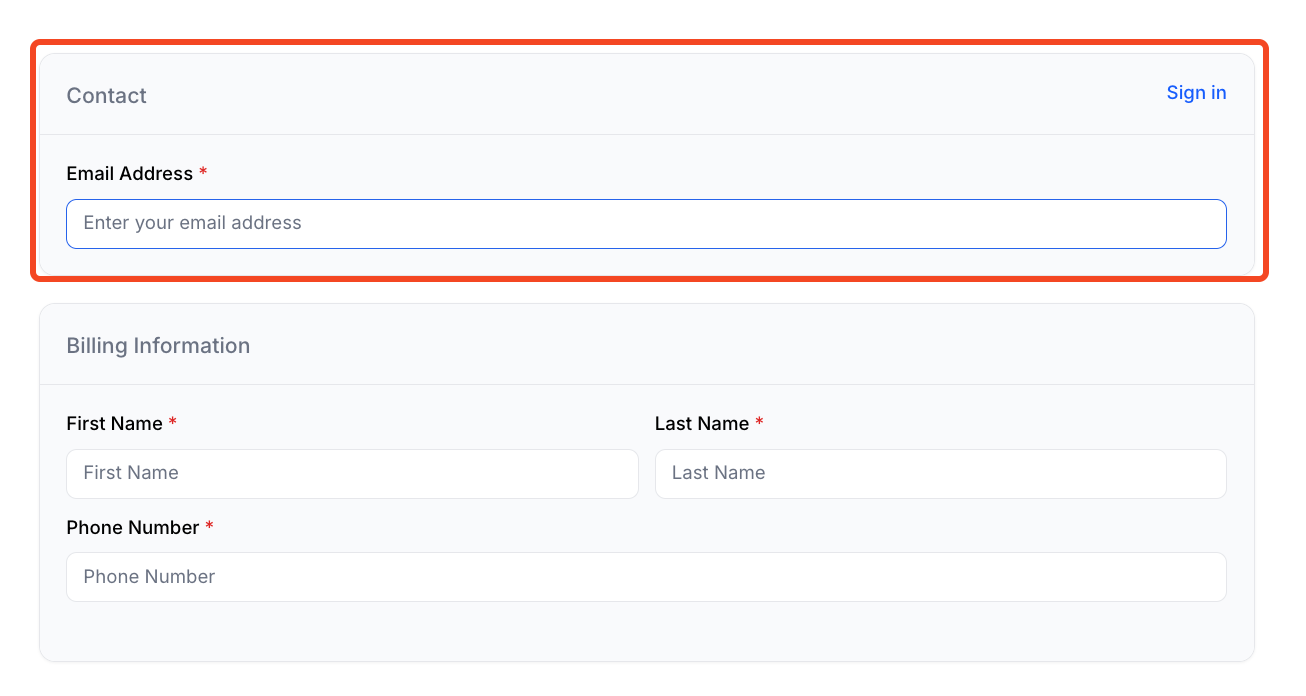
5. In the checkout form customization page, you will also see a toggle button that says “Allow Guest Checkout.” If you toggle this button on, then it will enable the guest checkout. Guest checkout will allow people who are not registered as students to make a purchase without creating a student account.
6. Here, you can see an additional field for email address for guest checkout.