The Custom SMTP Integration allows you to configure your own email server for sending emails from Klasio.
By using a custom SMTP provider, all outgoing system emails, such as account notifications, purchase confirmations, and course-related messages, will be sent through your chosen email service instead of Klasio’s default mailing system. This gives you greater control over branding, deliverability, and sender reputation while ensuring emails are aligned with your organization’s email infrastructure.
To get started, you must have access to an email service provider that supports SMTP, such as Gmail, Google Workspace, SendGrid, or any other SMTP-compliant service. The provider will supply the necessary SMTP credentials required to complete the configuration.
Once you have the necessary credentials, follow the instructions below:
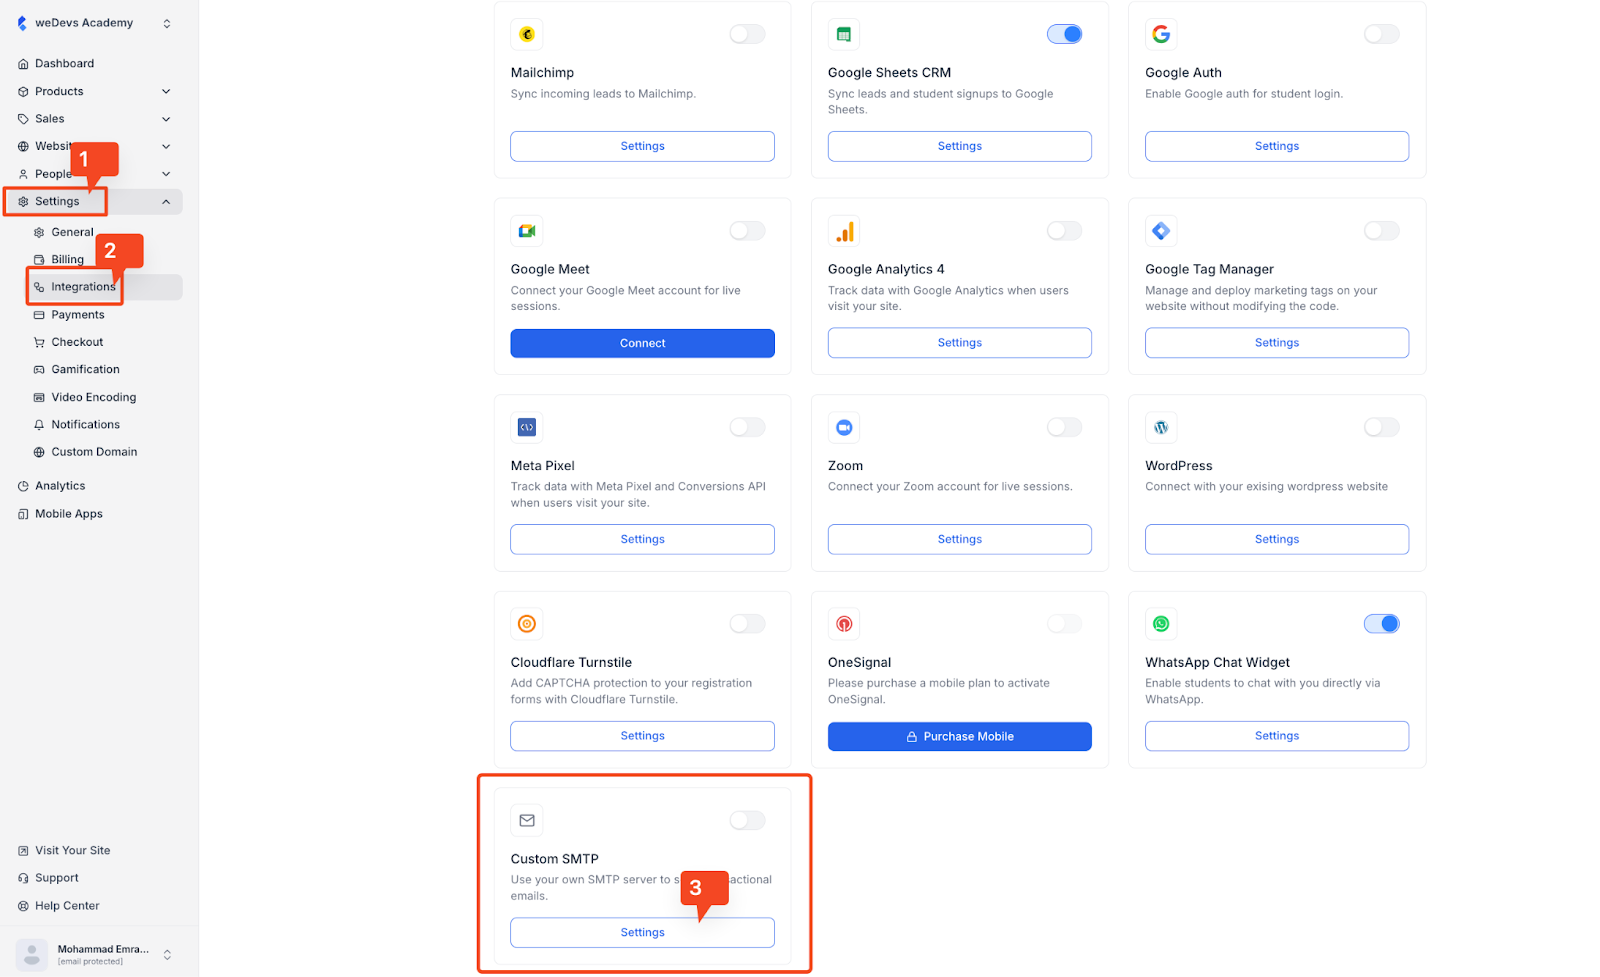
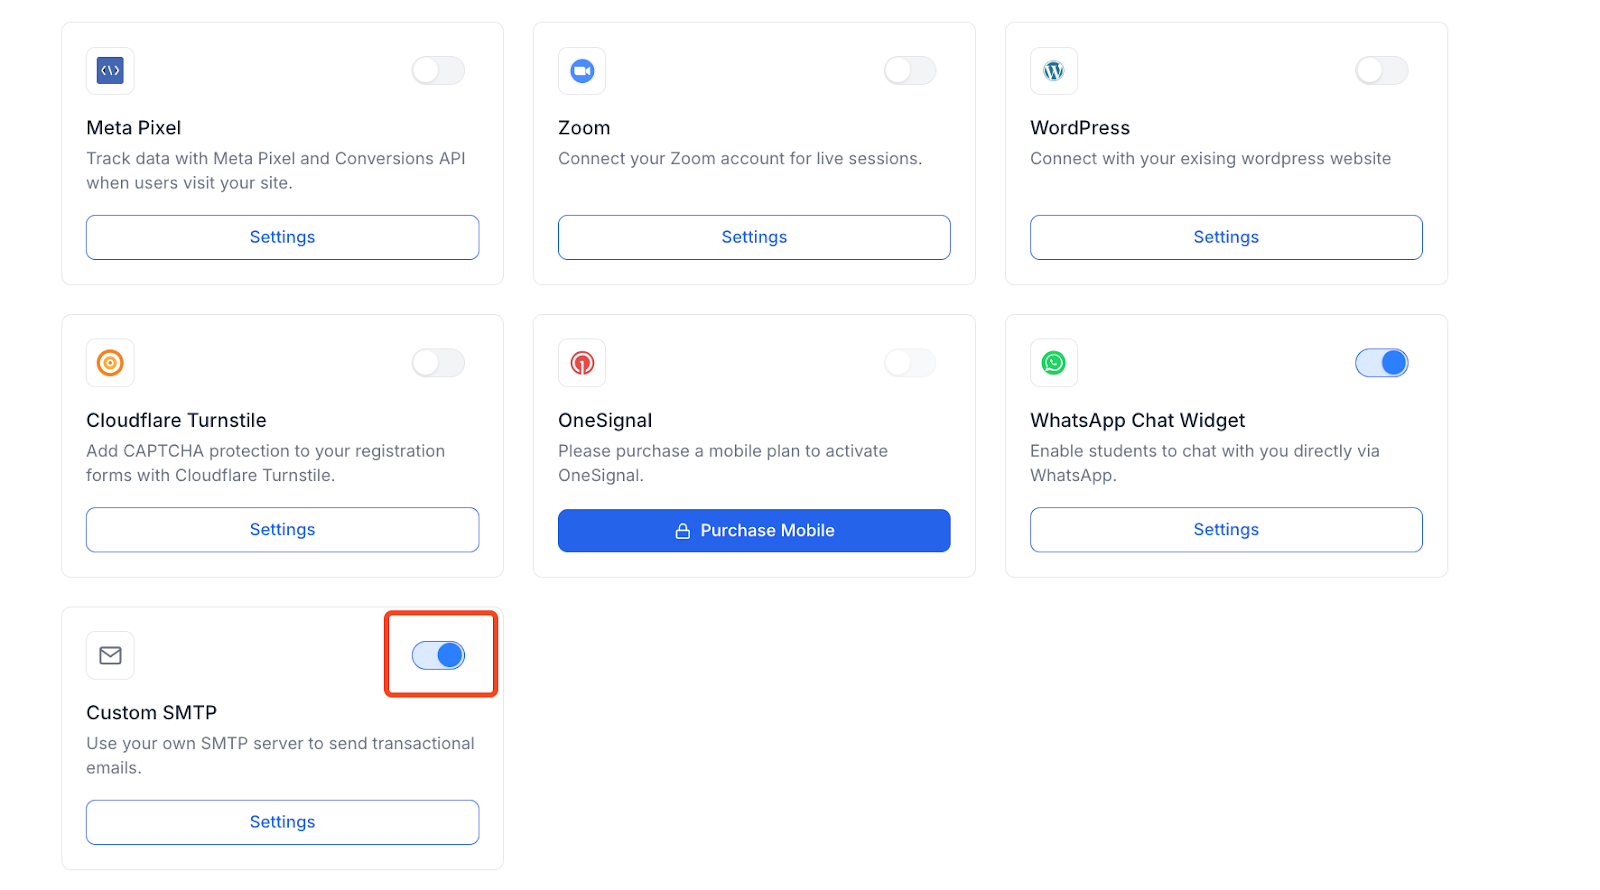
1. Log in to your Klasio admin account, then from your dashboard, go to Settings > Integrations. From the integrations page, find the Custom SMTP card and click on its Settings button.
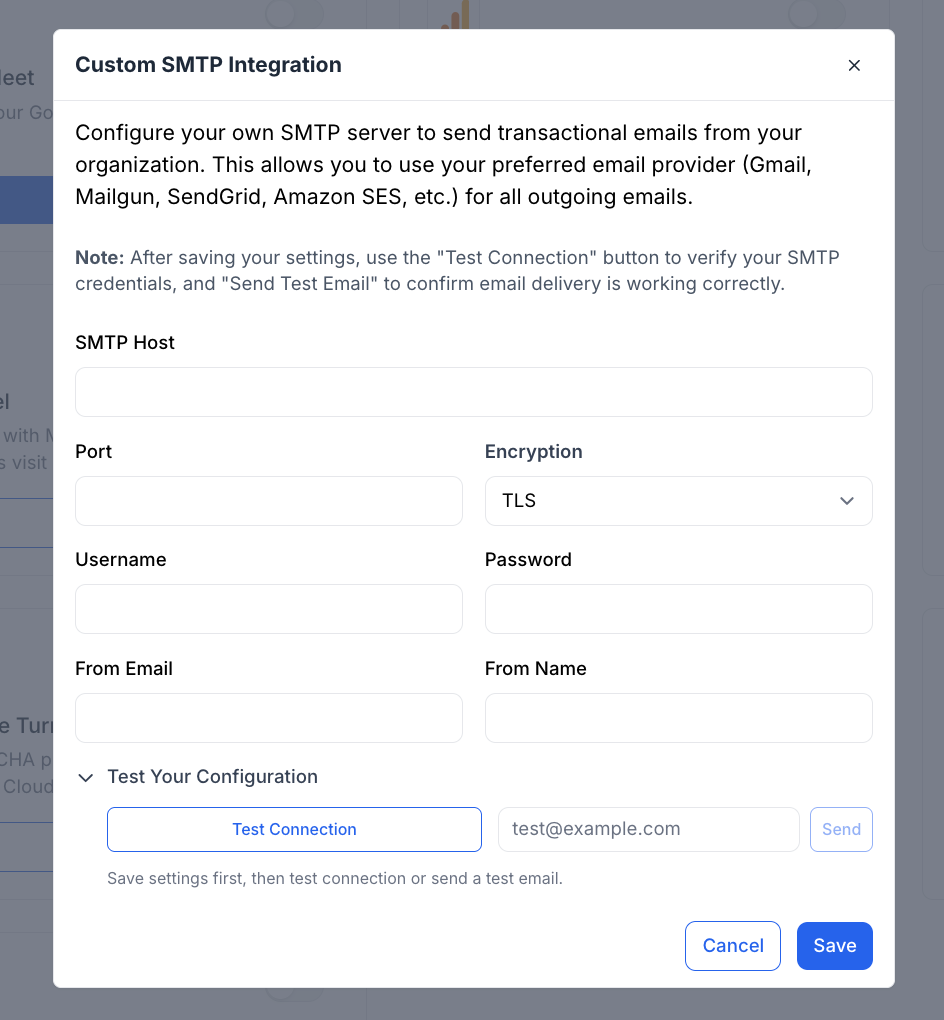
2. After clicking on the Settings button, a popup will appear where you will need to input all the necessary information you have collected from your SMTP provider.
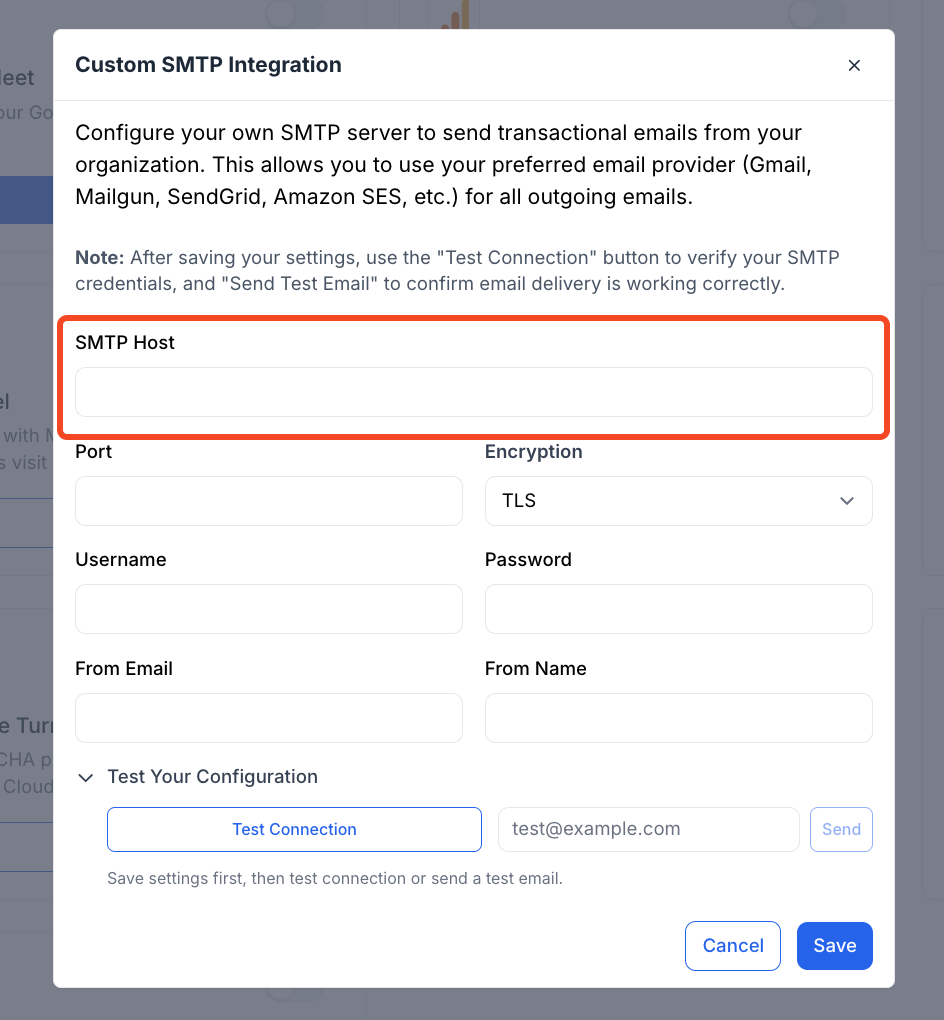
3. The SMTP Host field requires the address of your email provider’s outgoing mail server. This value identifies where the system should send emails for delivery. Each provider has a specific SMTP host, which can be found in their official documentation or dashboard under SMTP or email settings.
Common examples include smtp.gmail.com for Gmail, smtp.sendgrid.net for SendGrid, smtp.mailgun.org for Mailgun, and region-based endpoints for Amazon SES.
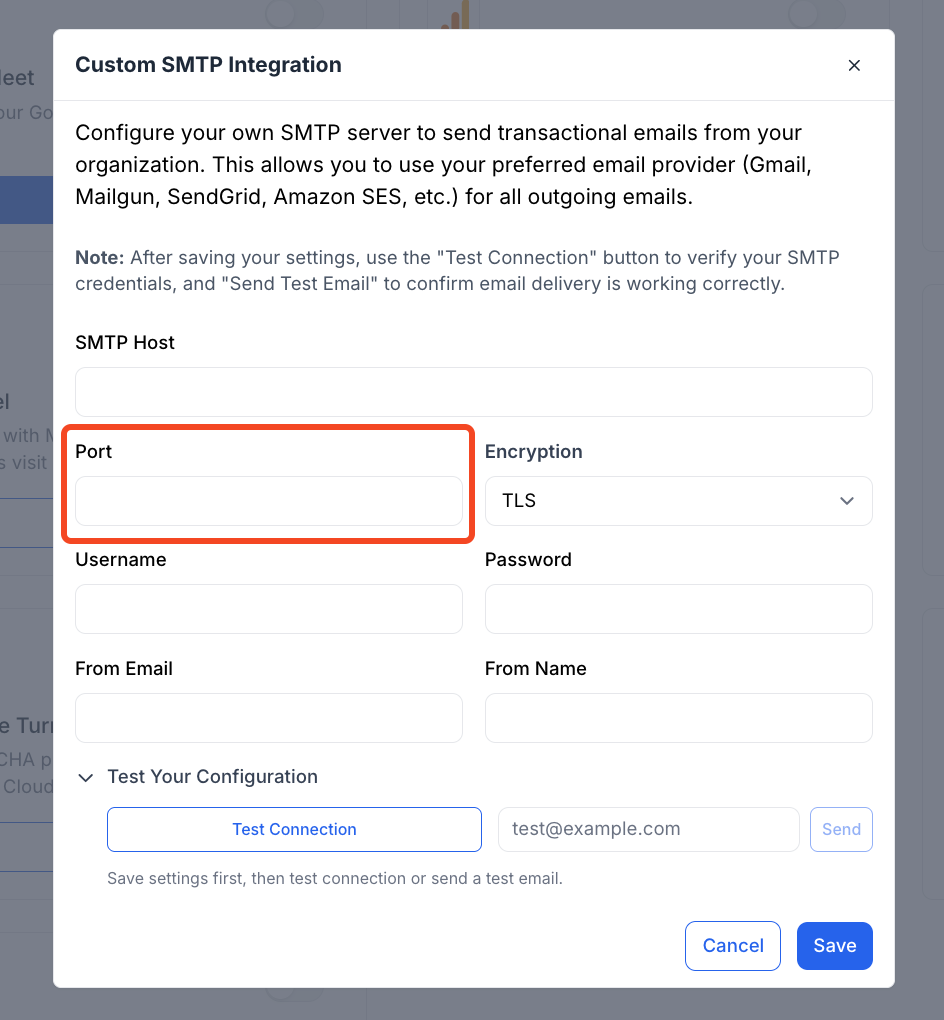
4. The Port field defines the communication channel used to connect to the SMTP server. Most modern email providers recommend using port 587, which works with TLS encryption and is widely supported. Some providers may also support port 465 for SSL-based connections.
The correct port number must match the encryption method selected, and this information is always available in your email provider’s SMTP configuration guide.
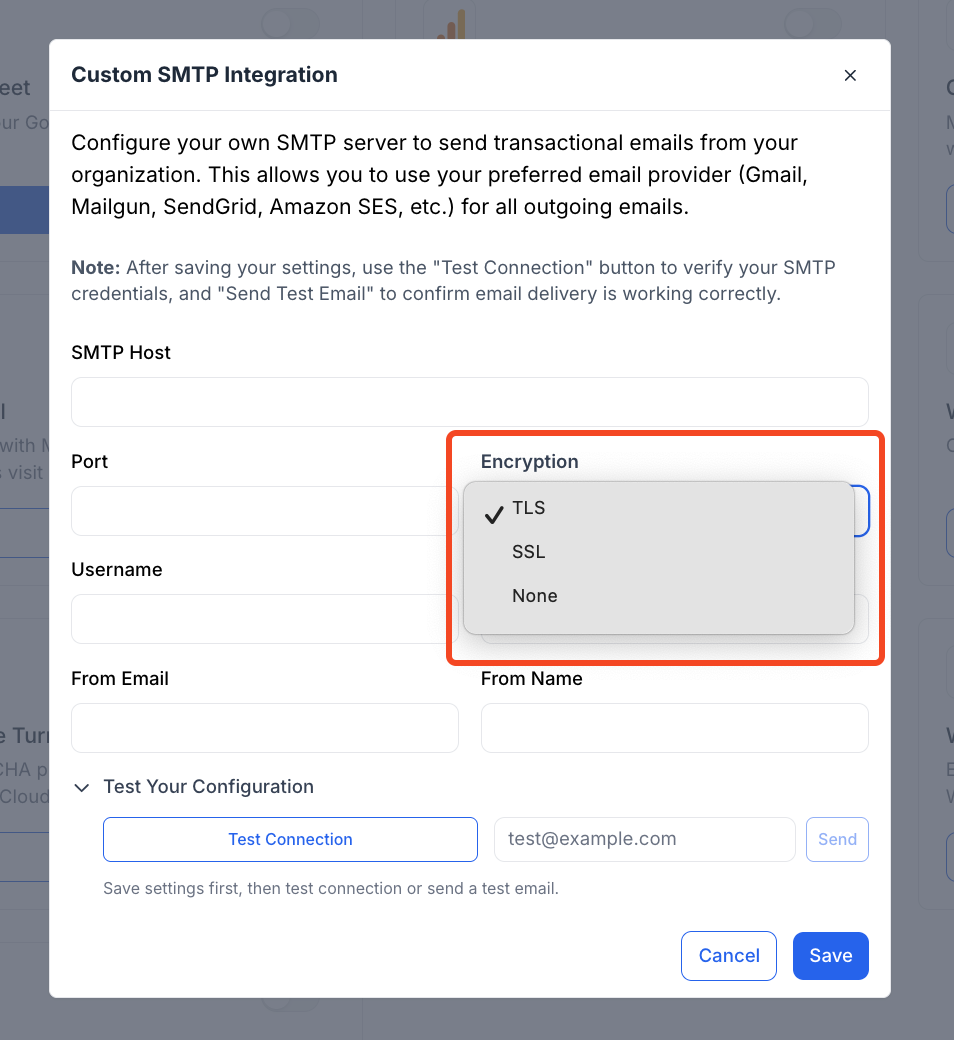
5. The Encryption setting determines how the connection between the platform and the SMTP server is secured. TLS is the most commonly used and recommended option, as it provides secure communication while maintaining compatibility with most providers.
In some cases, SSL may be required if specified by your provider.
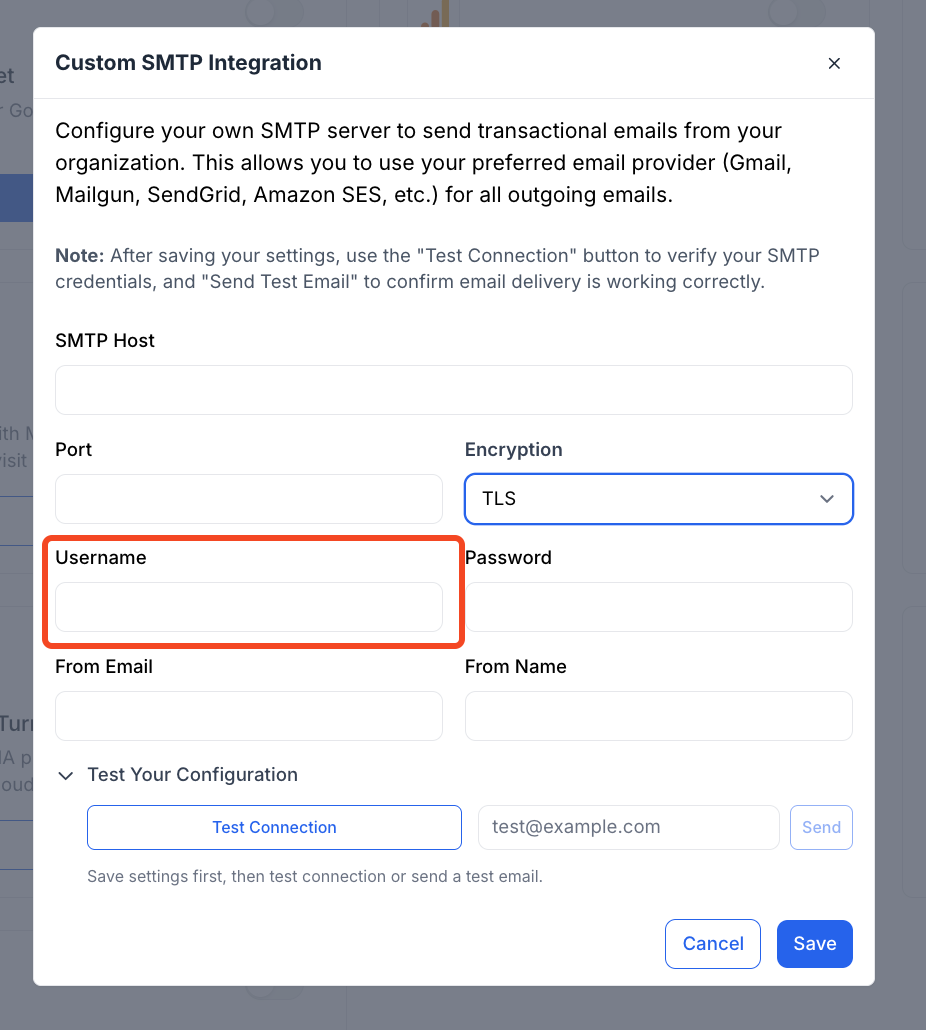
6. The Username field is used to authenticate your SMTP connection. Depending on the email provider, this may be the full email address associated with the sending account or a system-generated username.
Some providers, such as SendGrid, require a fixed username like “apikey,” while others use the actual email address.
The correct value can be found in your provider’s SMTP or API credential section.

7. The Password field contains the authentication password for the SMTP username. This is not always the same as your email account password. Many providers require you to generate an app-specific password or API key specifically for SMTP access.
For example, Gmail requires an app password when two-factor authentication is enabled, while services like Amazon SES and SendGrid generate dedicated SMTP credentials or API keys. This password should be kept secure and should not be shared.
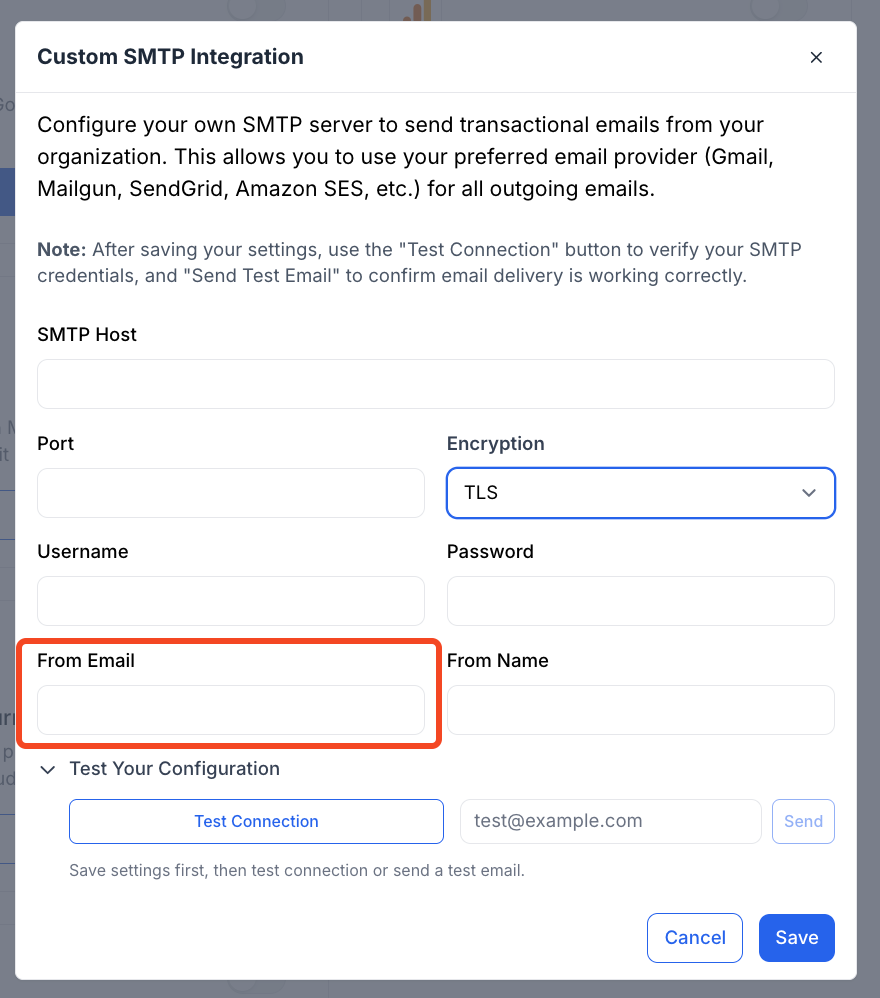
8. The From Email field specifies the email address that will appear as the sender of all outgoing emails. This address should belong to a verified domain or an approved sender within your email provider.
For example, using an address such as [email protected] or [email protected] ensures that emails are sent from an authenticated domain. Using a domain-based email address improves trust and deliverability and helps recipients easily recognize the sender.
9. The From Name field defines the display name shown alongside the sender’s email address in recipients’ inboxes. This is typically your company name, product name, or support team name.
For example, using “YourCompany” or “YourProduct Team” helps recipients immediately identify who the email is from.
10. Once all the fields are populated, click on the “Save” button to save the changes. After that, use the “Test Connection” button to check if the integration has been successful or not.
You can also use a test email to see if the connection is working.
11. Once you are done with the process, you will see the Custom SMTP cars is toggled on in the integration page, indicating that the SMTP integration is now successfully set up and working.
If you face any issues or are unable to connect to your custom SMTP provider, please reach out to us at [email protected].