You can build quizzes with a variety of engaging question formats. Incorporate multiple-choice, single-answer, true/false, and short-answer questions with Klasio. Here’s how.
1. First, expand “Products” and click on “Courses” from your dashboard. Then, choose the course where you want to add the quiz.

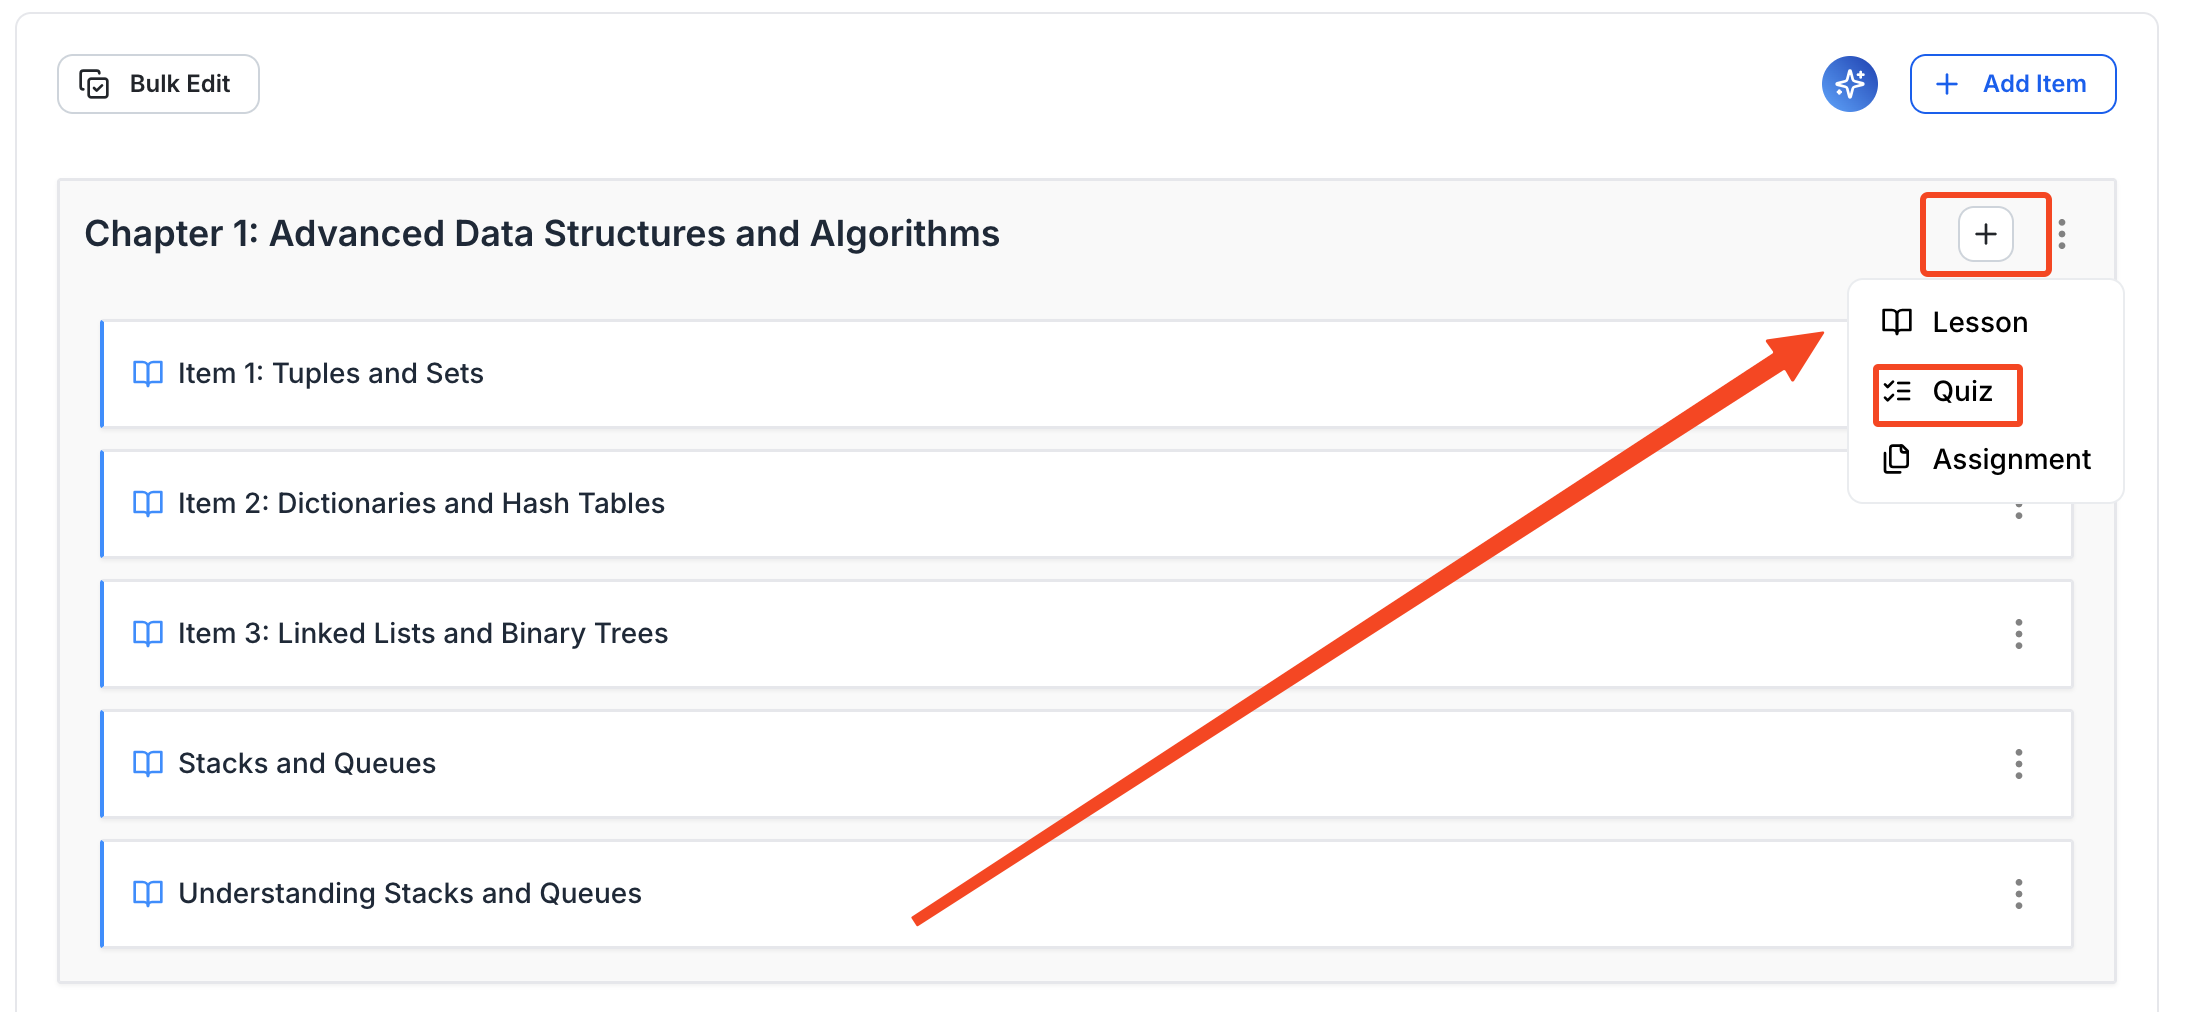
2. In the Course Curriculum editing panel, you will see the existing chapters and lessons. Choose the chapter where you want to add the quiz. Then click on the plus (+) icon beside that chapter and select “Quiz” from the dropdown.
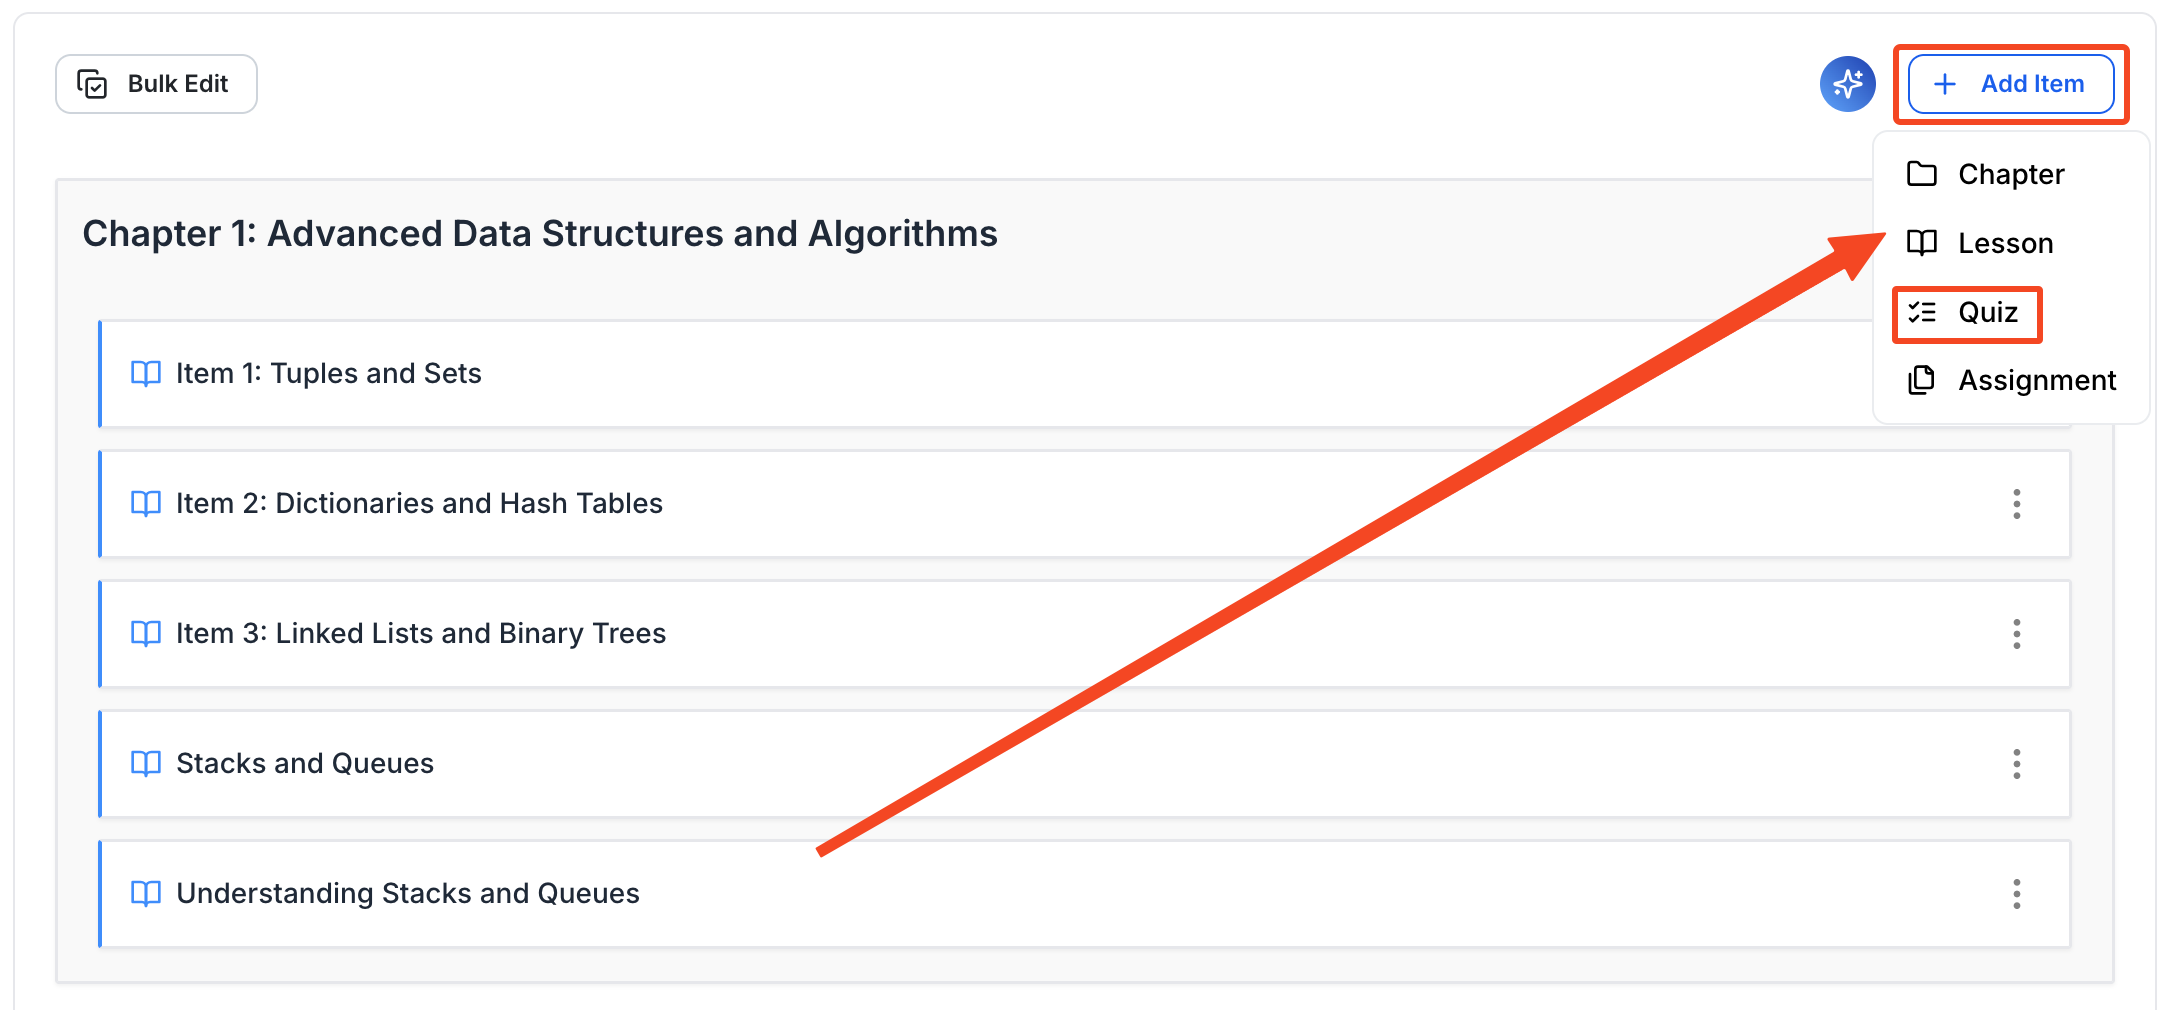
If you don’t want to make the quiz a part of any of the chapters and create a standalone quiz, then click on the “Add Item” button and then select “Quiz” from the dropdown.
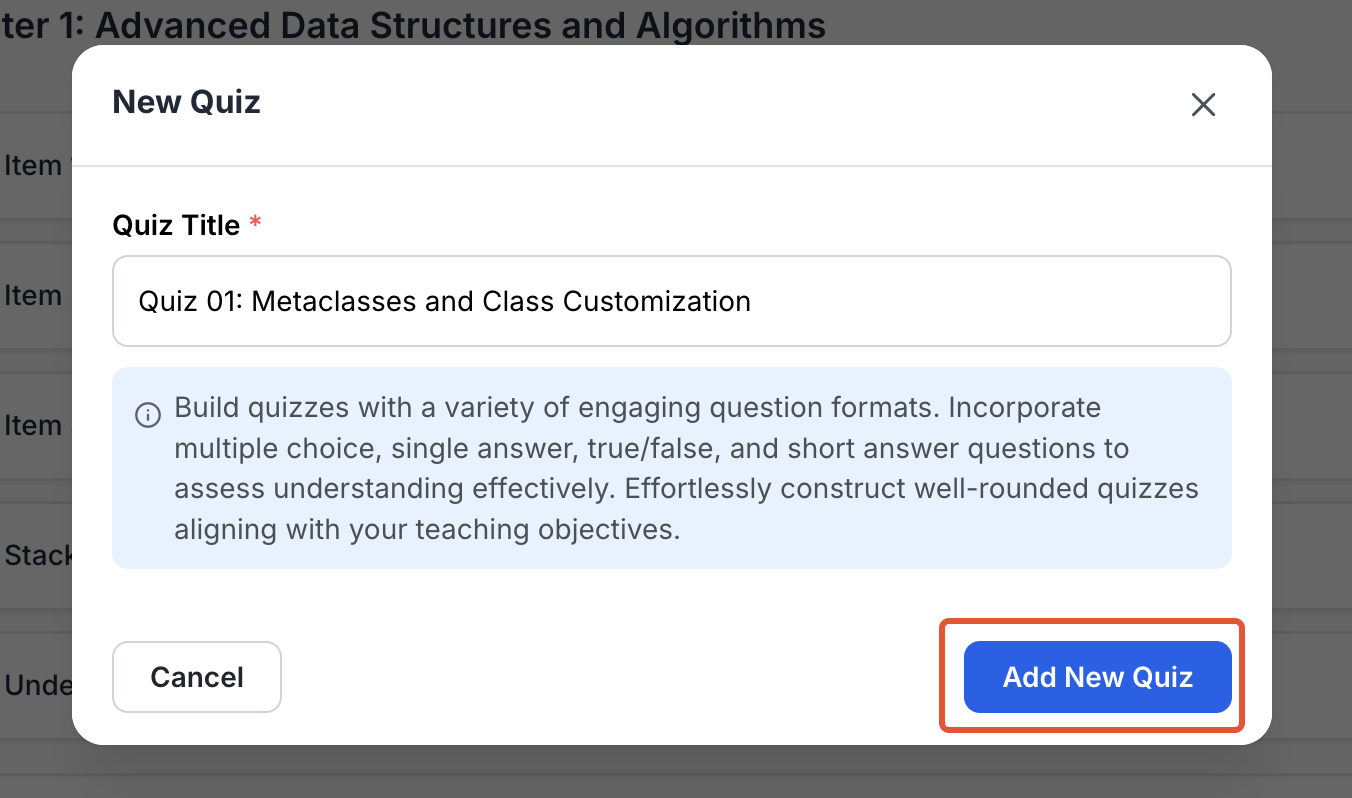
3. Once you select “Quiz,” a popup will appear where you will have to name your quiz. Once you’re done, click on the “Add New Quiz” to start creating the quiz.
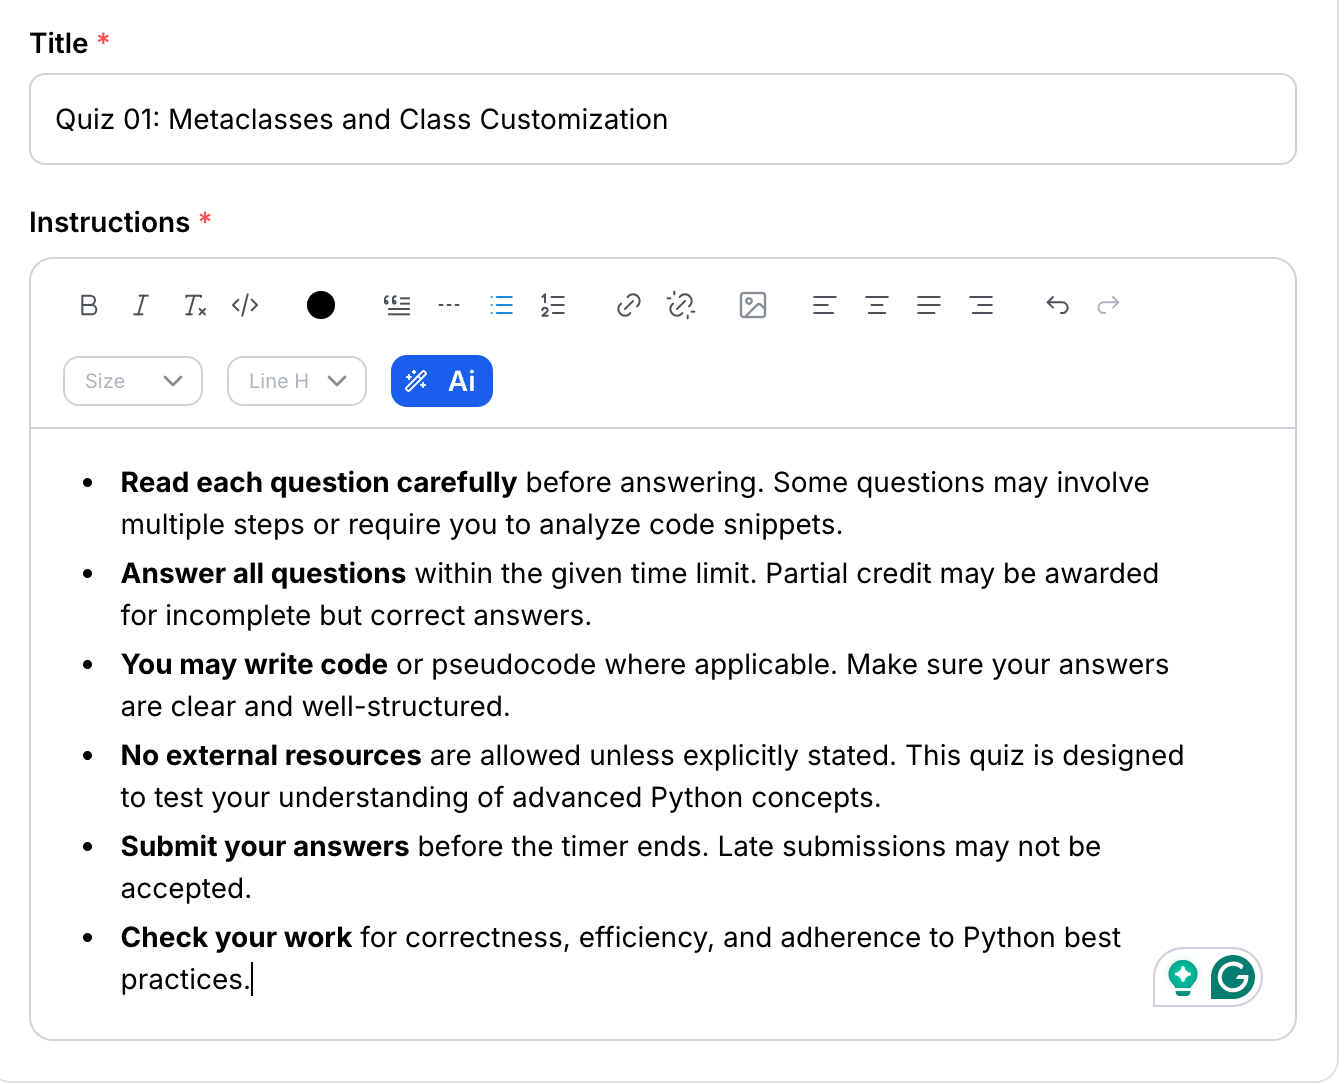
4. Once you click on the “Add New Quiz” button, you will be taken to the quiz editor, where you can configure everything about the quiz. For starters, you should write the quiz instructions properly and in detail.
5. Now, it’s time to add the quiz question. Klasio offers you two options: you can either import your quiz questions all at once or you can add them one by one manually. Let’s see how you can import your questions first.
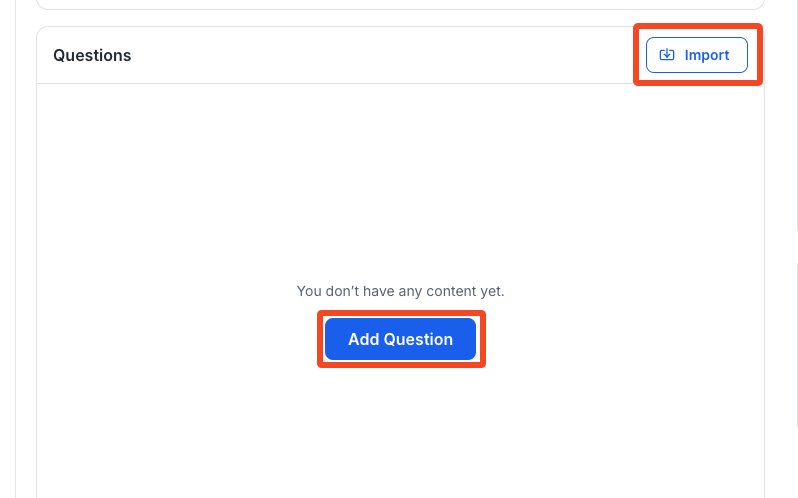
6. To import your questions, click on the “Import” button and simply upload the file with questions. The supported formats are .xlsx, .xls, and .csv.
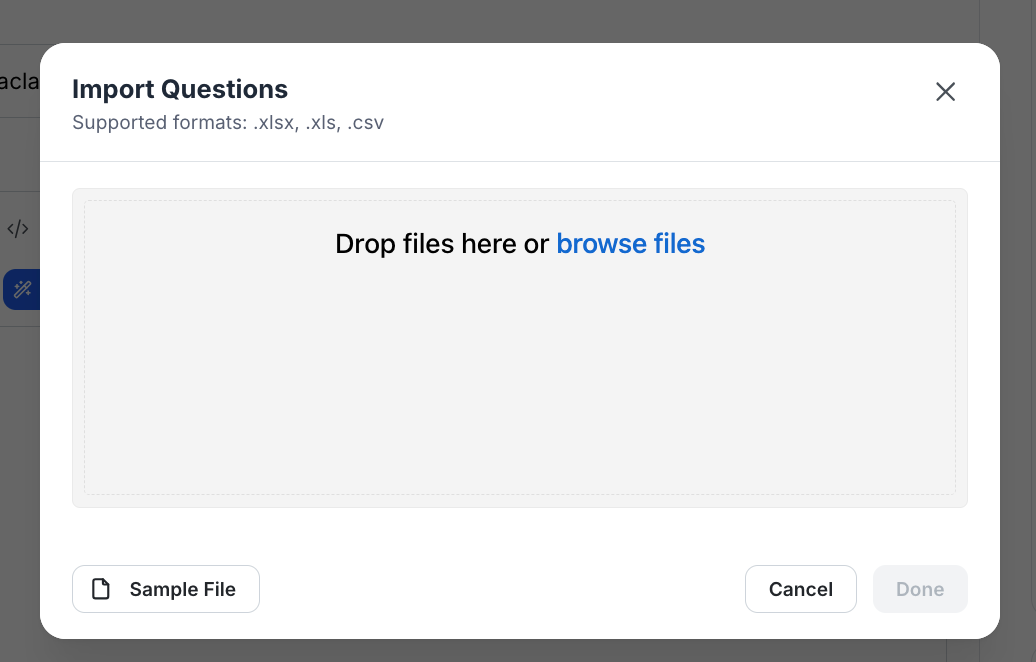
If you’re not sure how you should prepare the question file, you can download a sample file and create the file accordingly. Once you have uploaded the question file, click on “Done,” and you’re good to go.
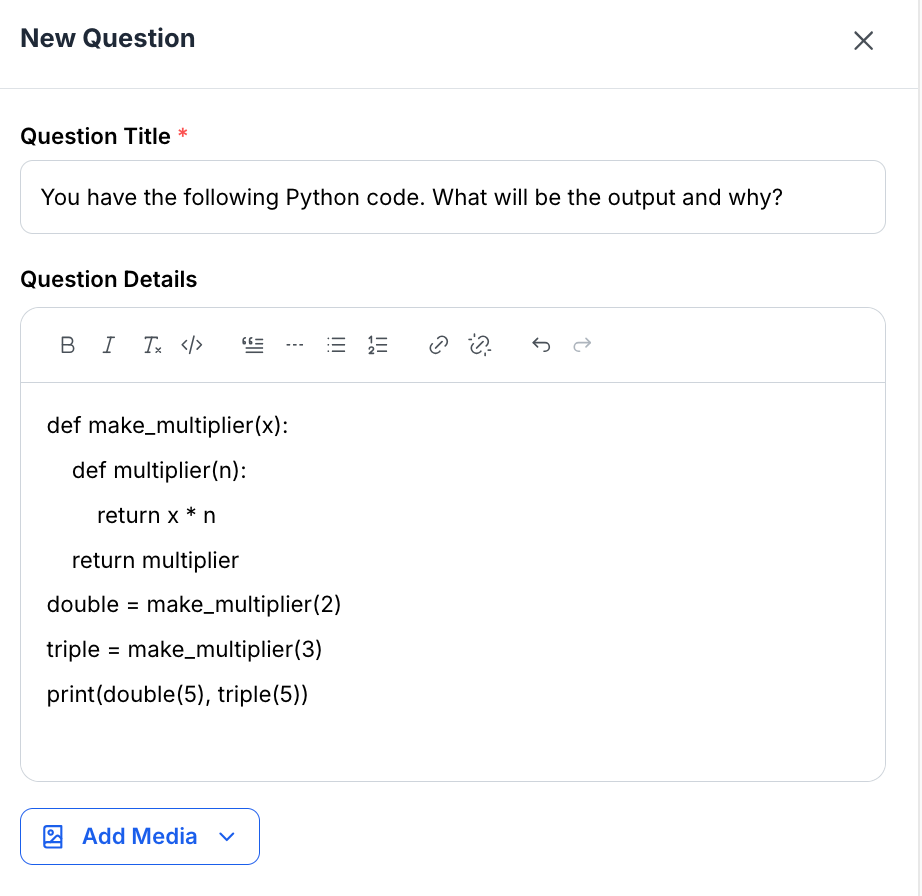
7. Now, let’s see how you can add the questions manually. Click on the “Add Questions” button. A popup will appear where you can add more details about the question.
For instance, the “Question Title” is for the question itself. The “Question Description” field is for additional details about the question; it is also optional. Then, you can also add media files such as images to make the quiz question look more dynamic.
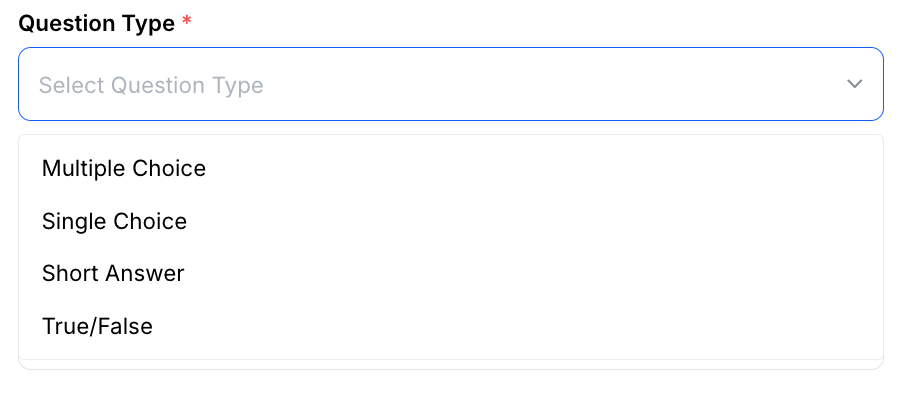
8. Next, let’s choose the question type. Klasio offers 4 types of quiz question types, which include: Multiple Choice, Single Choice, Short Answer, and True/False.
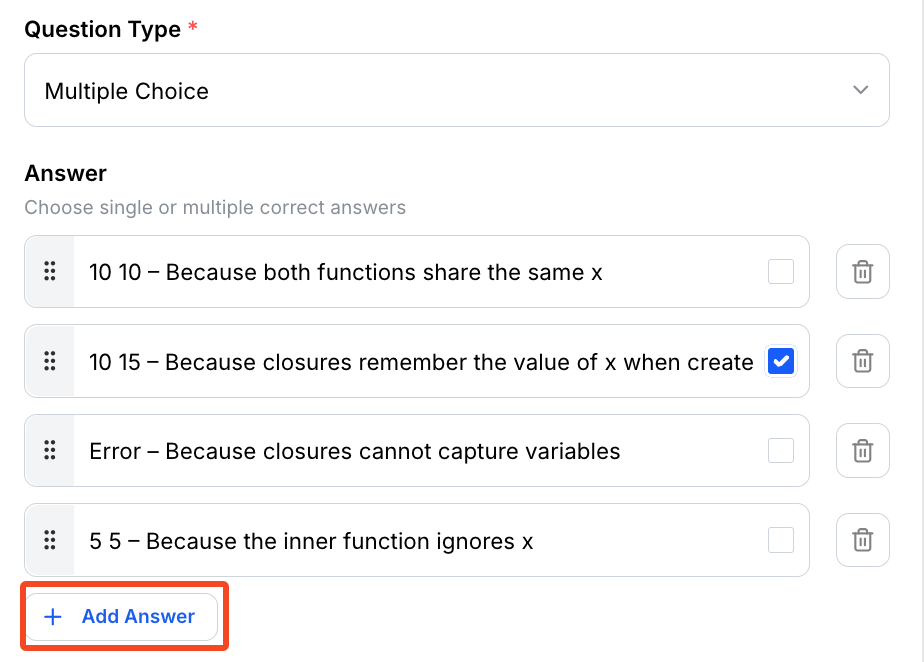
If you choose Single Choice or Multiple Choice, you will have to provide the answers and mark the correct answer. However, the difference between Single Choice and Multiple Choice question types is that, in a multiple choice question, the answer could be more than one.
By default, you get four slots for answers. If you need more, you can simply click on “Add Answer” and add more.
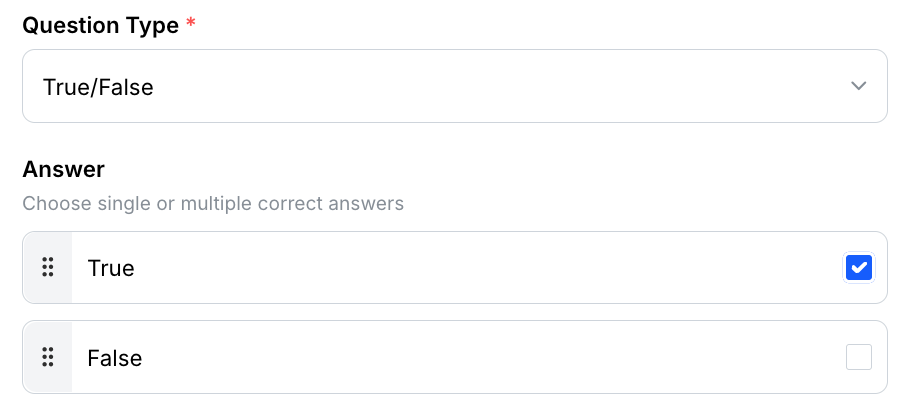
Similarly, if you choose “True/False” as the question, you get two options, and you get to define if the statement is True or False.
For “Short Answer,” there are no options for you because your students get a description field to write their answer.
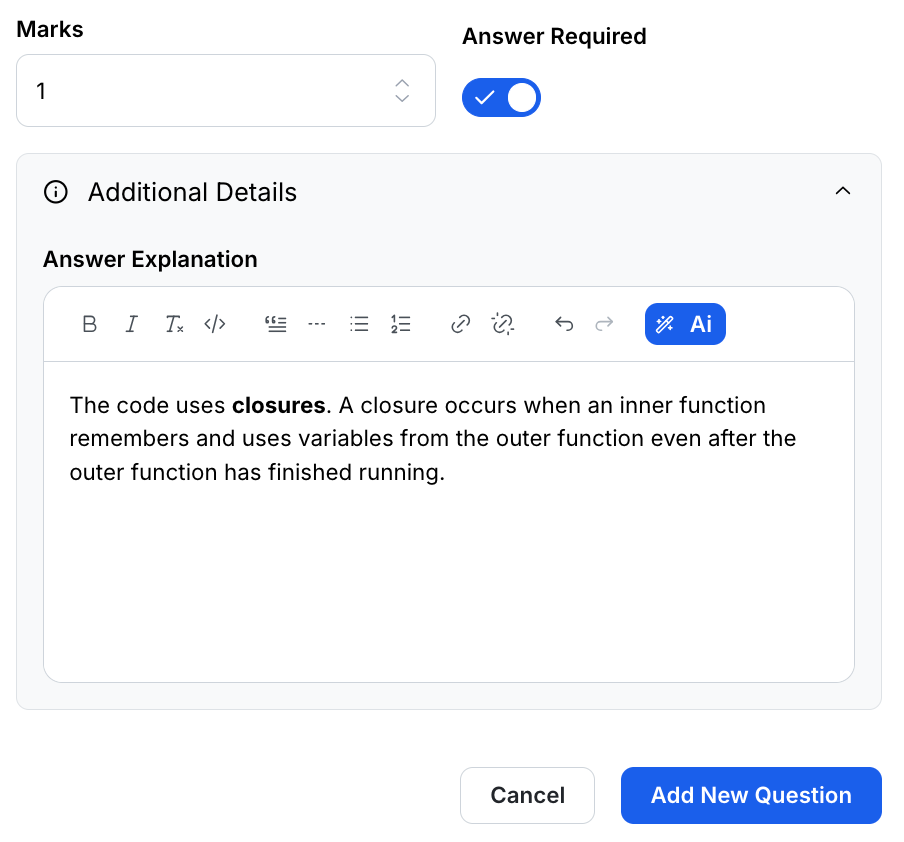
9. After this, you can set the mark for the question, make the question mandatory to answer, and provide your explanation for the answer. Finally, when you’re done, click on ” Add Question” to add the question to the quiz.
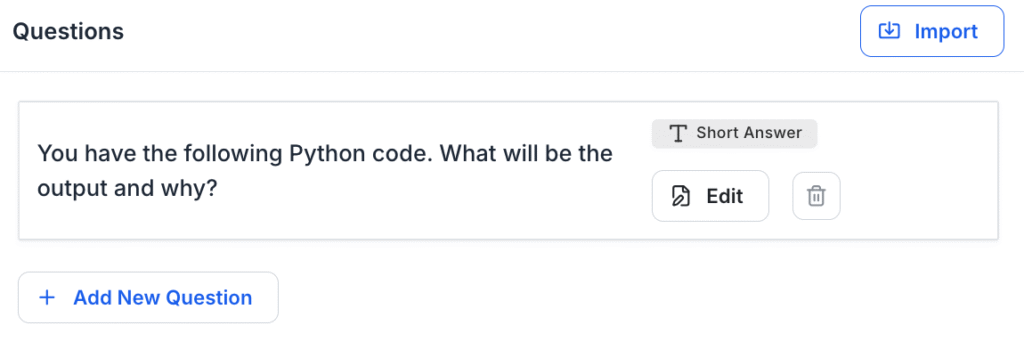
10. Following the same process, you can add as many questions to the quiz as you want. If you need to edit a question, you can do so by clicking on the “Edit” button. Or, if you need to delete one, simply click the trash icon.
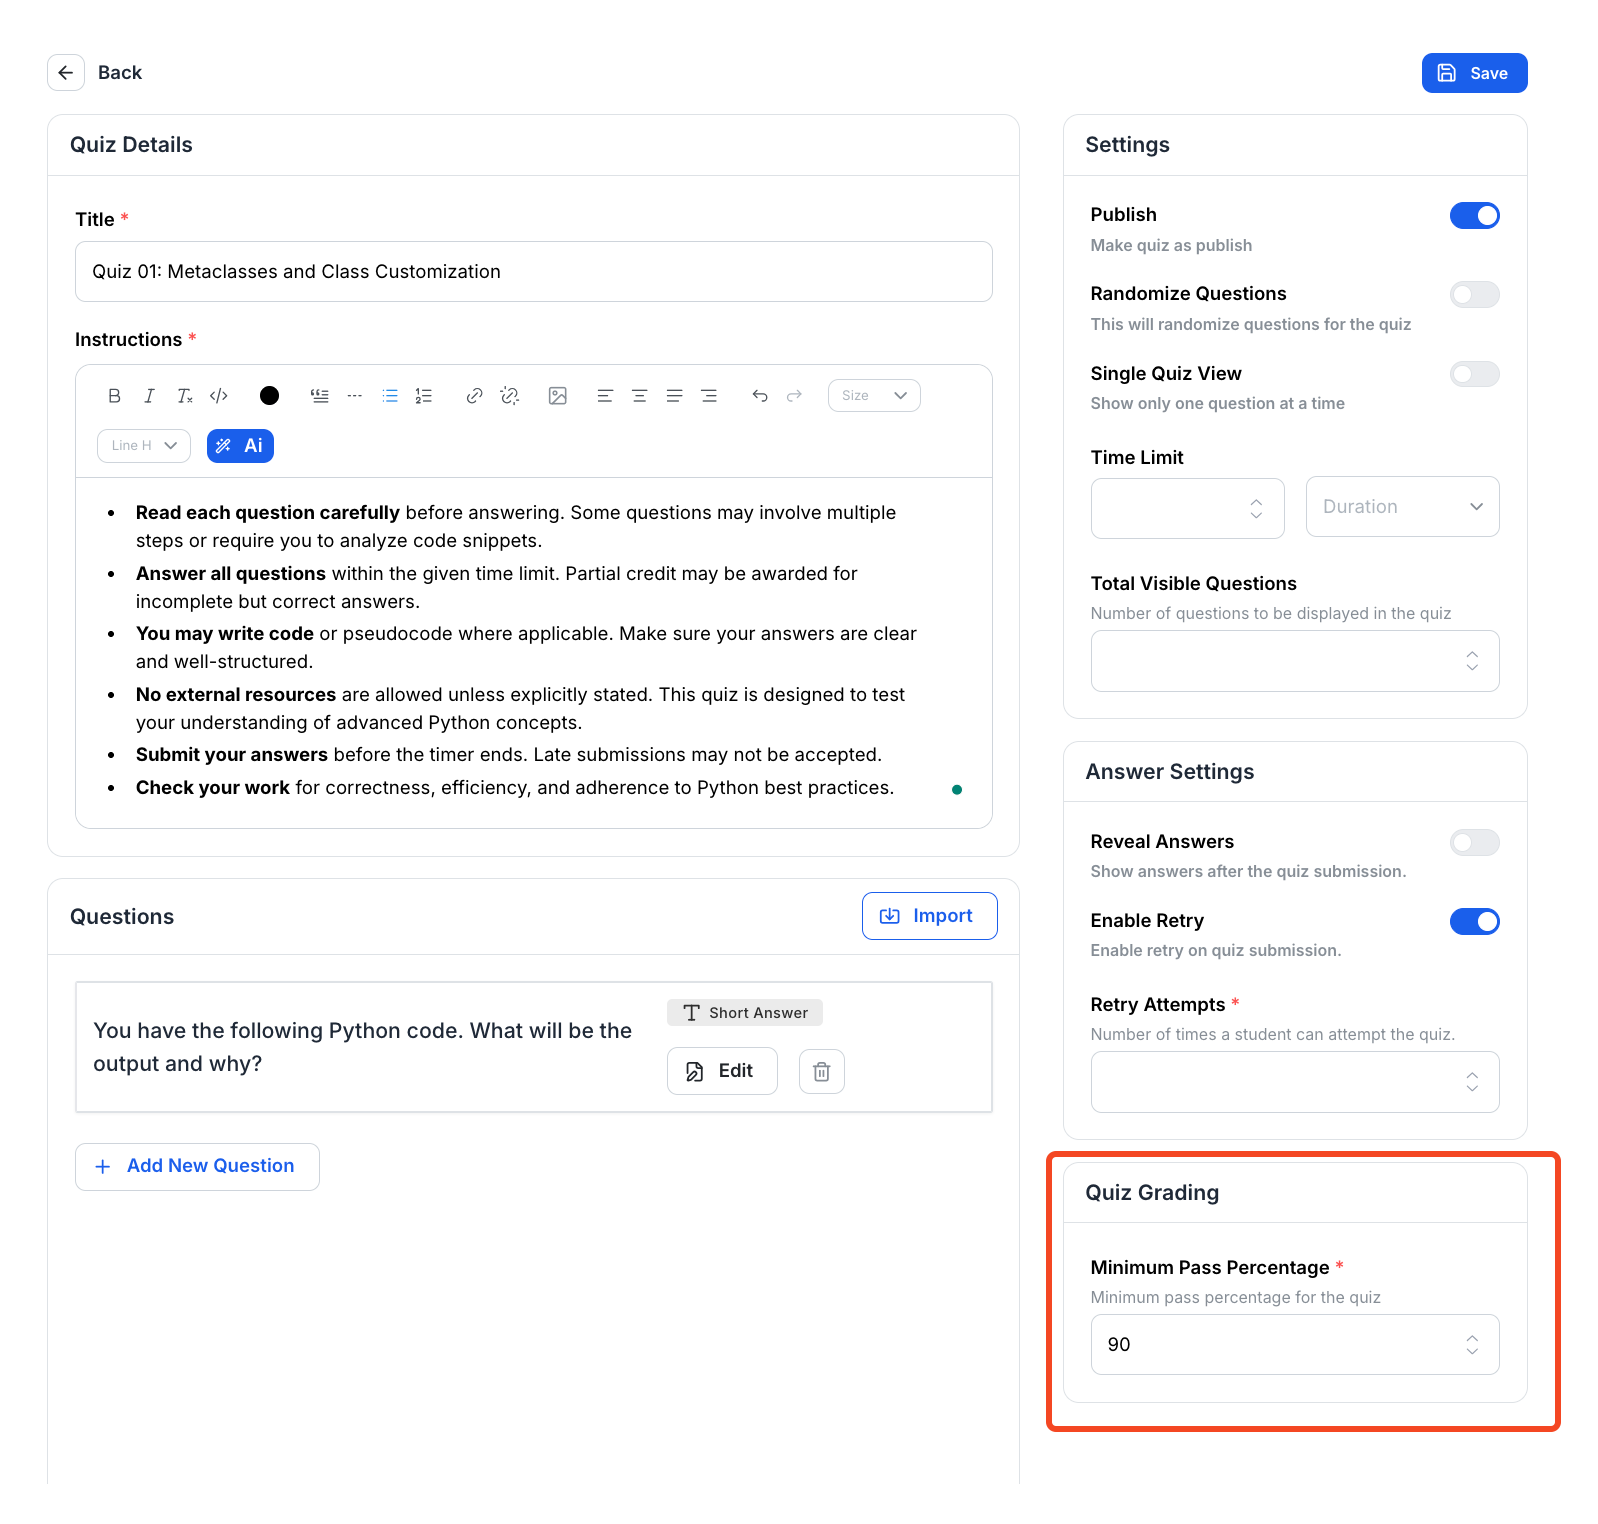
11. Now, let’s configure some settings for the quiz. First off, set a minimum pass percentage.
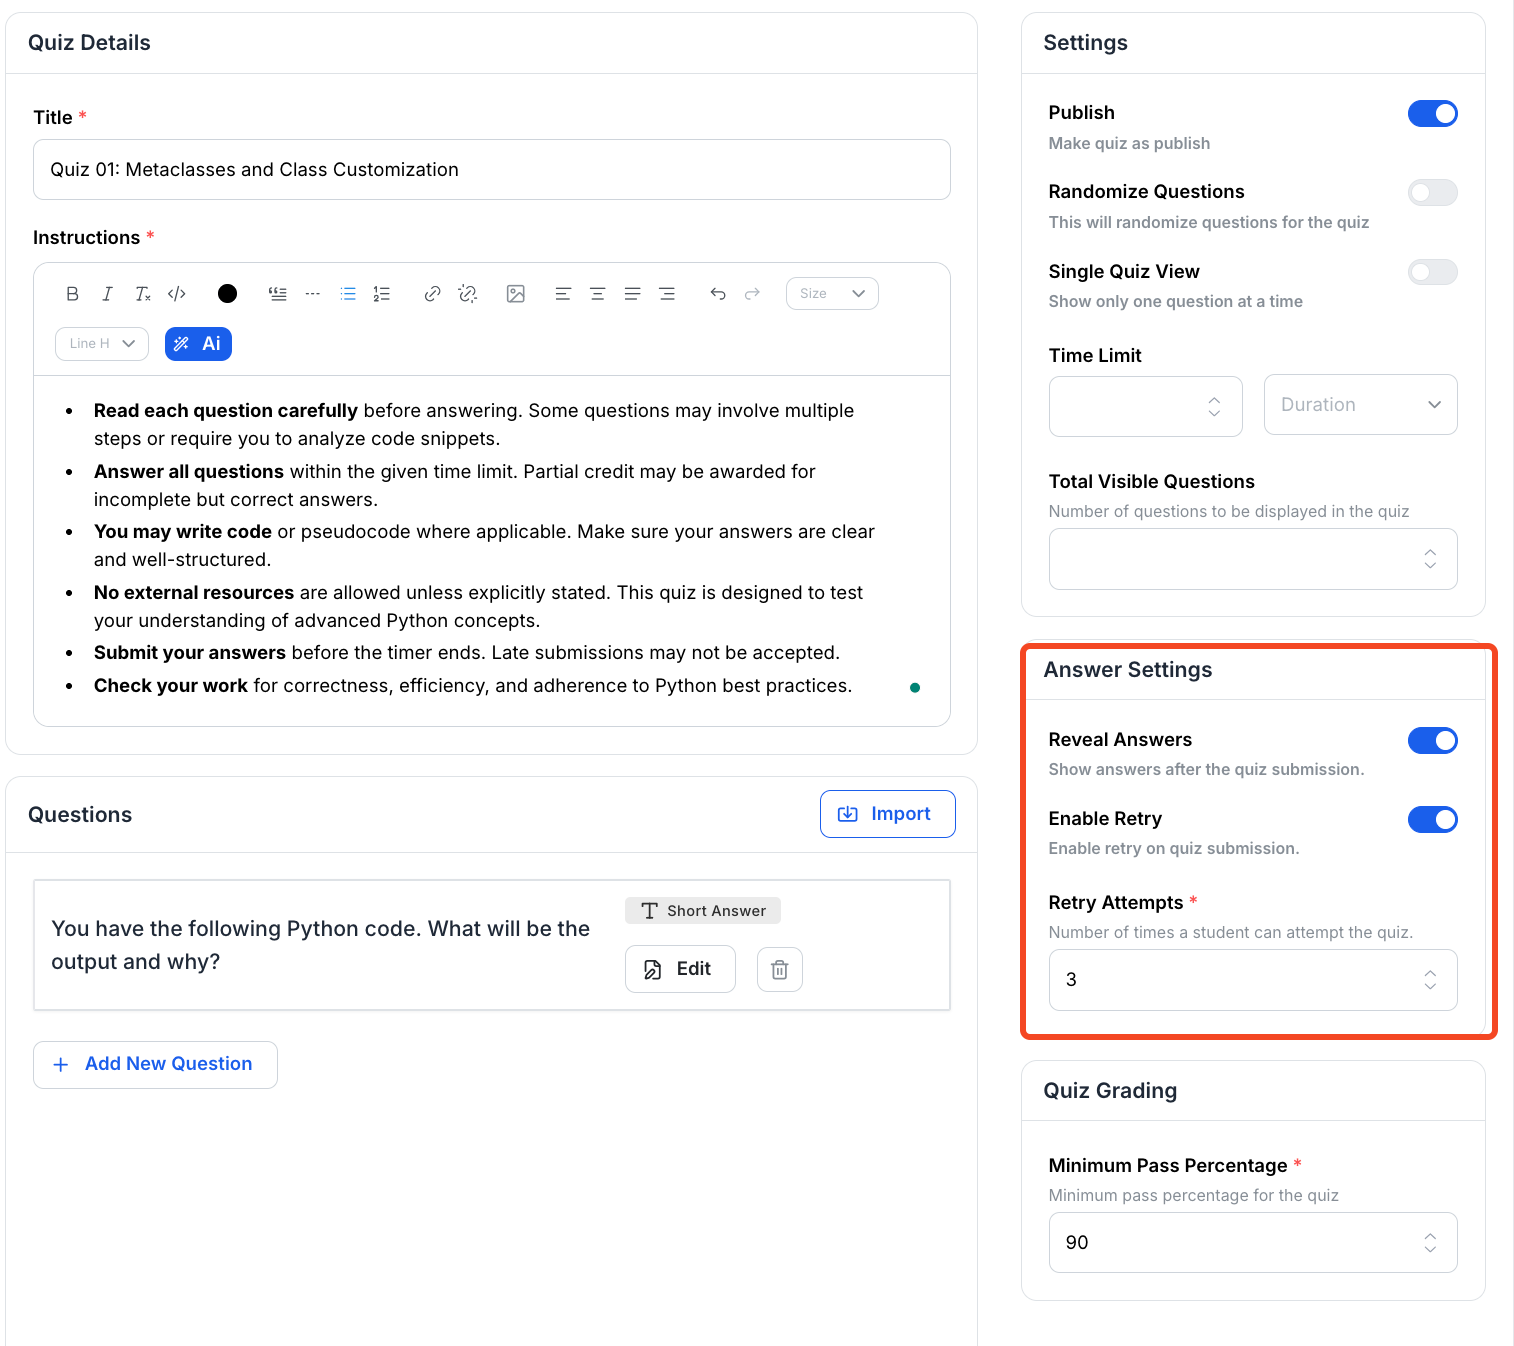
12. Then define if you want to reveal the answers after the students submit the quiz, and if they will be able to attempt the quiz multiple times.
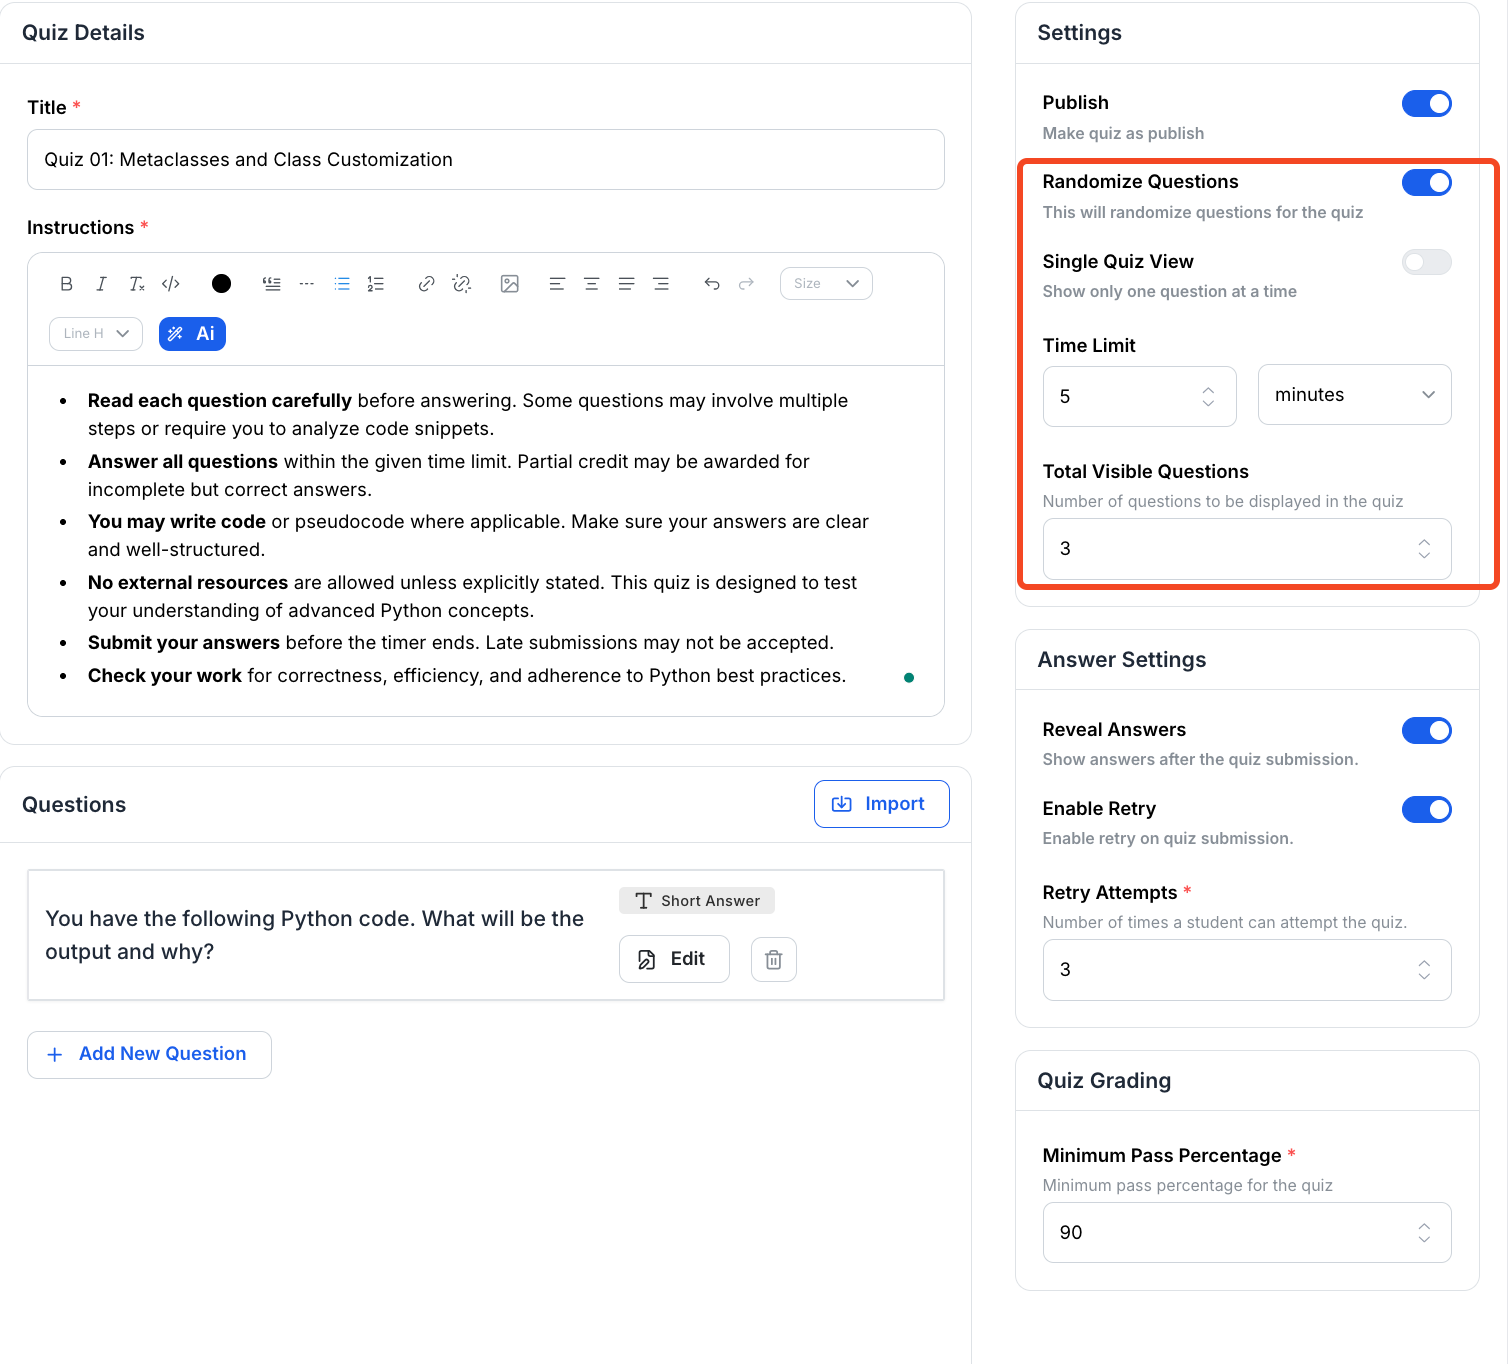
13. Next, let’s work on the quiz visibility. Define if you want to randomize questions, if you want each question to appear separately or not, and if not, how many questions do you want to show the students at a time. You can also define the duration of the quiz.
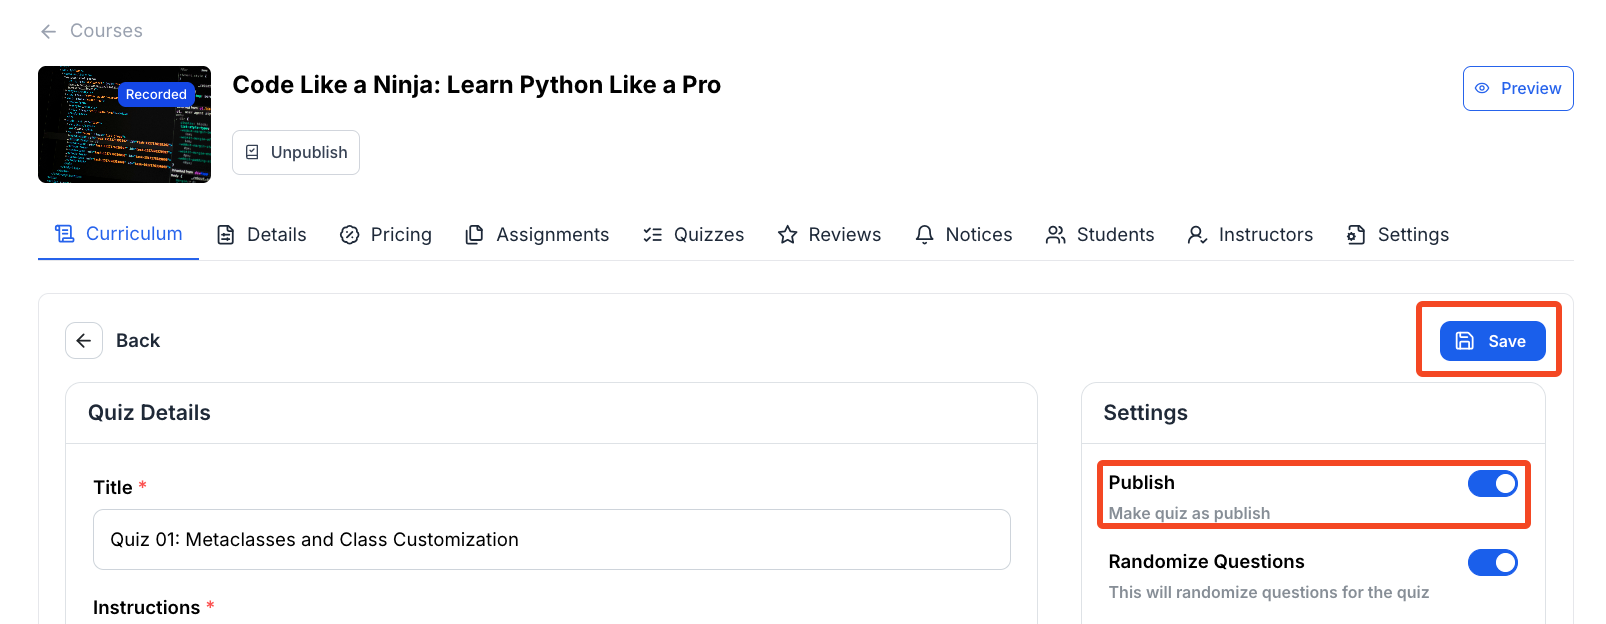
14. Finally, when you are ready, toggle on the “Publish” button and click on “Save” to publish your quiz.