To add a new chapter to your existing course, follow the steps below:
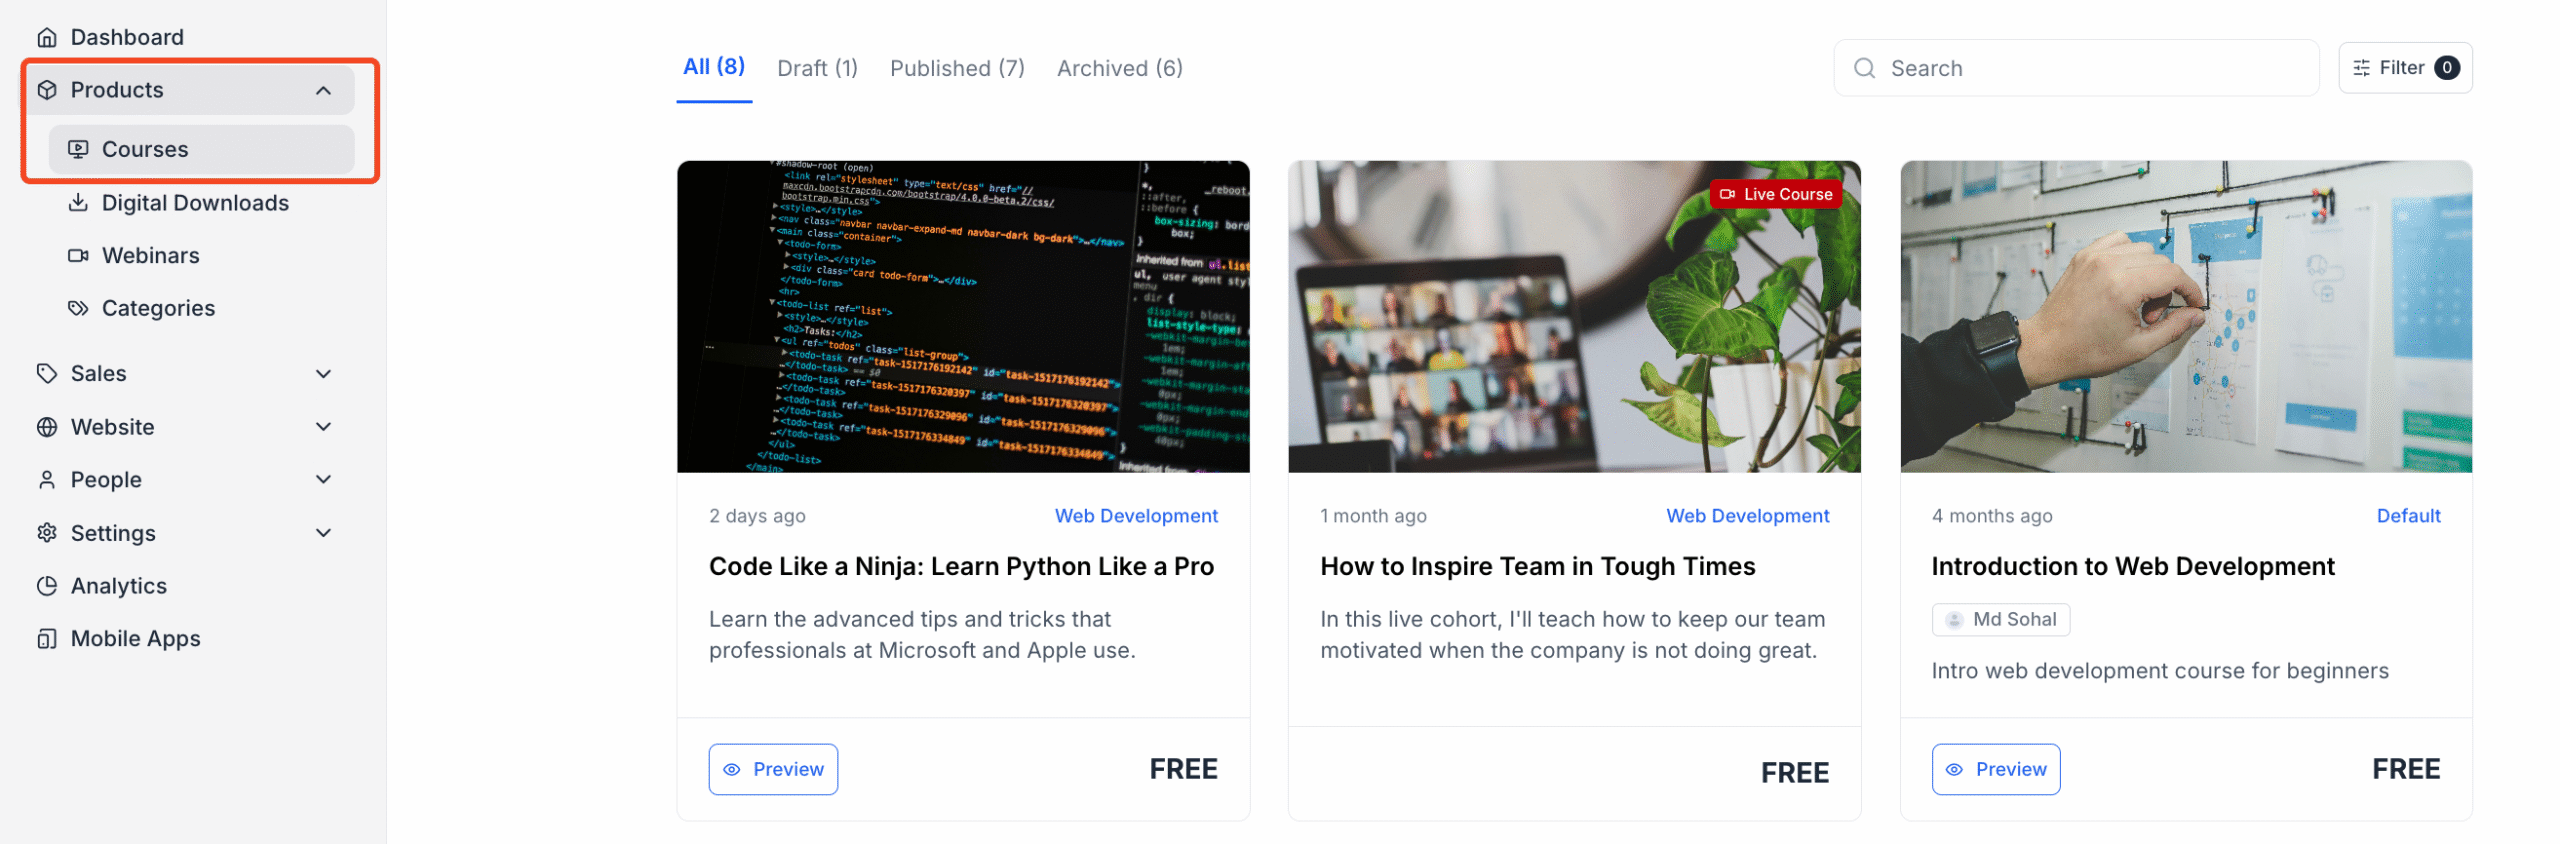
- From your dashboard, expand “Products” and click on “Courses”. Then choose the course where you want to add the new lesson.
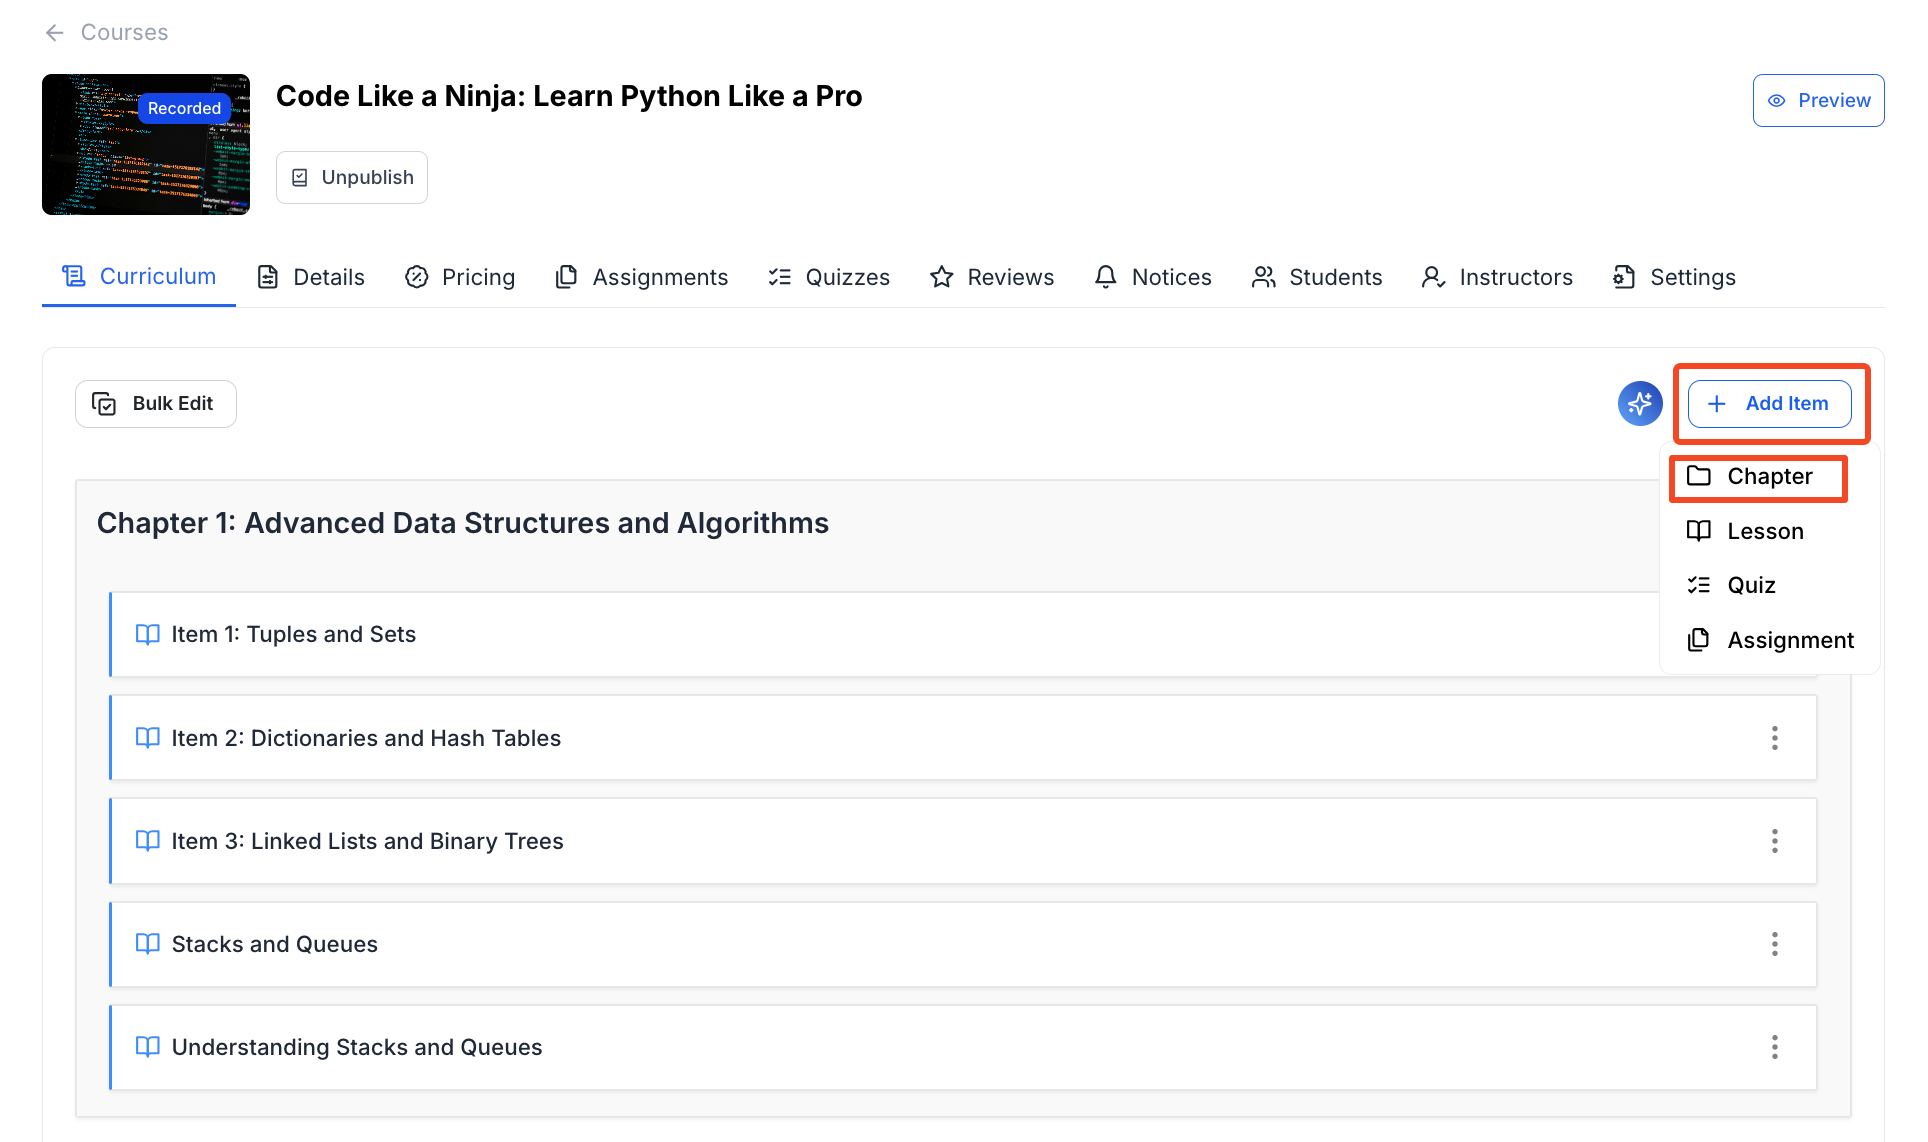
2. Once you click on the course, you will be taken to the course editor. From the course editor, click on the “Add Item” and select “Chapter” from the dropdown.
3. Then, a popup will appear where you can add the chapter title, chapter description, and the chapter access.
Now, when writing the chapter title, make sure to keep your chapter title clear and specific. For example, instead of “Chapter Four: Functions,” a better title would be “Chapter Four: Creating Reusable Code with Functions.”
For your chapter description, you should give the student a glimpse of what the chapter would contain. For example, you can check the screenshot.
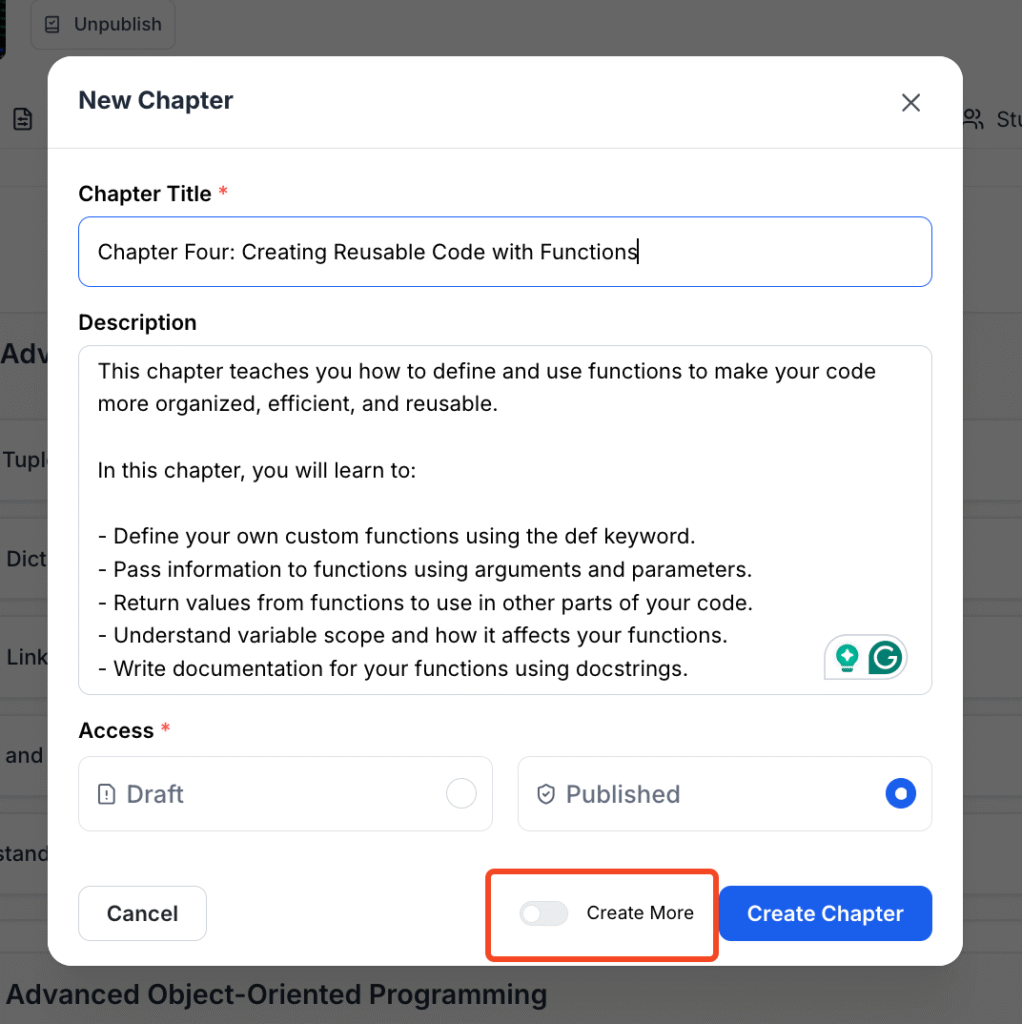
4. If you don’t want to publish this chapter yet, then select the “Draft” option under access. By default, the toggle is set to publish.
5. Also, if you want to add more chapters, then toggle the “Create More” button on. Another popup will appear so you can add information about the new chapter again.
6. Once you are done, simply click on the “Create Chapter” button to finish creating the chapter.