To set up pricing for your bundle, follow these steps:
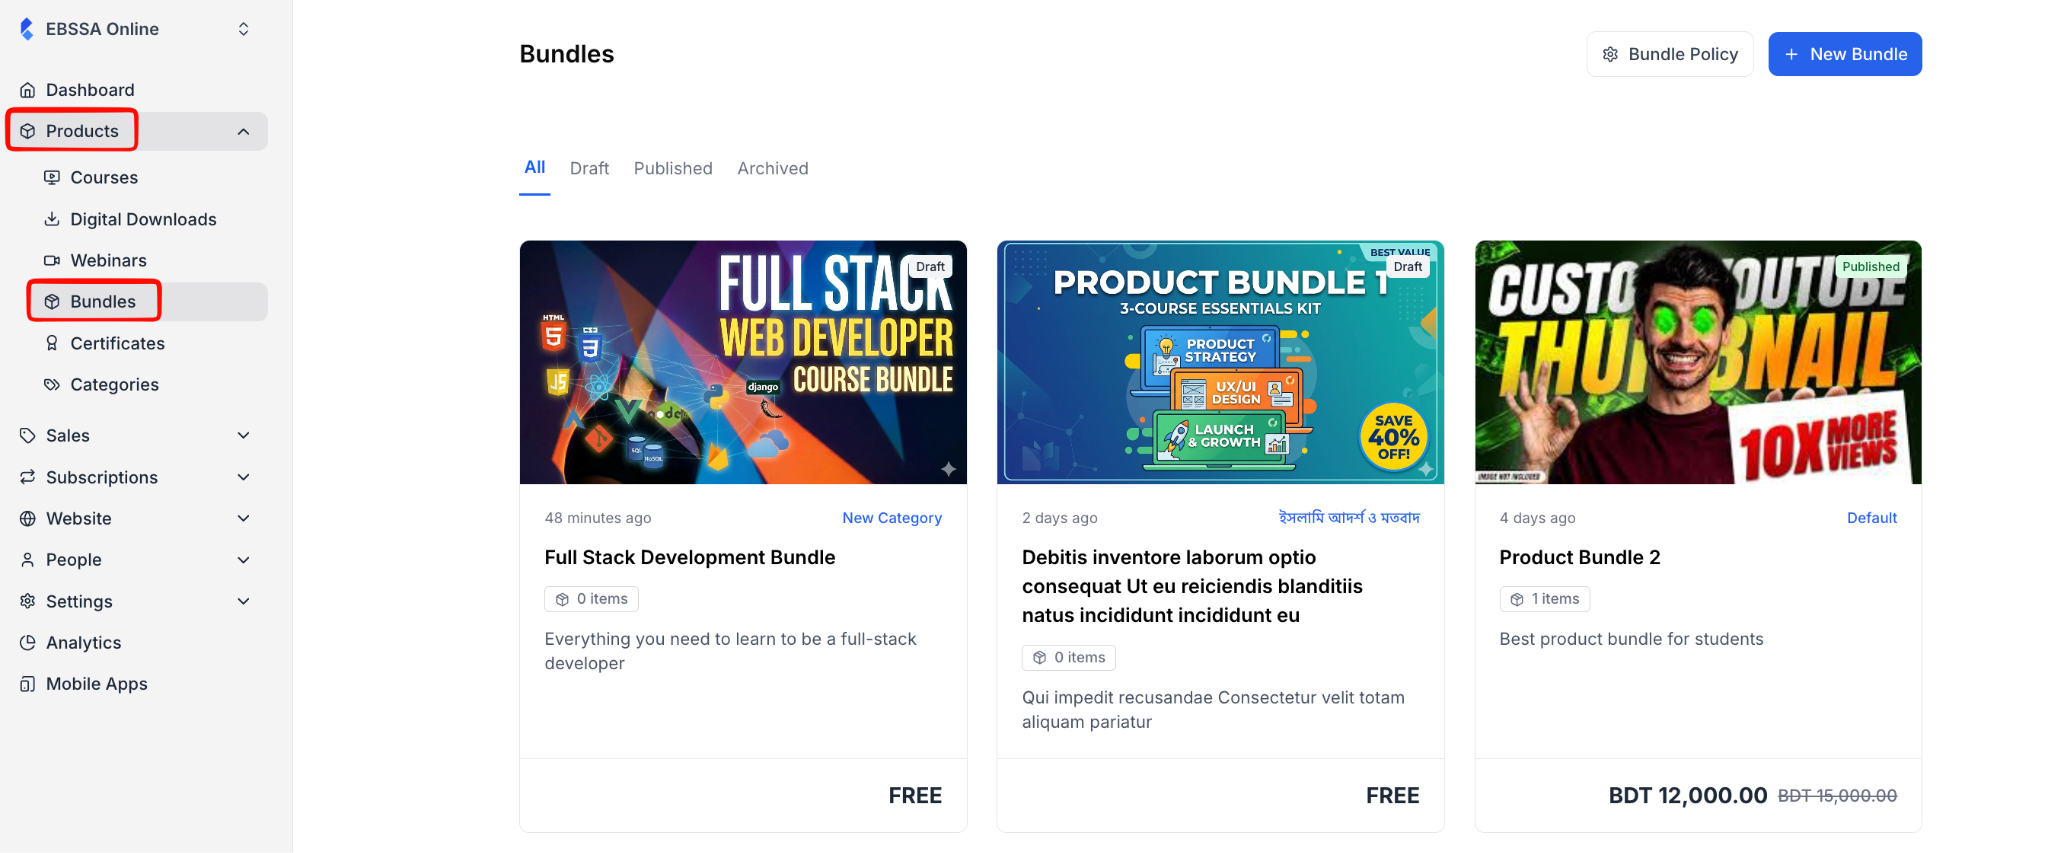
1. From your dashboard, go to Products> Bundles. Then select a bundle for which you want to set up the pricing.
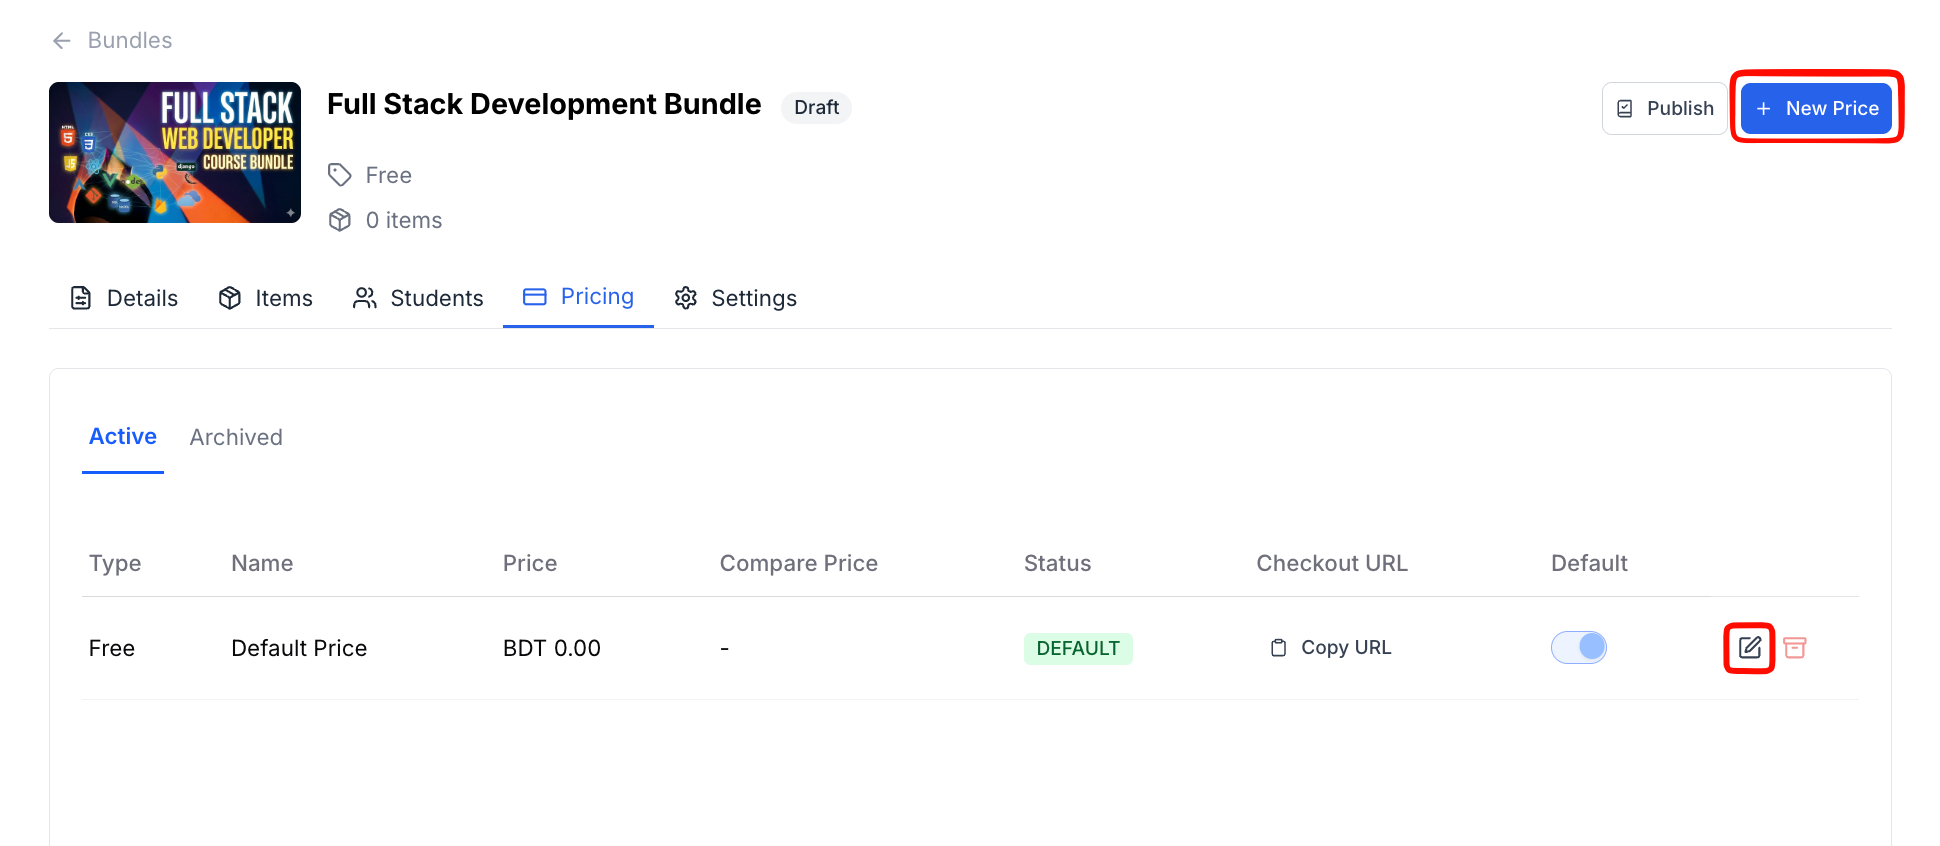
2. After selecting a product bundle, you will be taken to the bundle editor, where you can see a tab named “Pricing”. Click on it.
On the pricing tab, you can see the existing pricing for your product bundle. By default, a “free” pricing will be there. You can either edit the “free” pricing or create a new price.
To edit the current free pricing, click on the “Edit” icon beside the pricing. Alternatively, to create a new price, click on the “New Price.”
Or, you can leave it as it is if you want to offer the bundle for free.
3. At the pricing editor, select “One Time” to charge your students for the bundle. Then, input a name and a description for the pricing plan.
4. Then enter the amount you want to charge in the Price field. The Compare Price field is optional, but it’s a great way to show learners they’re getting a deal. Enter the original (higher) price here, and learners will see it crossed out next to your actual price.
5. At the bottom of the form, you’ll see a “Default Price” toggle. Turn this on if you want learners to see this price first when they land on the bundle’s purchase page.
This is useful when you have multiple price options and want to highlight one. Only one price per bundle can be the default.
If you turn this on for a new price, it’ll automatically replace whatever was set as the default before. Leave it off if this is a secondary option
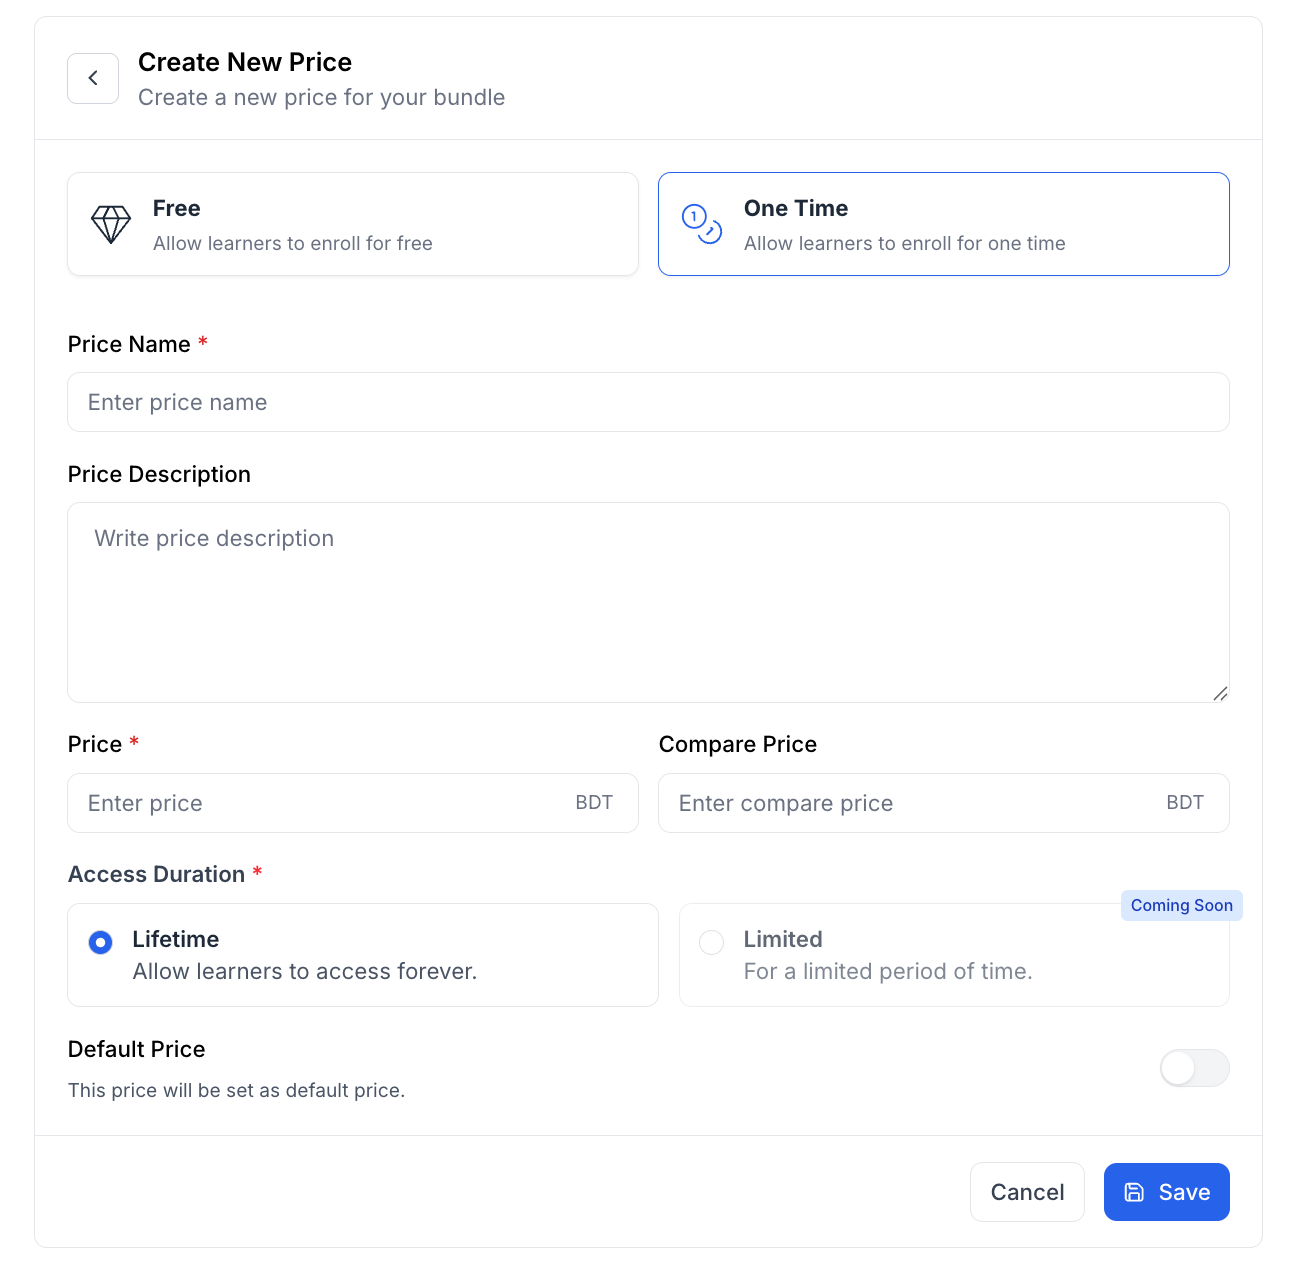
6. Once you’re done with everything, click on the “Save” button to save your pricing.