To display bundles in the navigation menu, follow these steps:
1. From your dashboard, go to Websites > Navigation. Then you will see all the available menu items for your website. The bundle menu item is available by system default, so just find “Bundles” from the list and enable the two toggle buttons beside it.
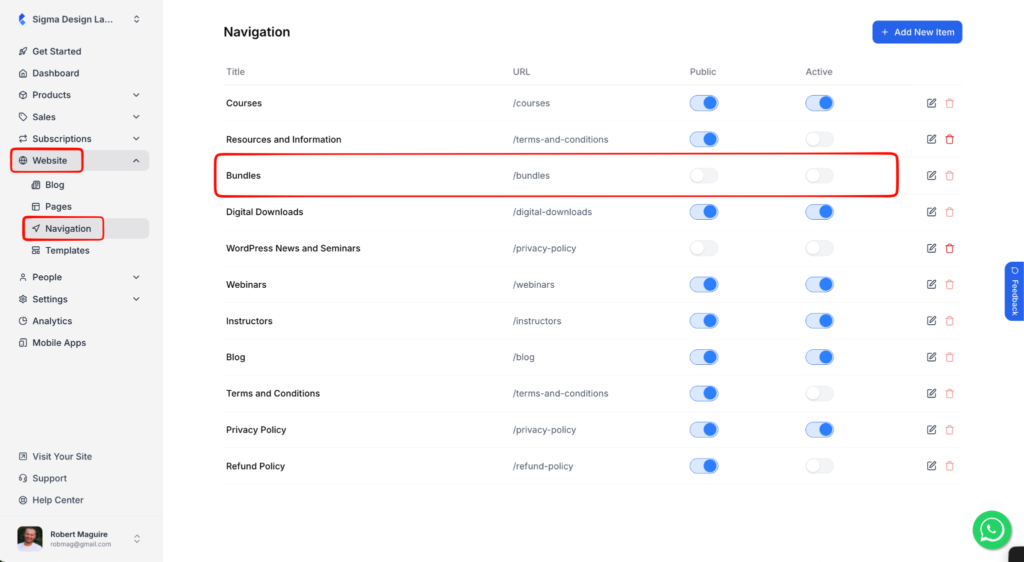
The toggle buttons are for making the menu item public and active. When you active it, it will be displayed in the navigation menu, and when you make it public, it will be displayed to everyone who visits your website. If you do not make it public, it will only be visible to registered users.
2. Now, if you want to edit this menu item further, click on the “Edit” icon.
3. On the new screen, you will see many options to customize the menu item.
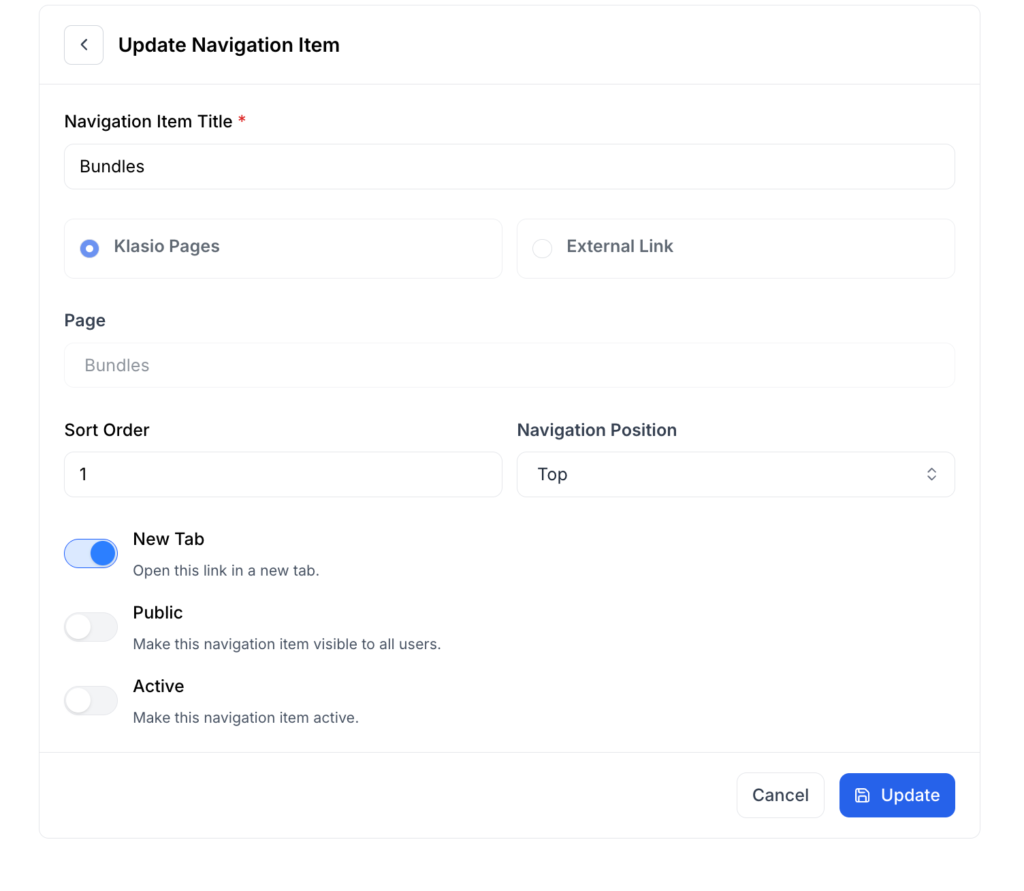
For starters, you can change the title, its position in the navigation, whether to place it in the header or footer, and more.
Since this is a system default menu item, you can’t add a custom link to this menu item.
4. To change where the menu item appears, use the “Sort Order” field. Just enter the position you want, minus 1 (positions start at 0).
For example, enter 2 to place it 3rd, or 0 to place it 1st.
5. To put the menu item in the footer, choose “Bottom” from the navigation position. If you want to keep it in the header, leave it as it is.
6. Finally, there is one additional toggle button apart from the “Public” and “Active”, which is “New Tab”. If you want the bundle page to open in a new tab, then toggle the new tab button on.
7. When you are done, click on the “Update” button to save your changes.