To customize the bundle policy, follow the steps below:
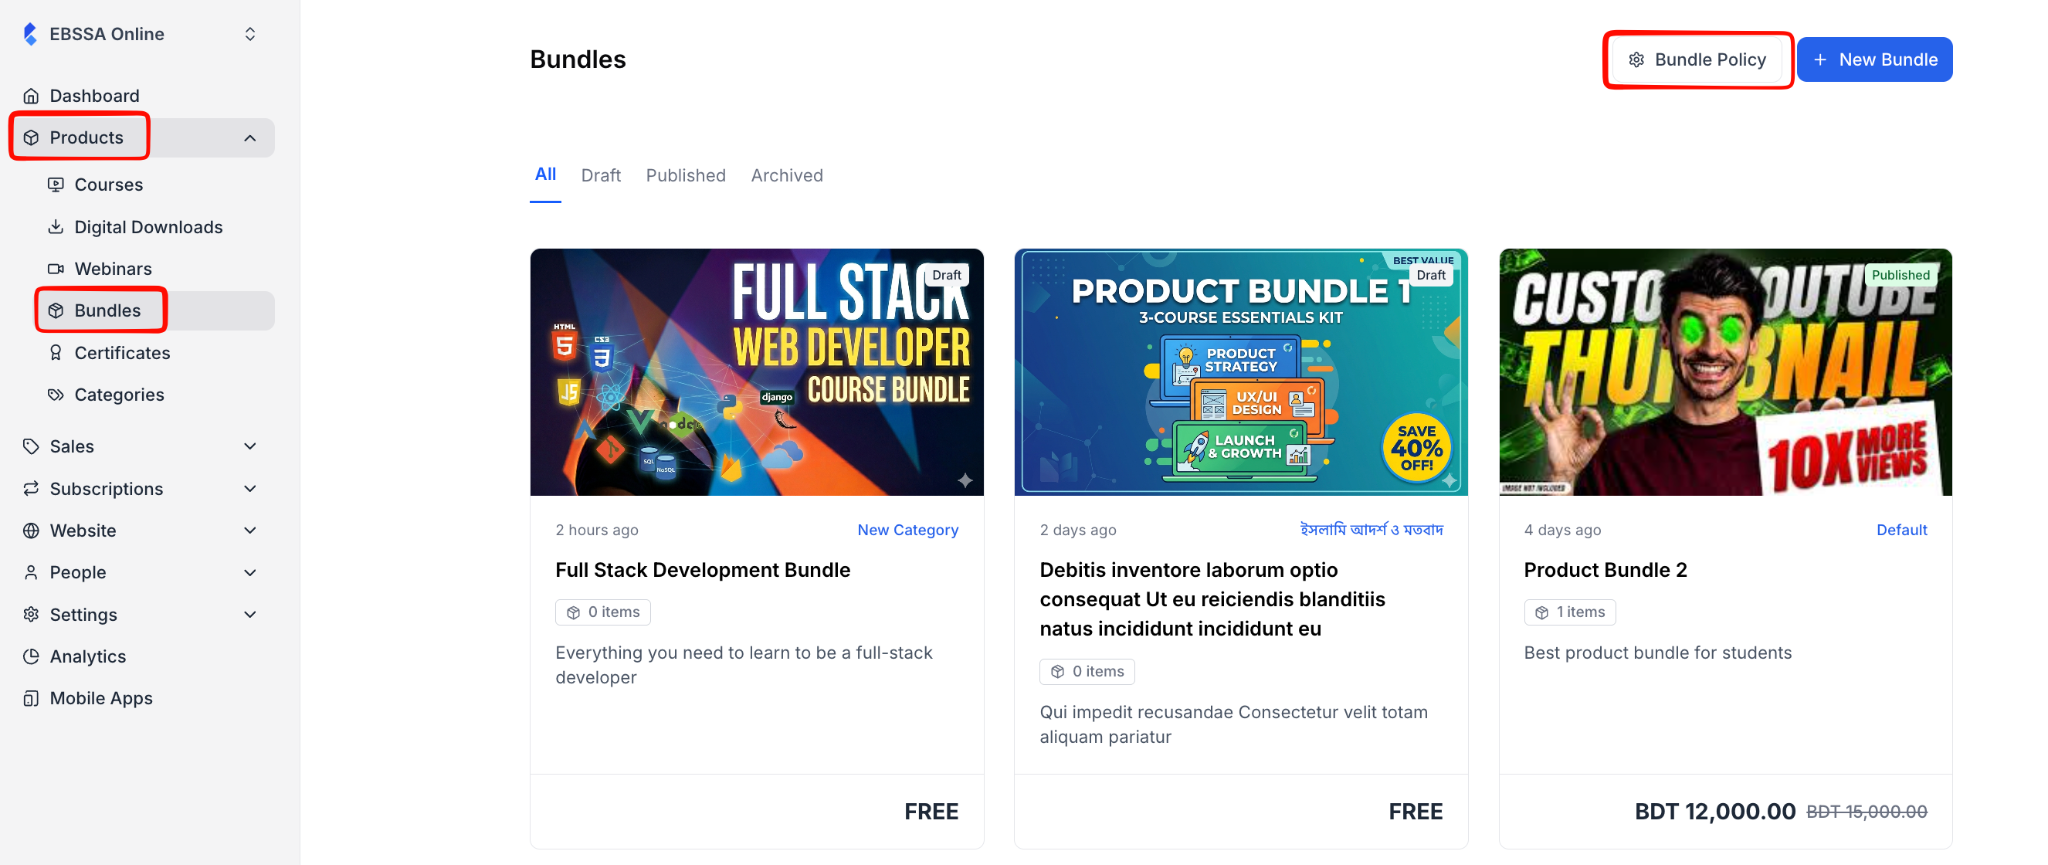
1. From your dashboard, go to Products> Bundles. Then click on the “Bundle Policy” button.
2. Then, you will be taken to the bundle policy page. This page lets you set platform-wide defaults that apply to every bundle in your tenant. Configuring these once saves you time and keeps your bundles consistent, since you won’t have to set the same options each time you create a new bundle.
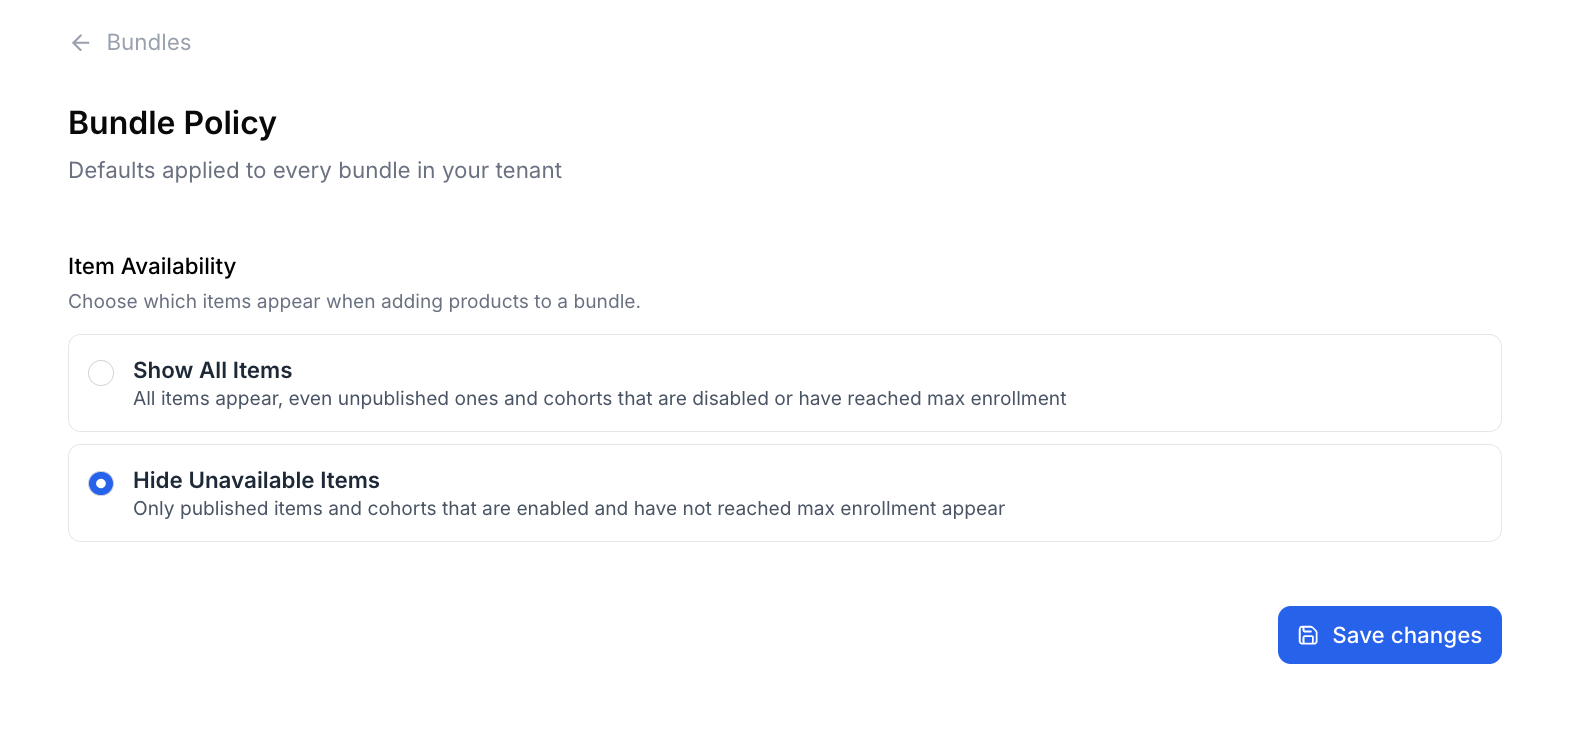
The bundle policy page has two options:
- Show All Items: Every item in your catalog will appear in the picker, including unpublished ones and cohorts that are disabled or have already reached max enrollment. Use this if you want full visibility while building bundles. For example, when you’re planning ahead and want to add a product that isn’t published yet.
- Hide Unavailable Items: Only published items and cohorts that are enabled and still have spots available will appear in the picker. This is the safer default, since it prevents you from accidentally adding products to a bundle that learners can’t actually access.
3. Once you are done, click on the “Save Changes” button.