To customize your product bundle settings, follow these steps:
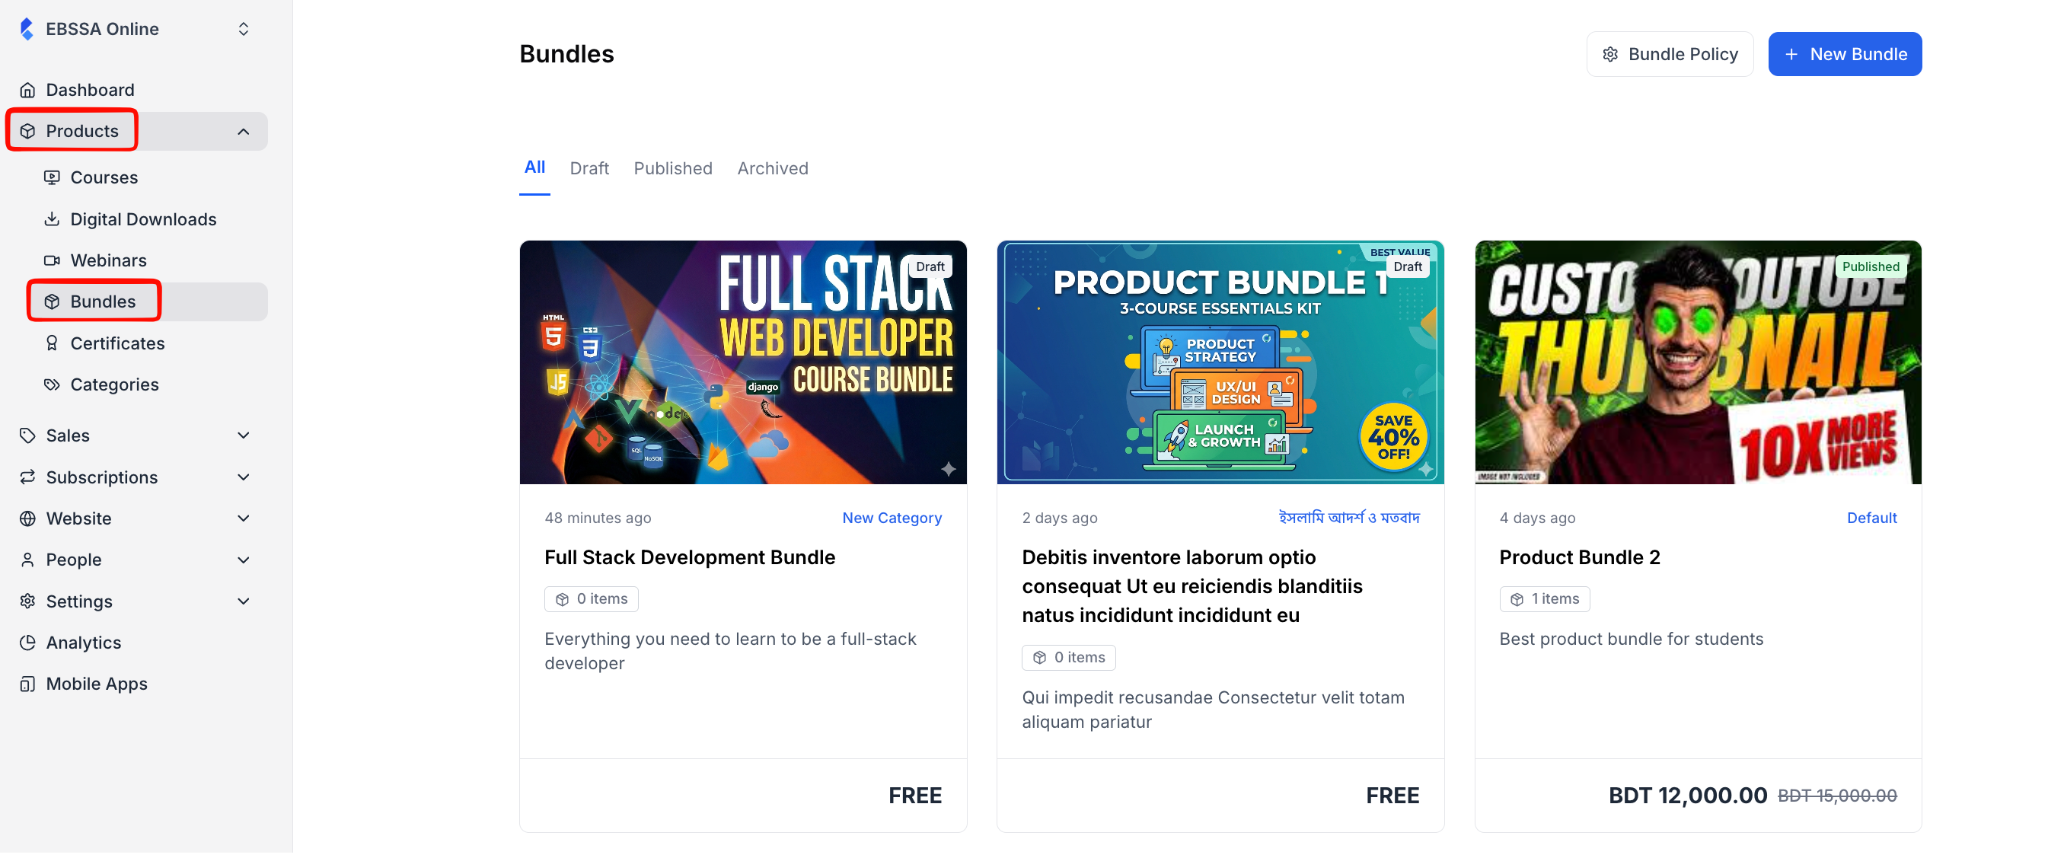
1. From your dashboard, go to Products> Bundles. Then select a bundle for which you want to customize settings.
2. After selecting a product bundle, you will be taken to the bundle editor, where you can see a tab named “Settings.” Click on it.
The settings tab has 4 additional tabs. We will explore them one by one.
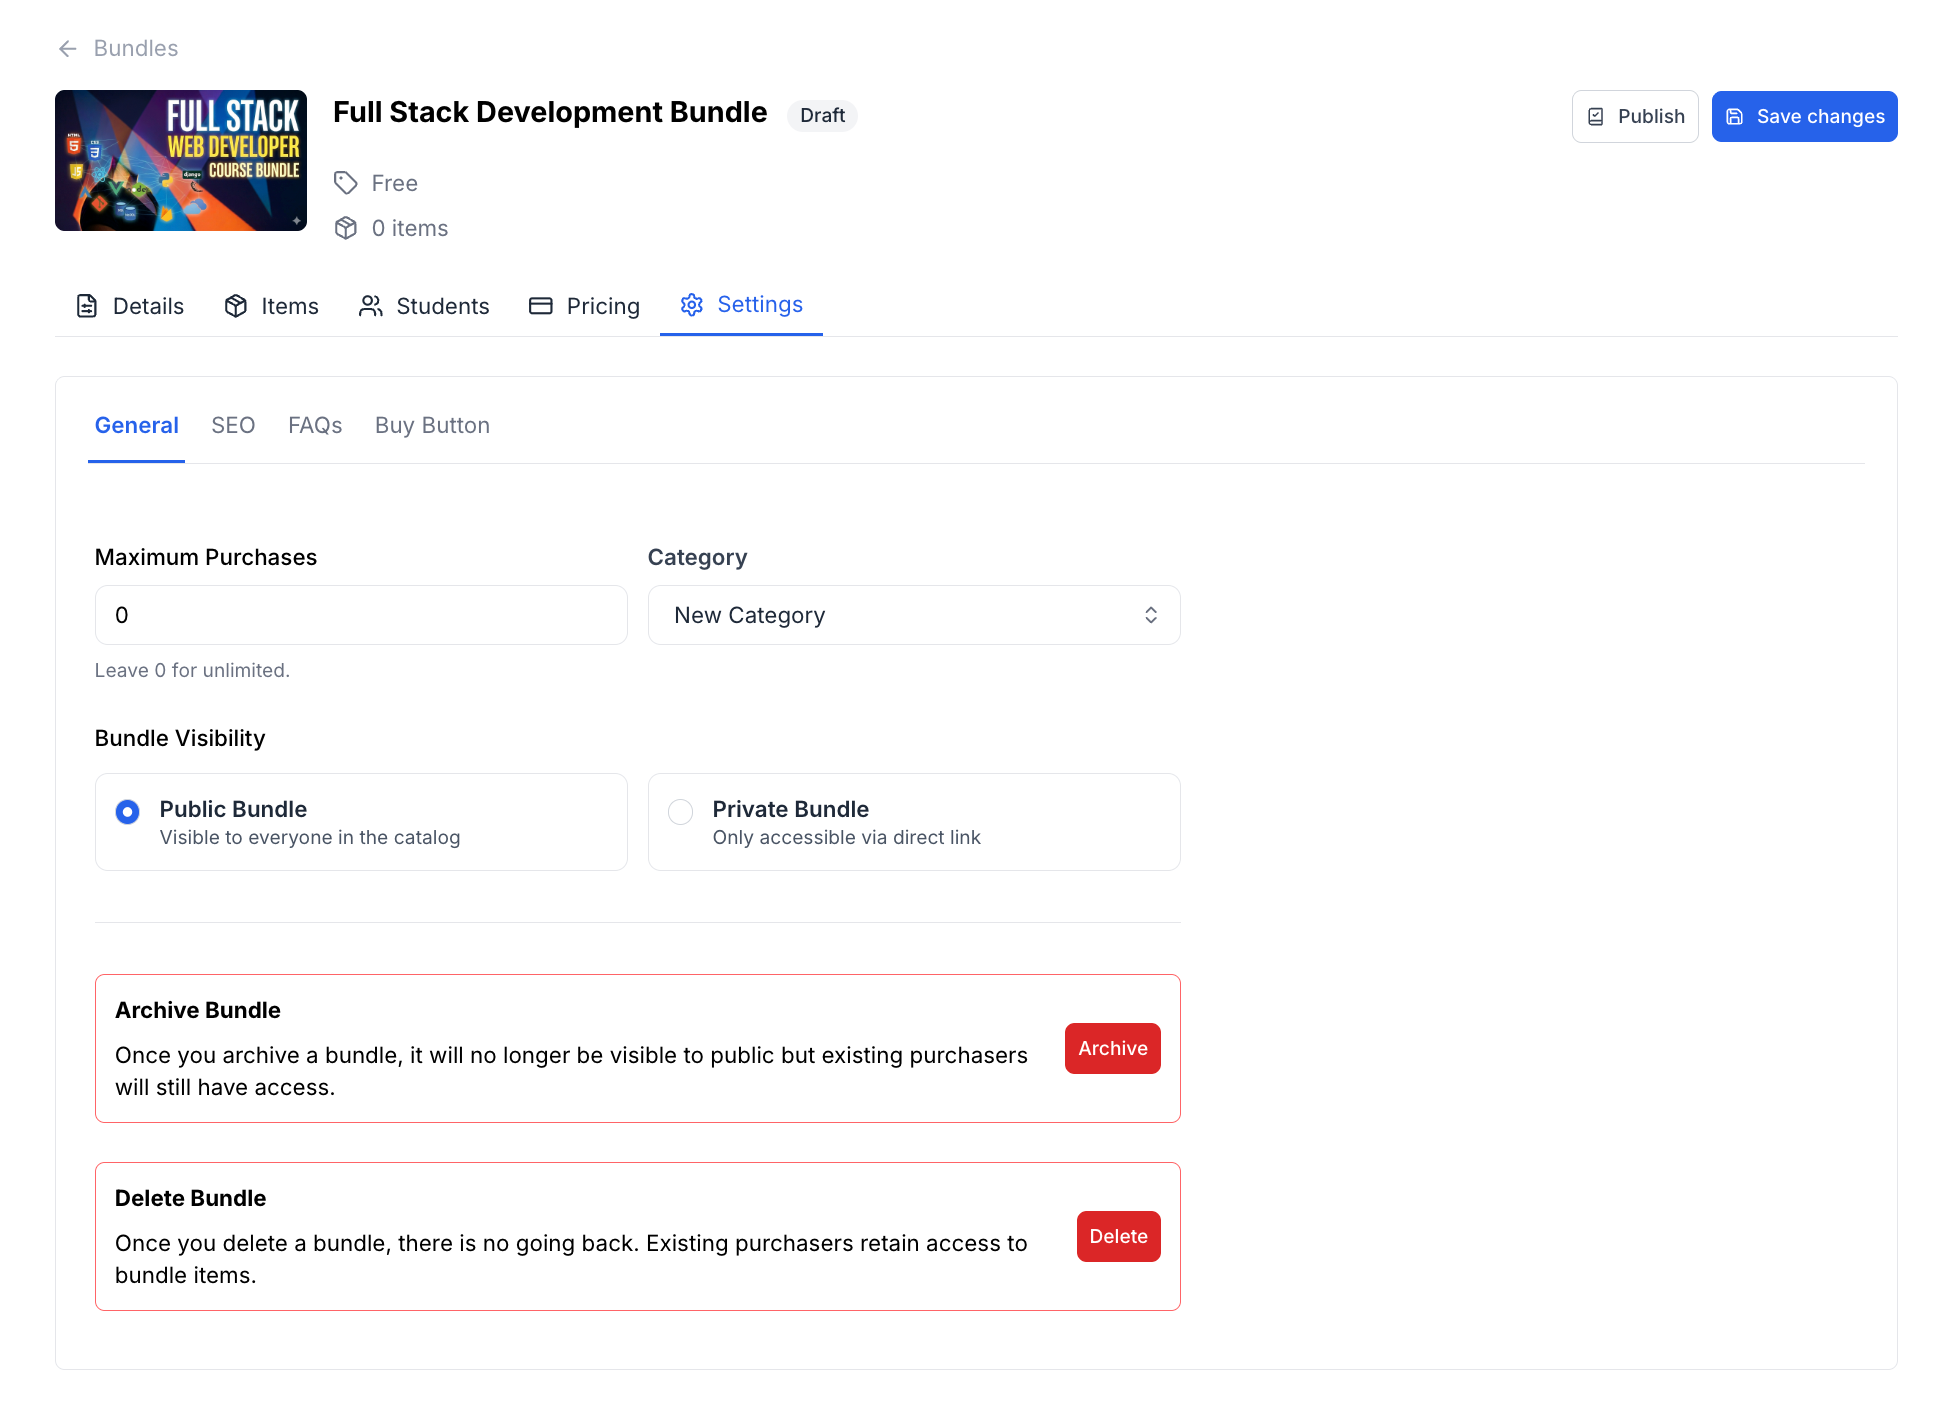
First, it’s the “General” tab.
- Maximum Purchases: Define the maximum number of times your bundle can be purchased. This is useful when you want to run a limited offer or cap enrollment. Leave the value as 0 if you want unlimited purchases.
- Category: Assign your bundle to one or more categories from the dropdown. Categories help you organize bundles in your catalog and make it easier for learners to find what they’re looking for.
- Bundle Visibility: Choose how your bundle is discovered by learners. You have two options:
- Public Bundle: Your bundle will be visible to everyone in your catalog. Anyone browsing your site can find it. Use this for bundles you want to actively sell and promote.
- Private Bundle: Your bundle will only be accessible via a direct link. It won’t appear in your public catalog. Use this for invite-only offers, exclusive deals, or bundles you want to share with a select group of people.
- Archive Bundle: If you no longer want to sell a bundle but you don’t want to remove it entirely, you can archive it. Once you archive a bundle, it will no longer be visible to the public, but existing purchasers will still have access to the content they bought.
- Delete Bundle: If you want to remove a bundle from your site permanently, click the Delete button. Keep in mind that once you delete a bundle, there is no going back. Existing purchasers will still retain access to the bundle items, but the bundle itself will no longer exist on your site.
The second tab is “SEO”:
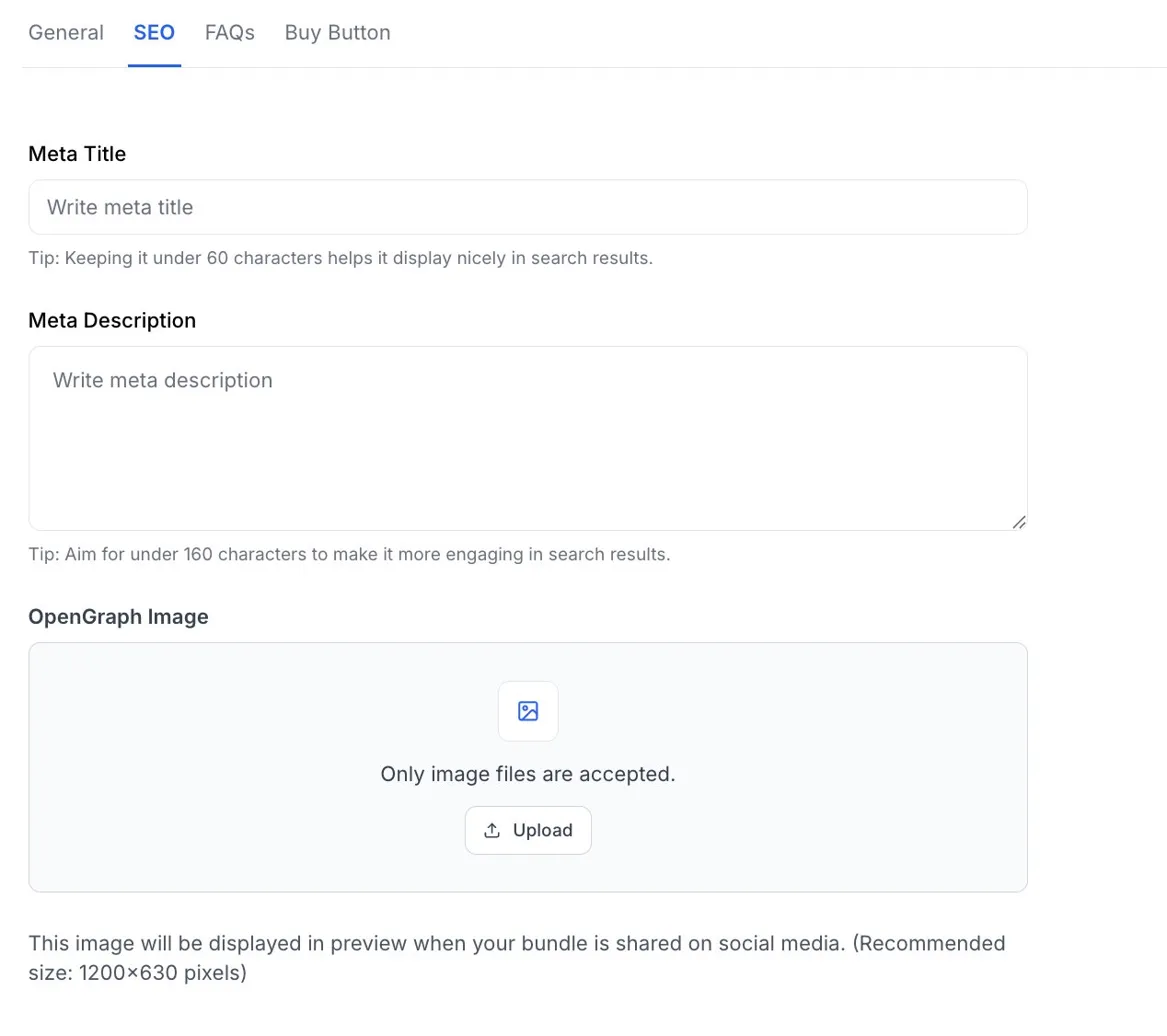
- Meta Title: Set the title that appears in search engine results when someone finds your bundle. A good meta title clearly describes what your bundle is about and includes keywords learners might search for.
Tip: Keeping it under 60 characters helps it display nicely in search results without getting cut off.
- Meta Description: Write a short summary of your bundle that appears below the meta title in search results. This is your chance to convince someone to click through to your bundle, so highlight the value and what learners will get.
Tip: Aim for under 160 characters to make it more engaging and avoid truncation in search results.
- OpenGraph Image: Upload an image that will be displayed as a preview when your bundle is shared on social media platforms like Facebook, X, or LinkedIn. Only image files are accepted, and the recommended size is 1200×630 pixels for the best display across platforms.
The next tab is FAQs:
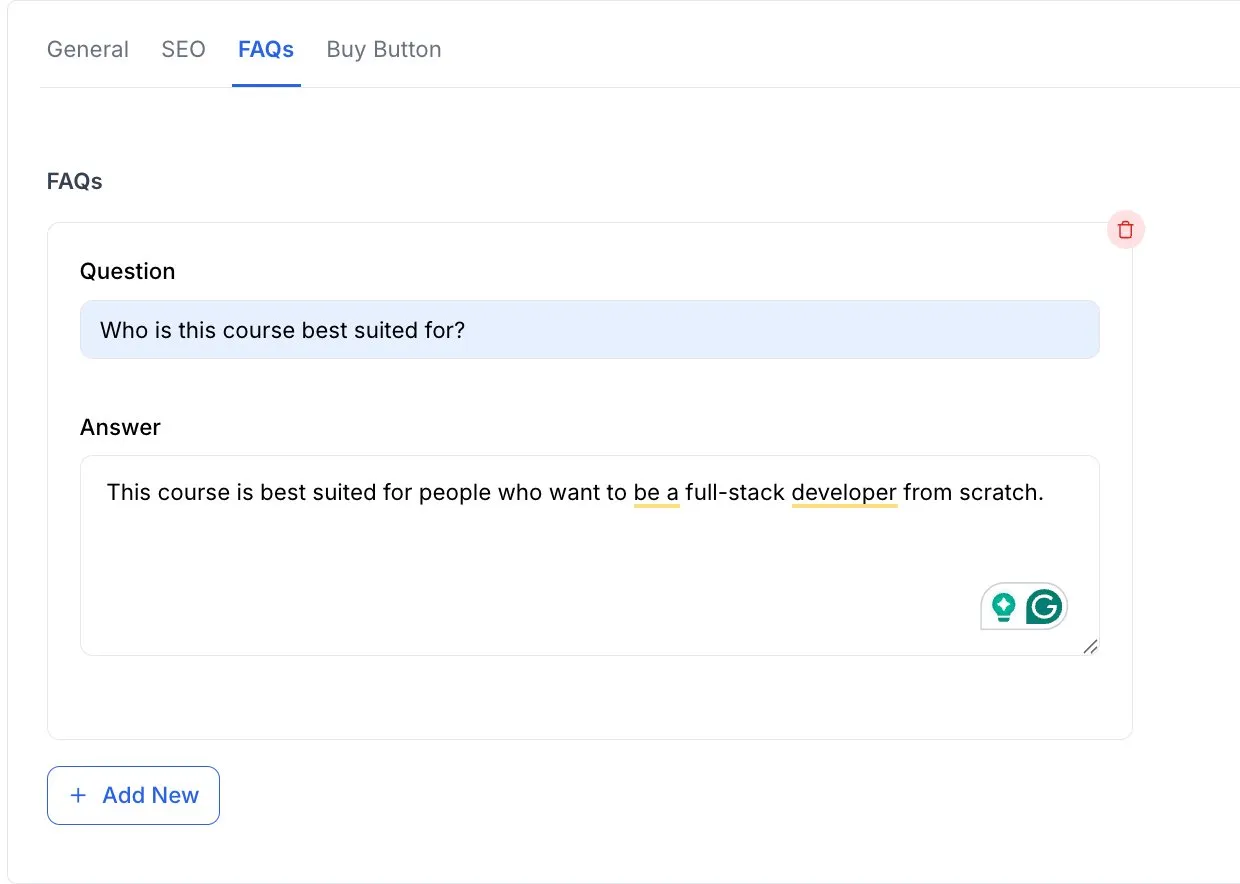
- Add New: Click this button to add an FAQ to your bundle. You can add as many FAQs as you need to cover the most common questions. Once you click on the button, two fields will appear, one for the question and the other for the answer.
Tip: Try to anticipate what learners might want to know before buying — things like prerequisites, time commitment, what’s included, access duration, and support options are great topics to cover.
- Question: Type a question that learners might ask about your bundle.
- Answer: Provide a clear, concise answer to the question above.
- Delete (trash icon): Click the red trash icon in the top-right corner of any FAQ card to remove it.
The final tab is for the CTA button.
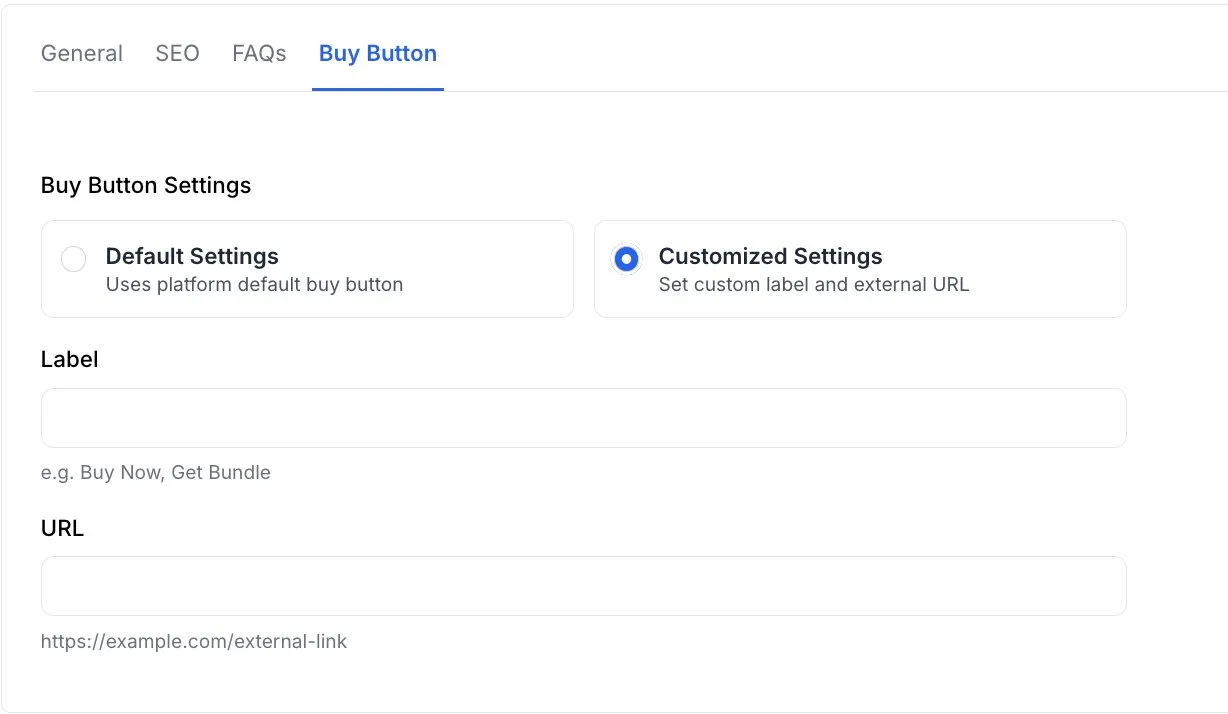
- Default Settings: Uses the platform’s default buy button, which takes learners through Klasio’s standard checkout flow. This is the right choice for most bundles, since it keeps everything connected to your Klasio store, payments, and learner accounts.
- Customized Settings: Replaces the default buy button with a custom one that links to an external URL. Use this when you want to send learners somewhere else to complete the purchase. For example, an external sales page, a payment platform you use outside Klasio, or a waitlist form for an upcoming launch.
- Label: Set the text that appears on the buy button.
- URL: Enter the external link learners will be sent to when they click the buy button.
3. Once you are done, click on the “Save Changes” button.