With Klasio, you don’t need to create recorded courses if you don’t want to. You can just set up a live course, go online, and teach. Here’s how you can create a live course with Klasio:
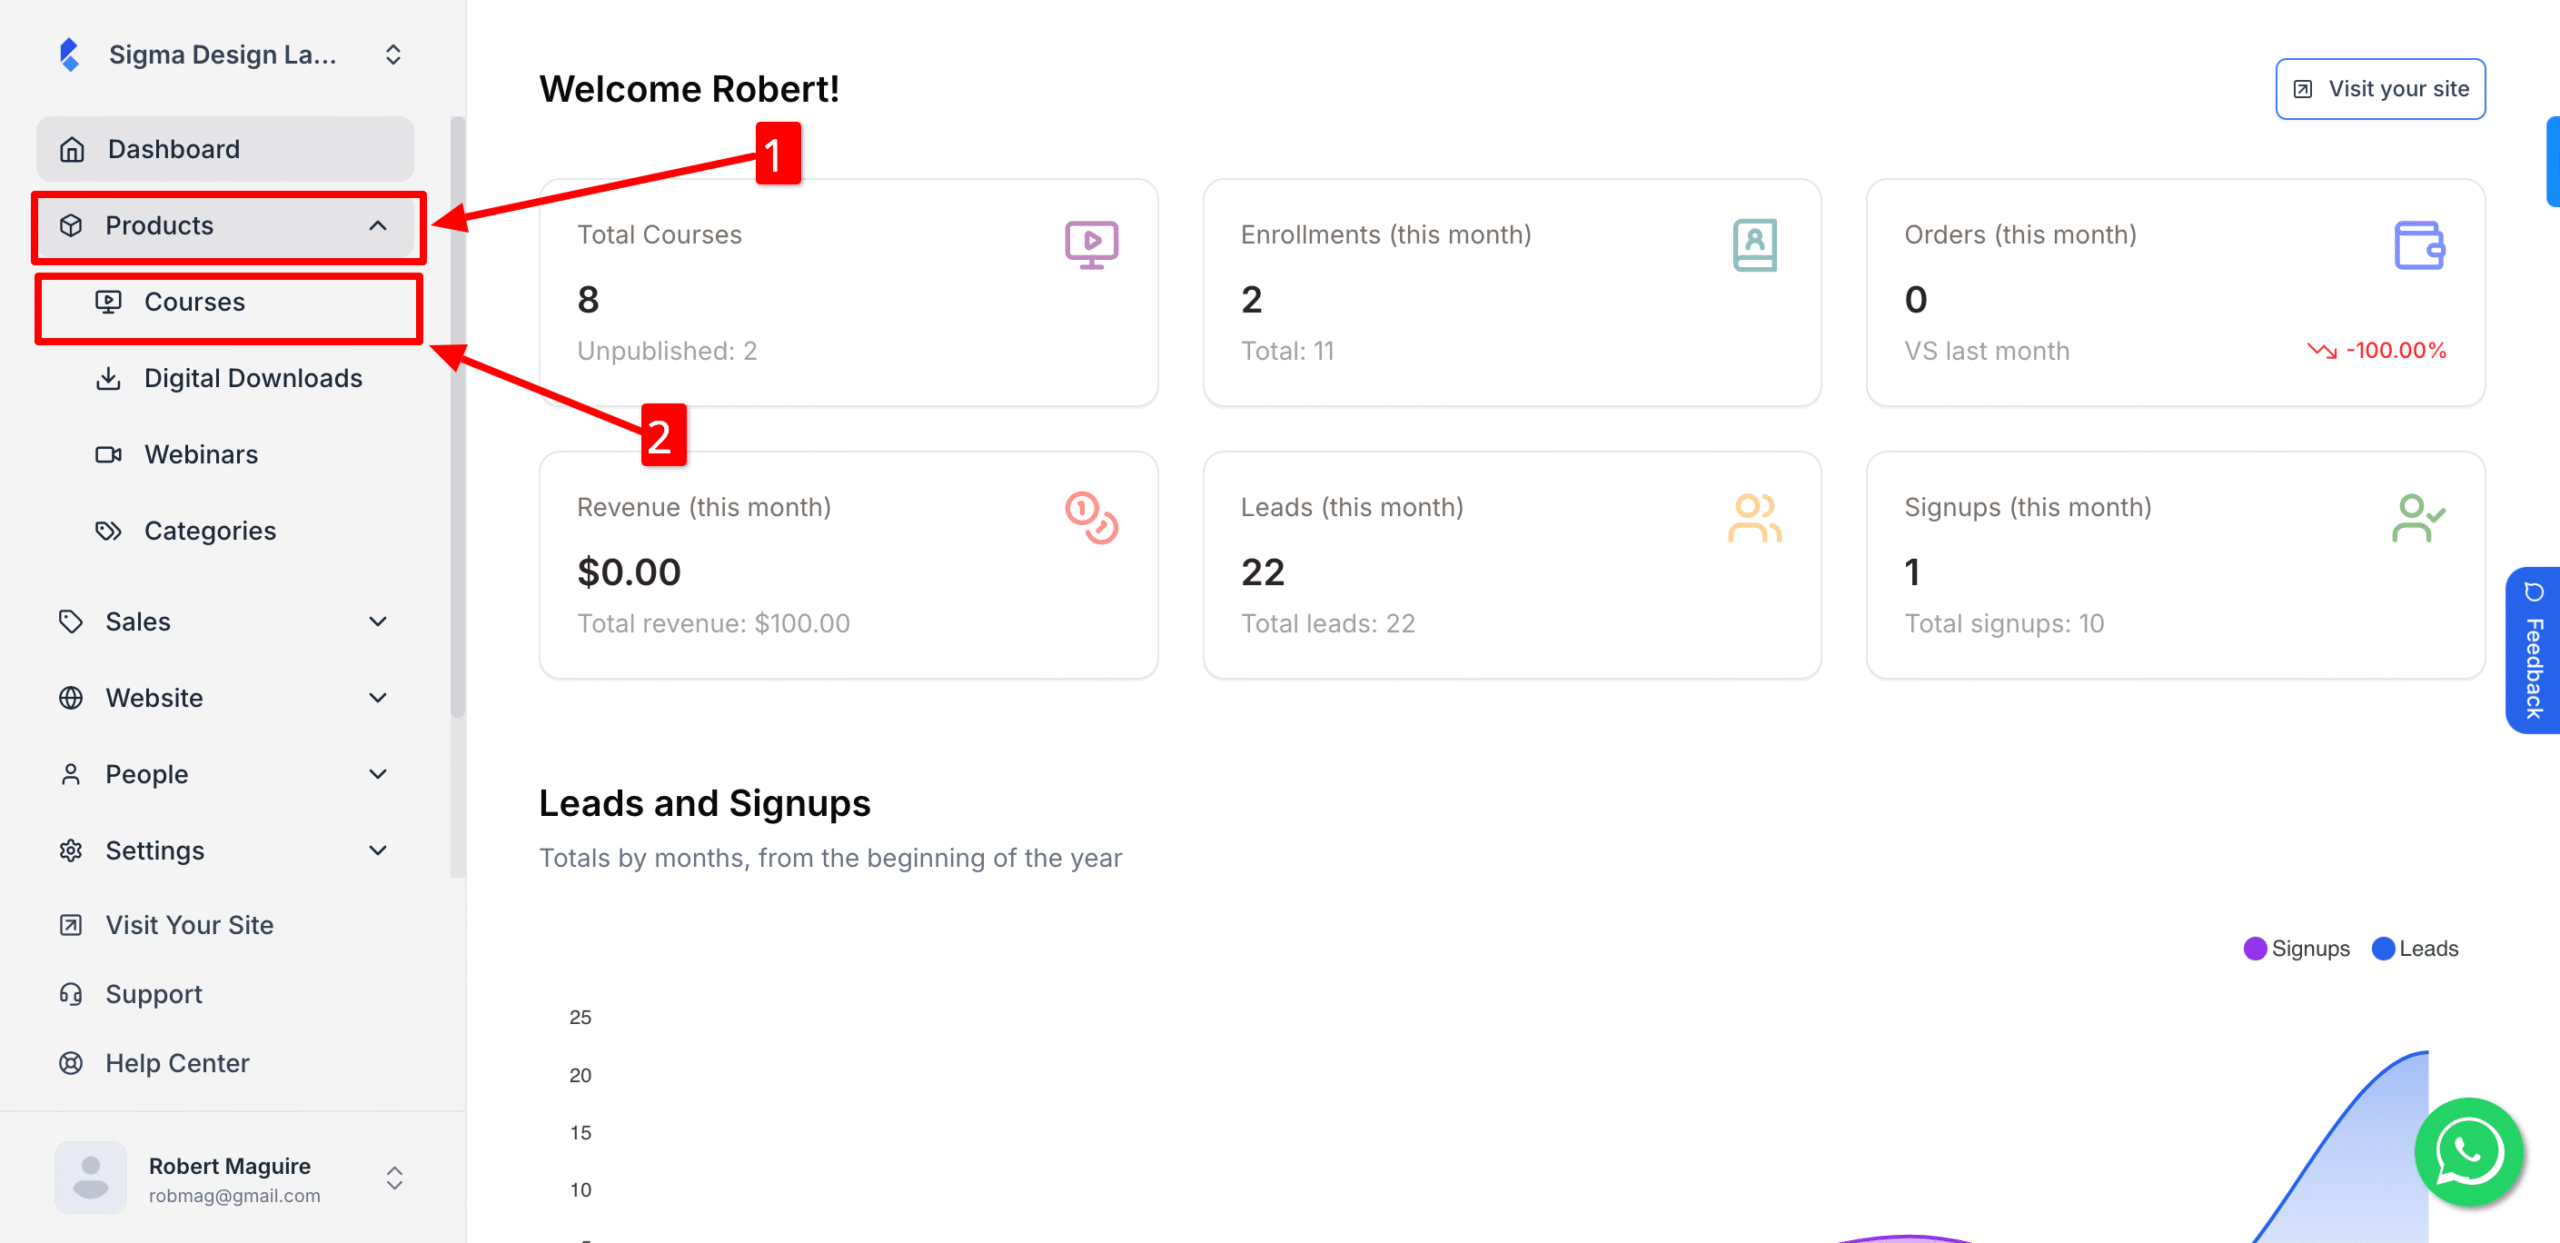
1. From the dashboard, expand Products, then click on Courses.
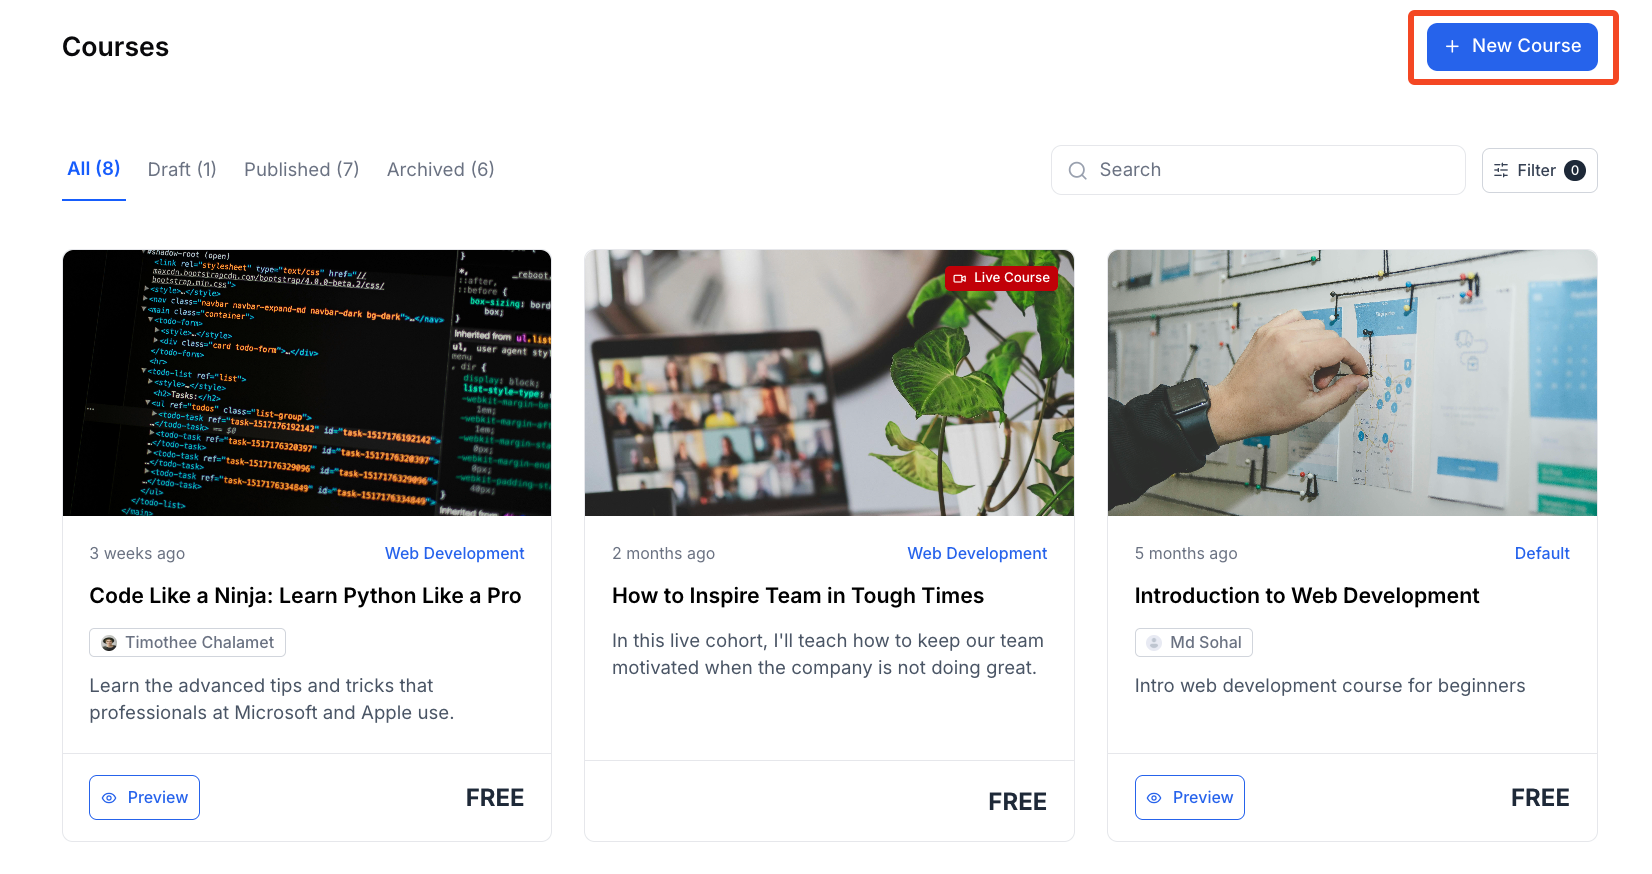
2. Then click on “New Course.”
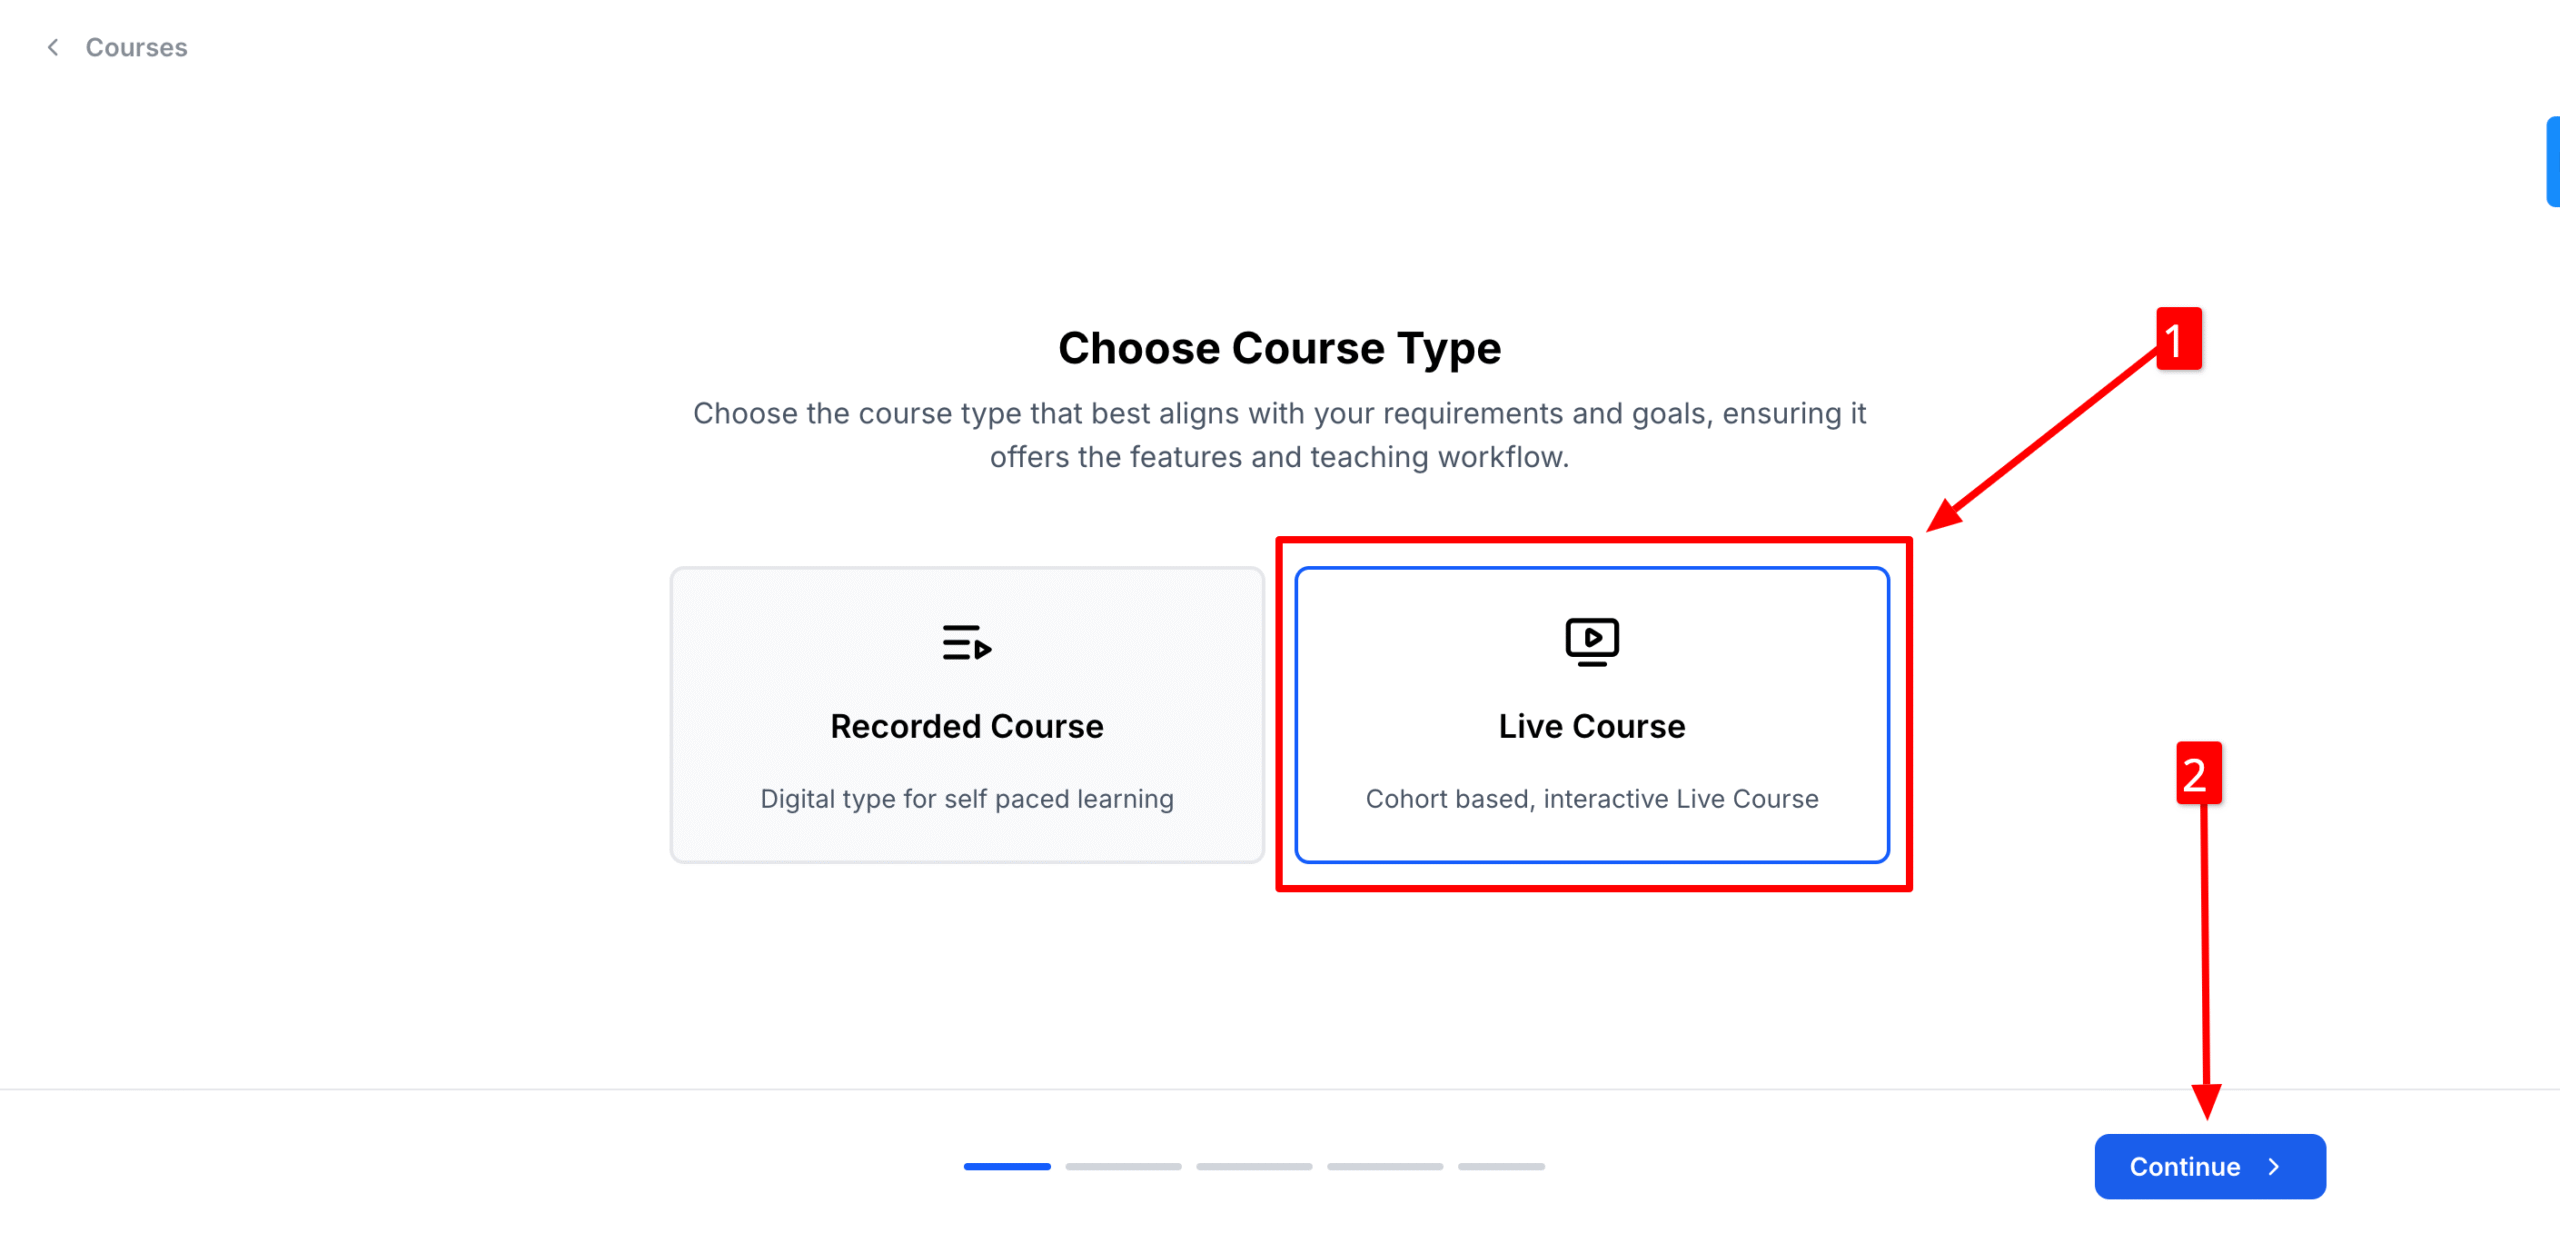
3. After that, click on Live Course and then click on Continue.
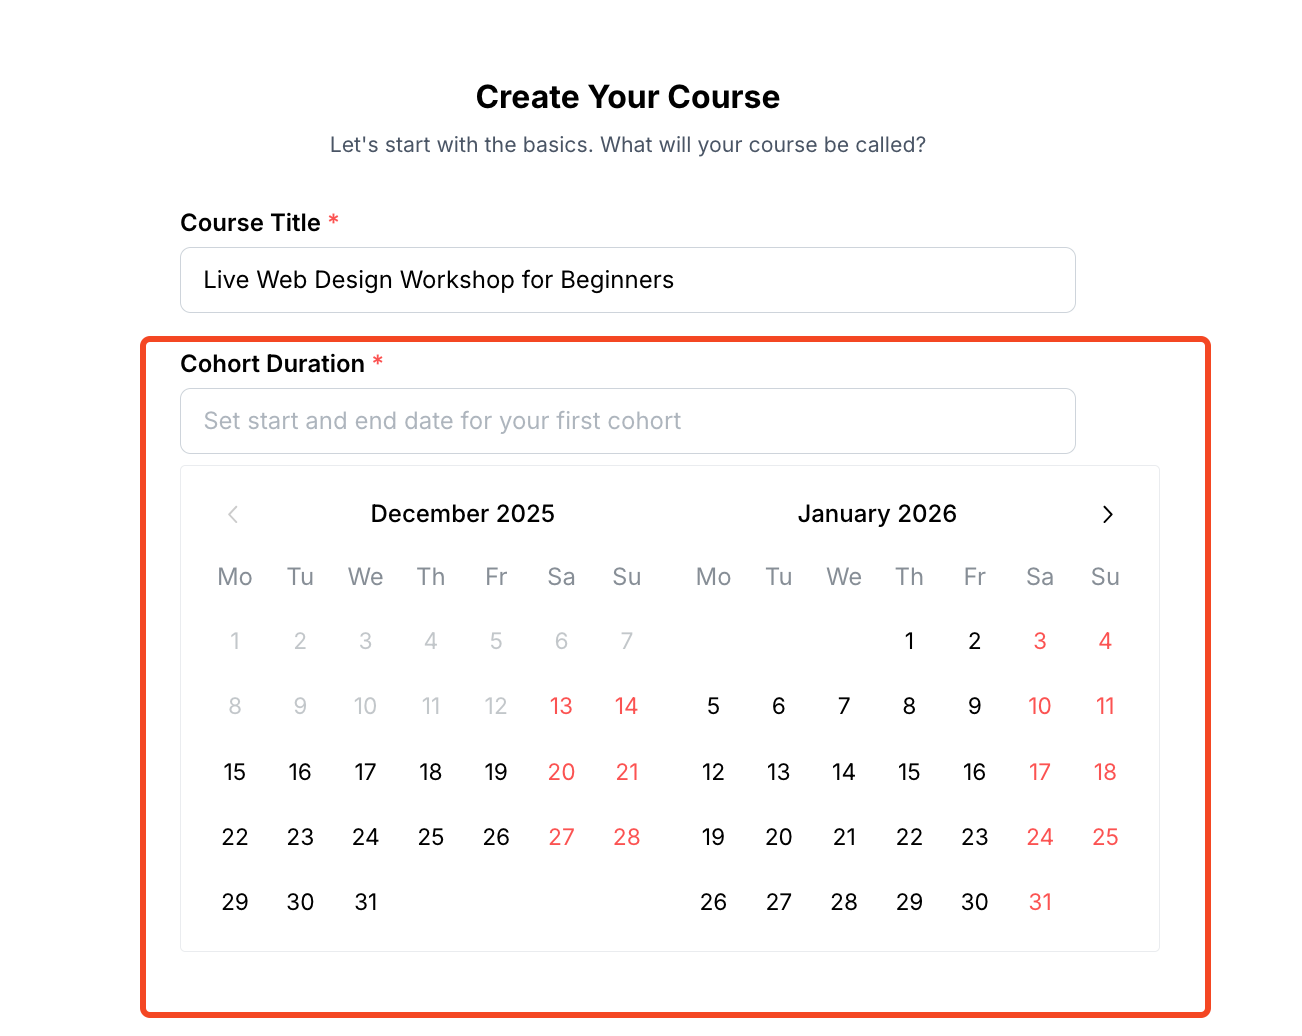
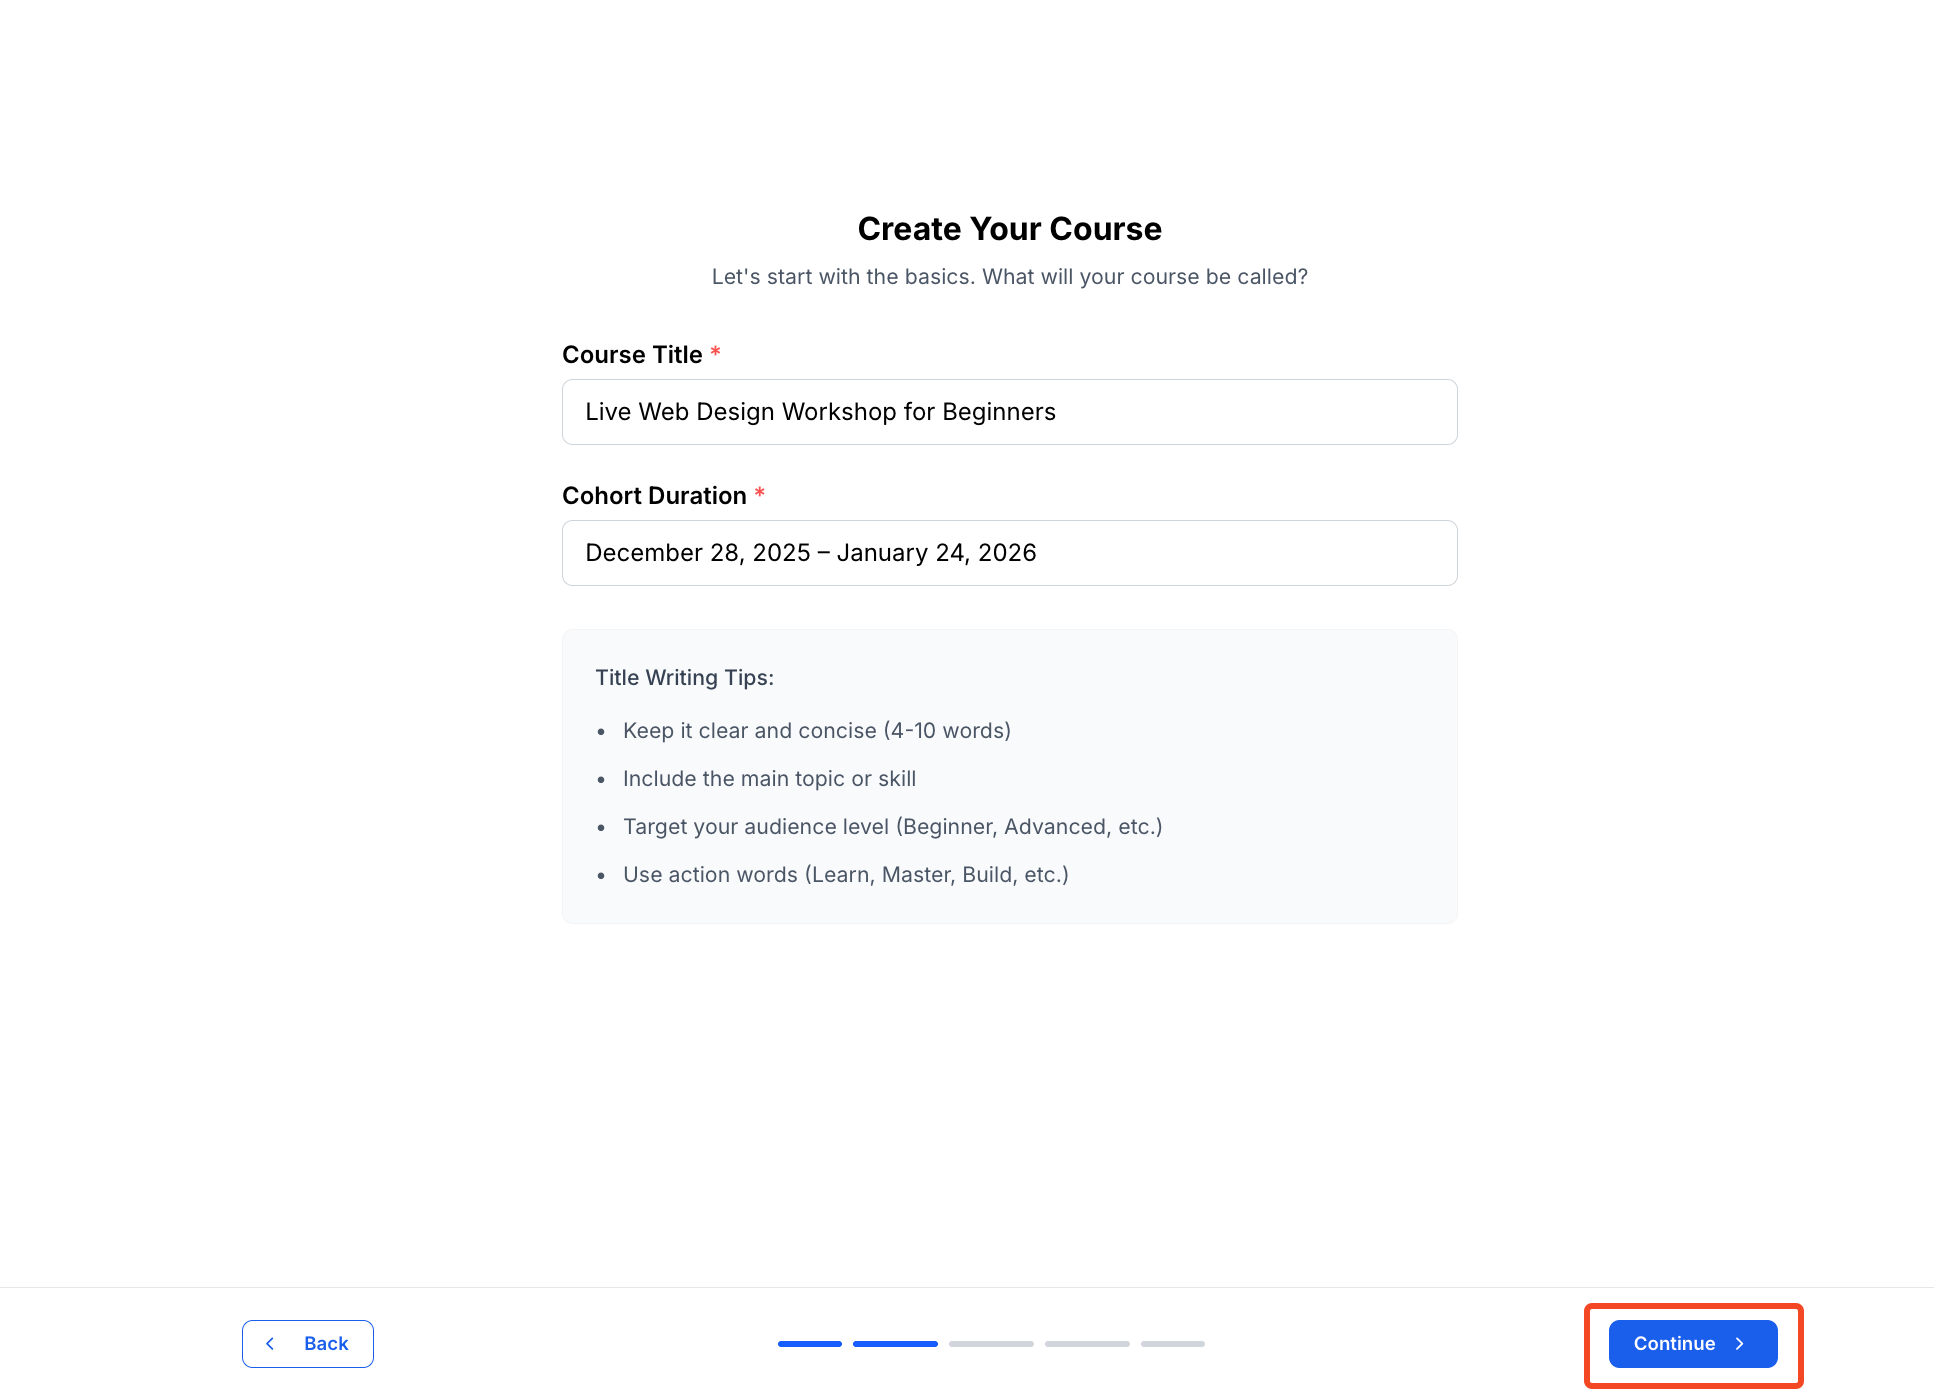
4. Then enter the name of your course.
When naming a live course, choose a title that is clear, benefit-driven, and highlights the real-time format. You can use keywords like “Live,” “Bootcamp,” “Workshop,” or “Masterclass” to make the experience immediately recognizable.
For example: “Live Copywriting Bootcamp,” “Social Media Strategy Masterclass (Live),” or “Live Web Design Workshop for Beginners.
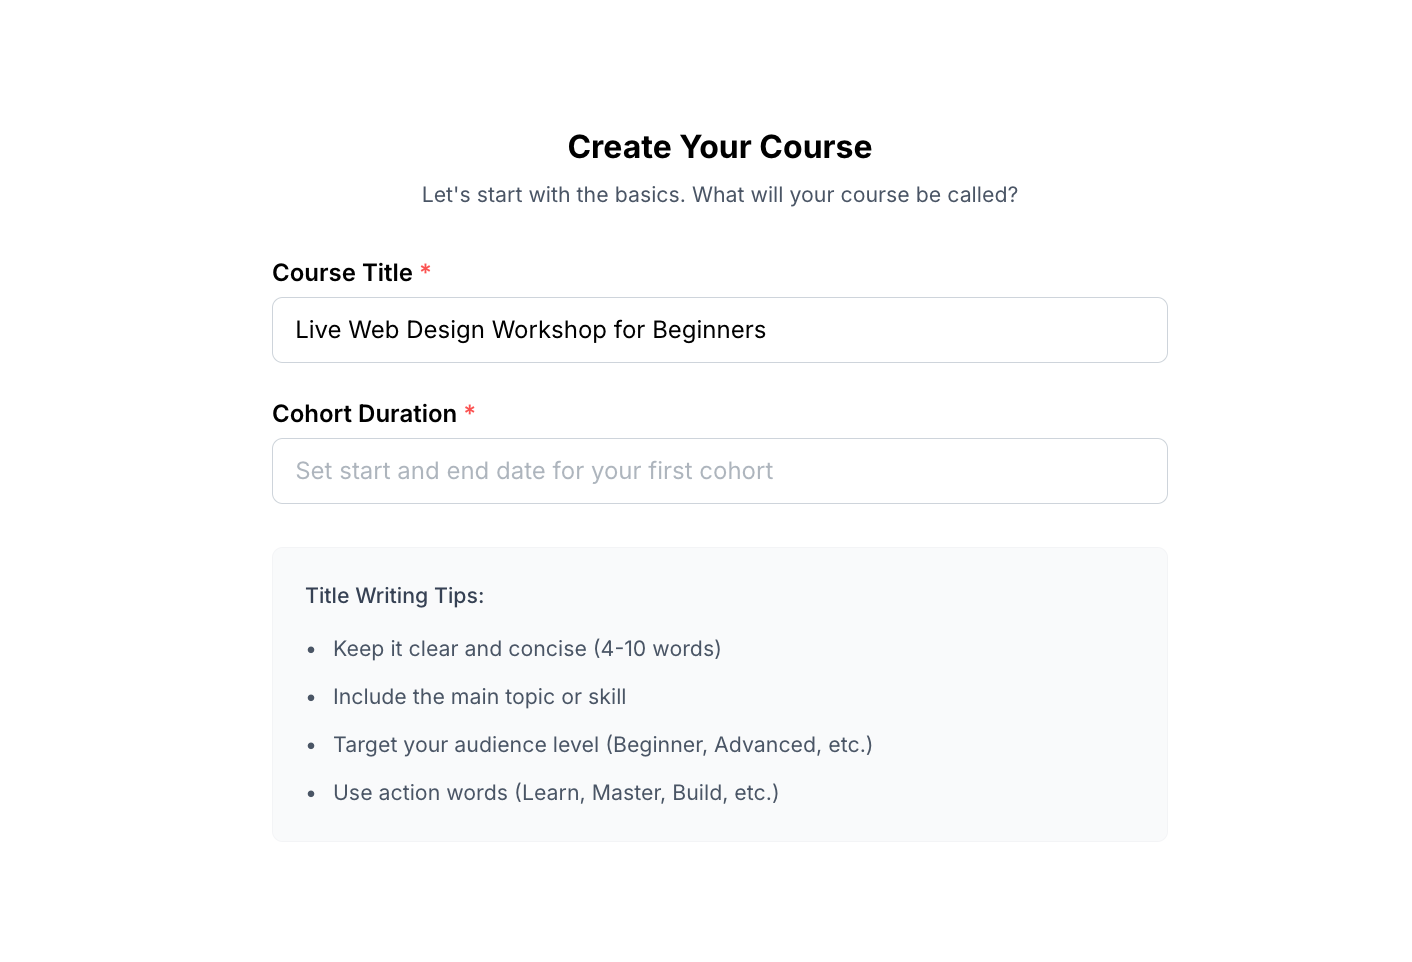
5. After that, set the duration of your course using the Cohort Duration field. This determines how long the live cohort will remain active.
6. Once you are done naming your course and determining the duration, click on “Continue.”
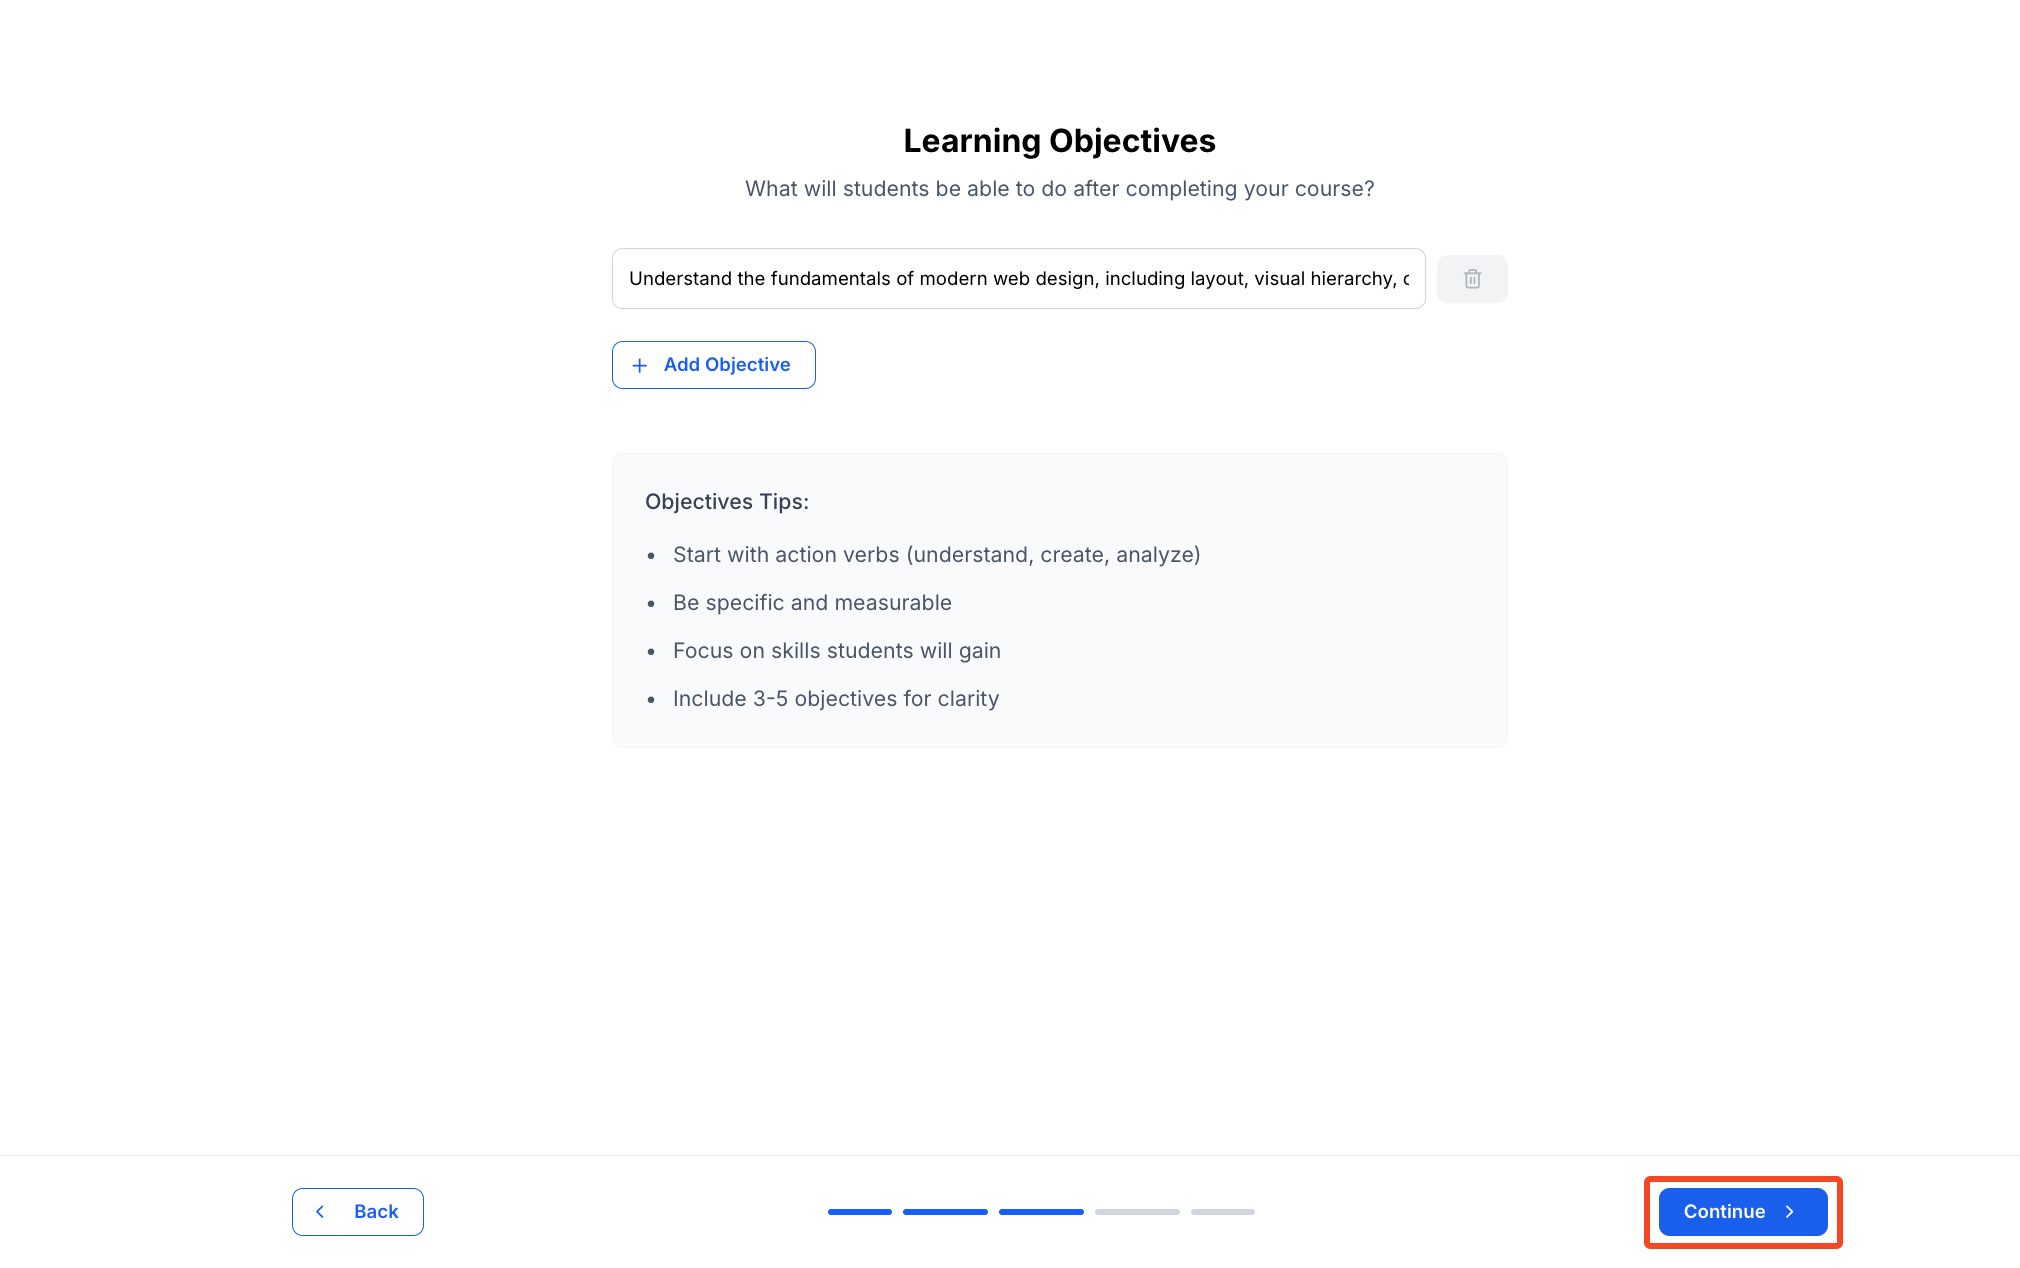
4. On the next step, you’ll then be asked to add some learning objectives for your students. These learning objectives will help your students understand what they will learn from this course. You will need to add at least one learning objective before moving on to the next step. Also, if you want to add more than one objective, you can do so by clicking on the “Add Objective” button.
You can add as many learning objectives as you want. However, we recommend adding 3-5 so your students get a clear understanding of your course.
Similar to naming your course, the goal is to keep the objectives simple, clear, and specific. For example, instead of saying “Learn Python, you could write “Learn the advanced Python tips and tricks that professionals at Microsoft and Apple use.”
Once you are done adding the objectives, click on the “Continue” button to move on.
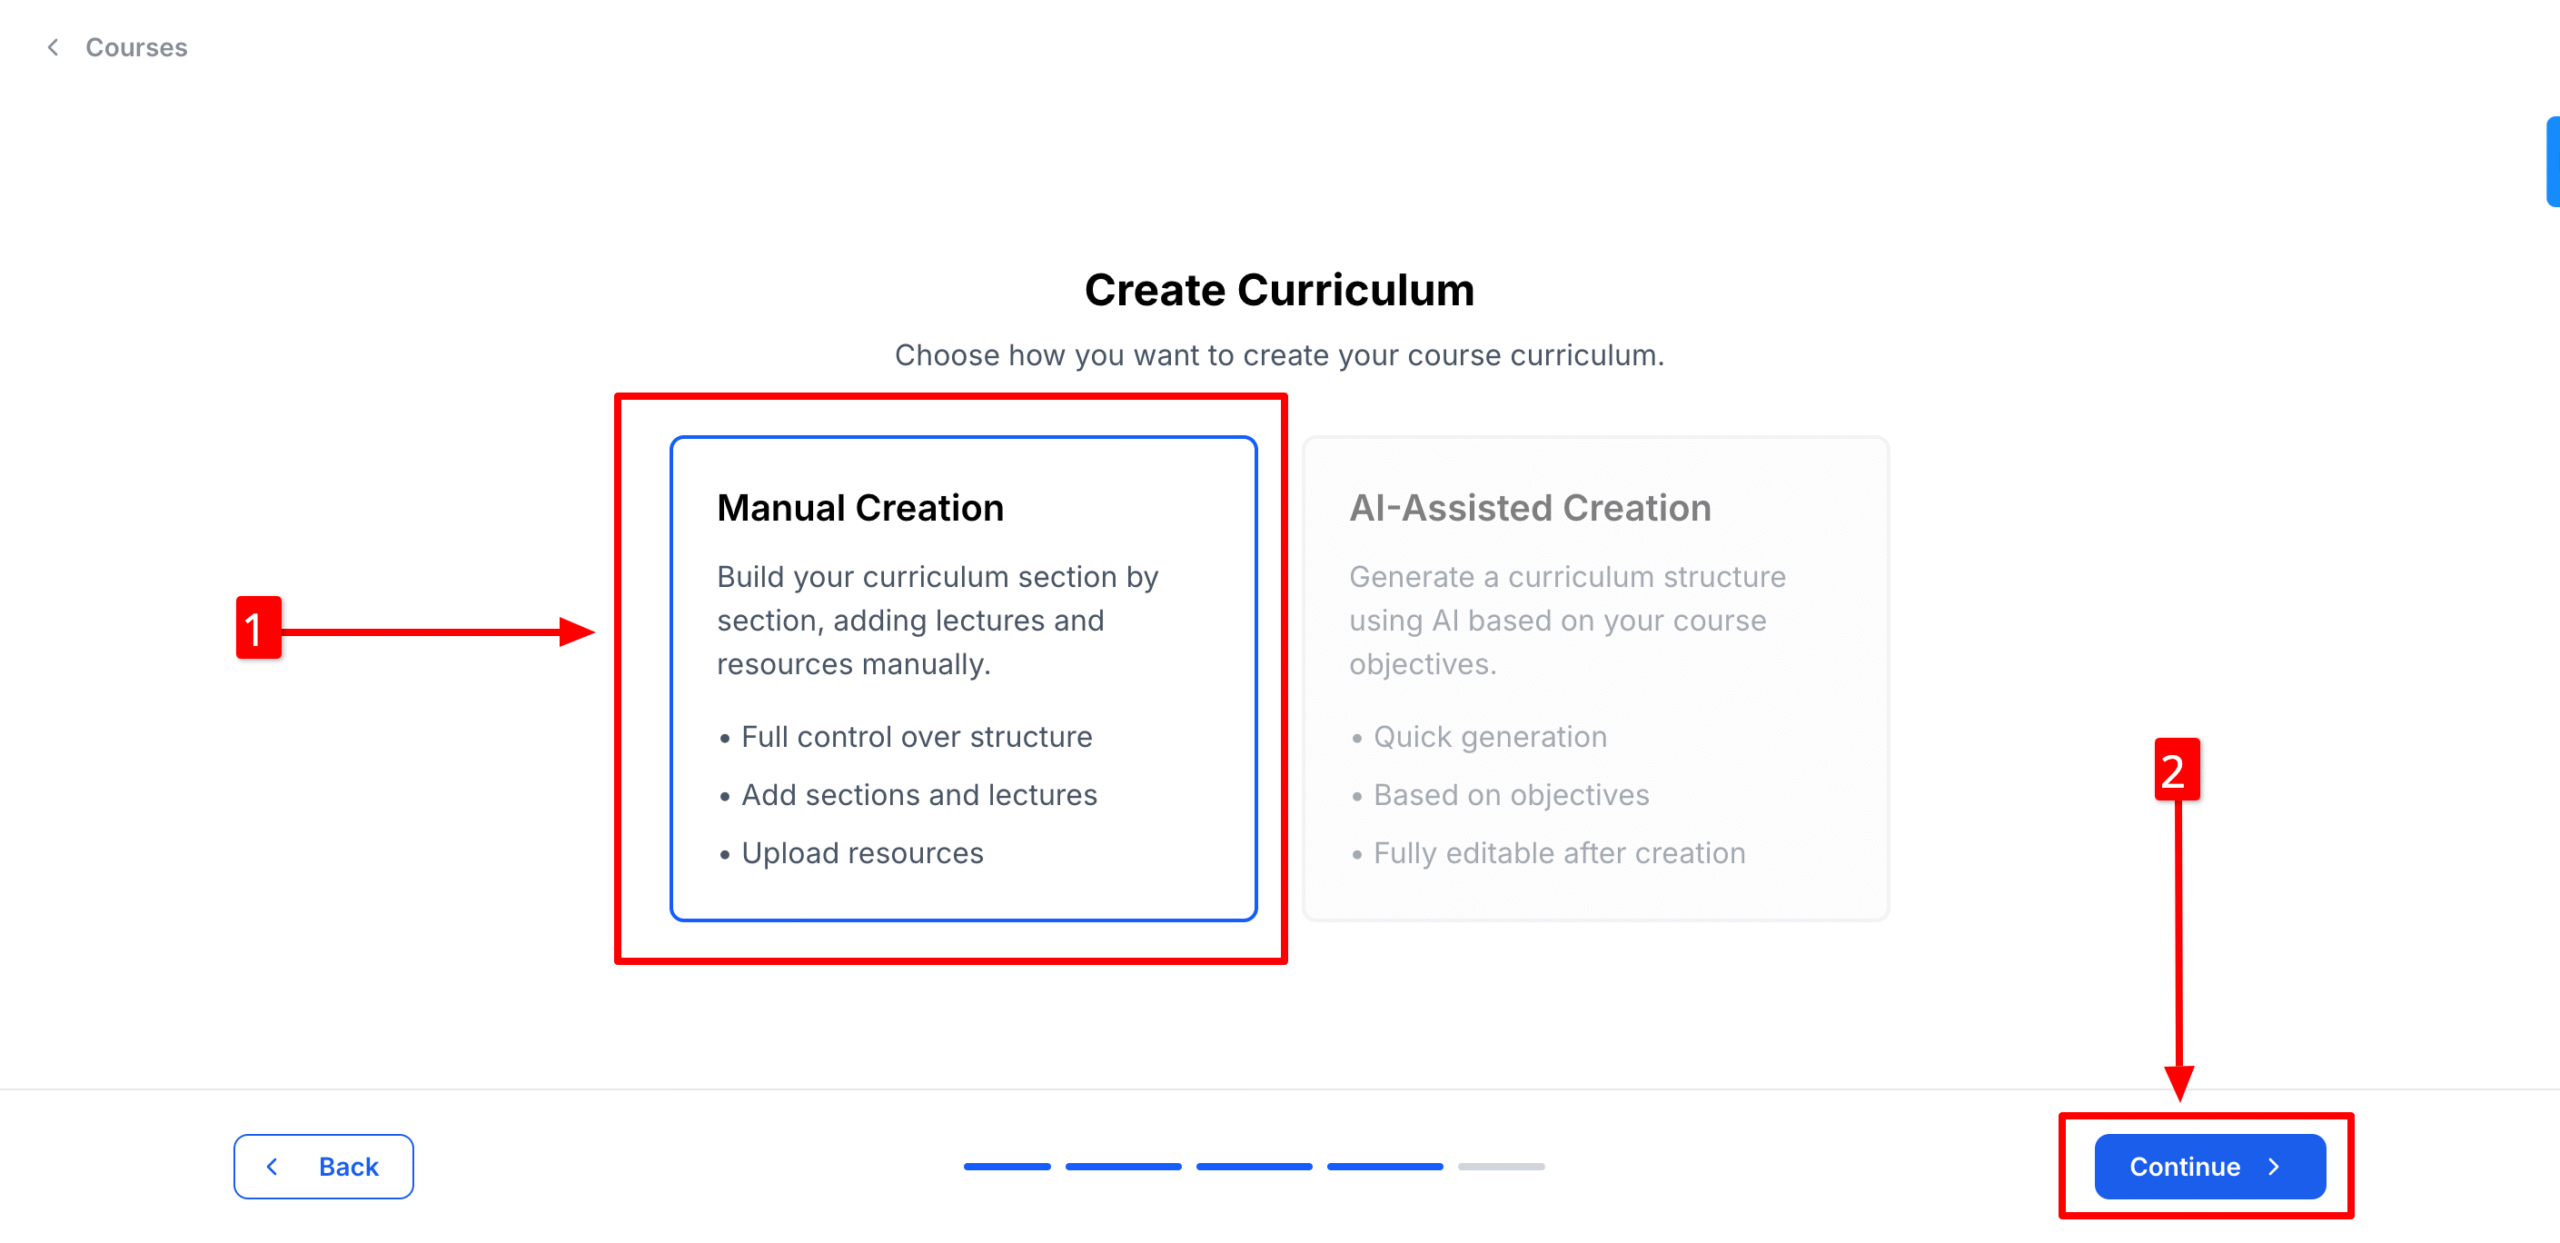
8. On the next step, you will need to select the method of curriculum creation for your course. Since it’s a live course, an AI-assisted curriculum generation is not available. So, you need to choose “Manual Creation ” and click on “Continue” to move on to the next steps.
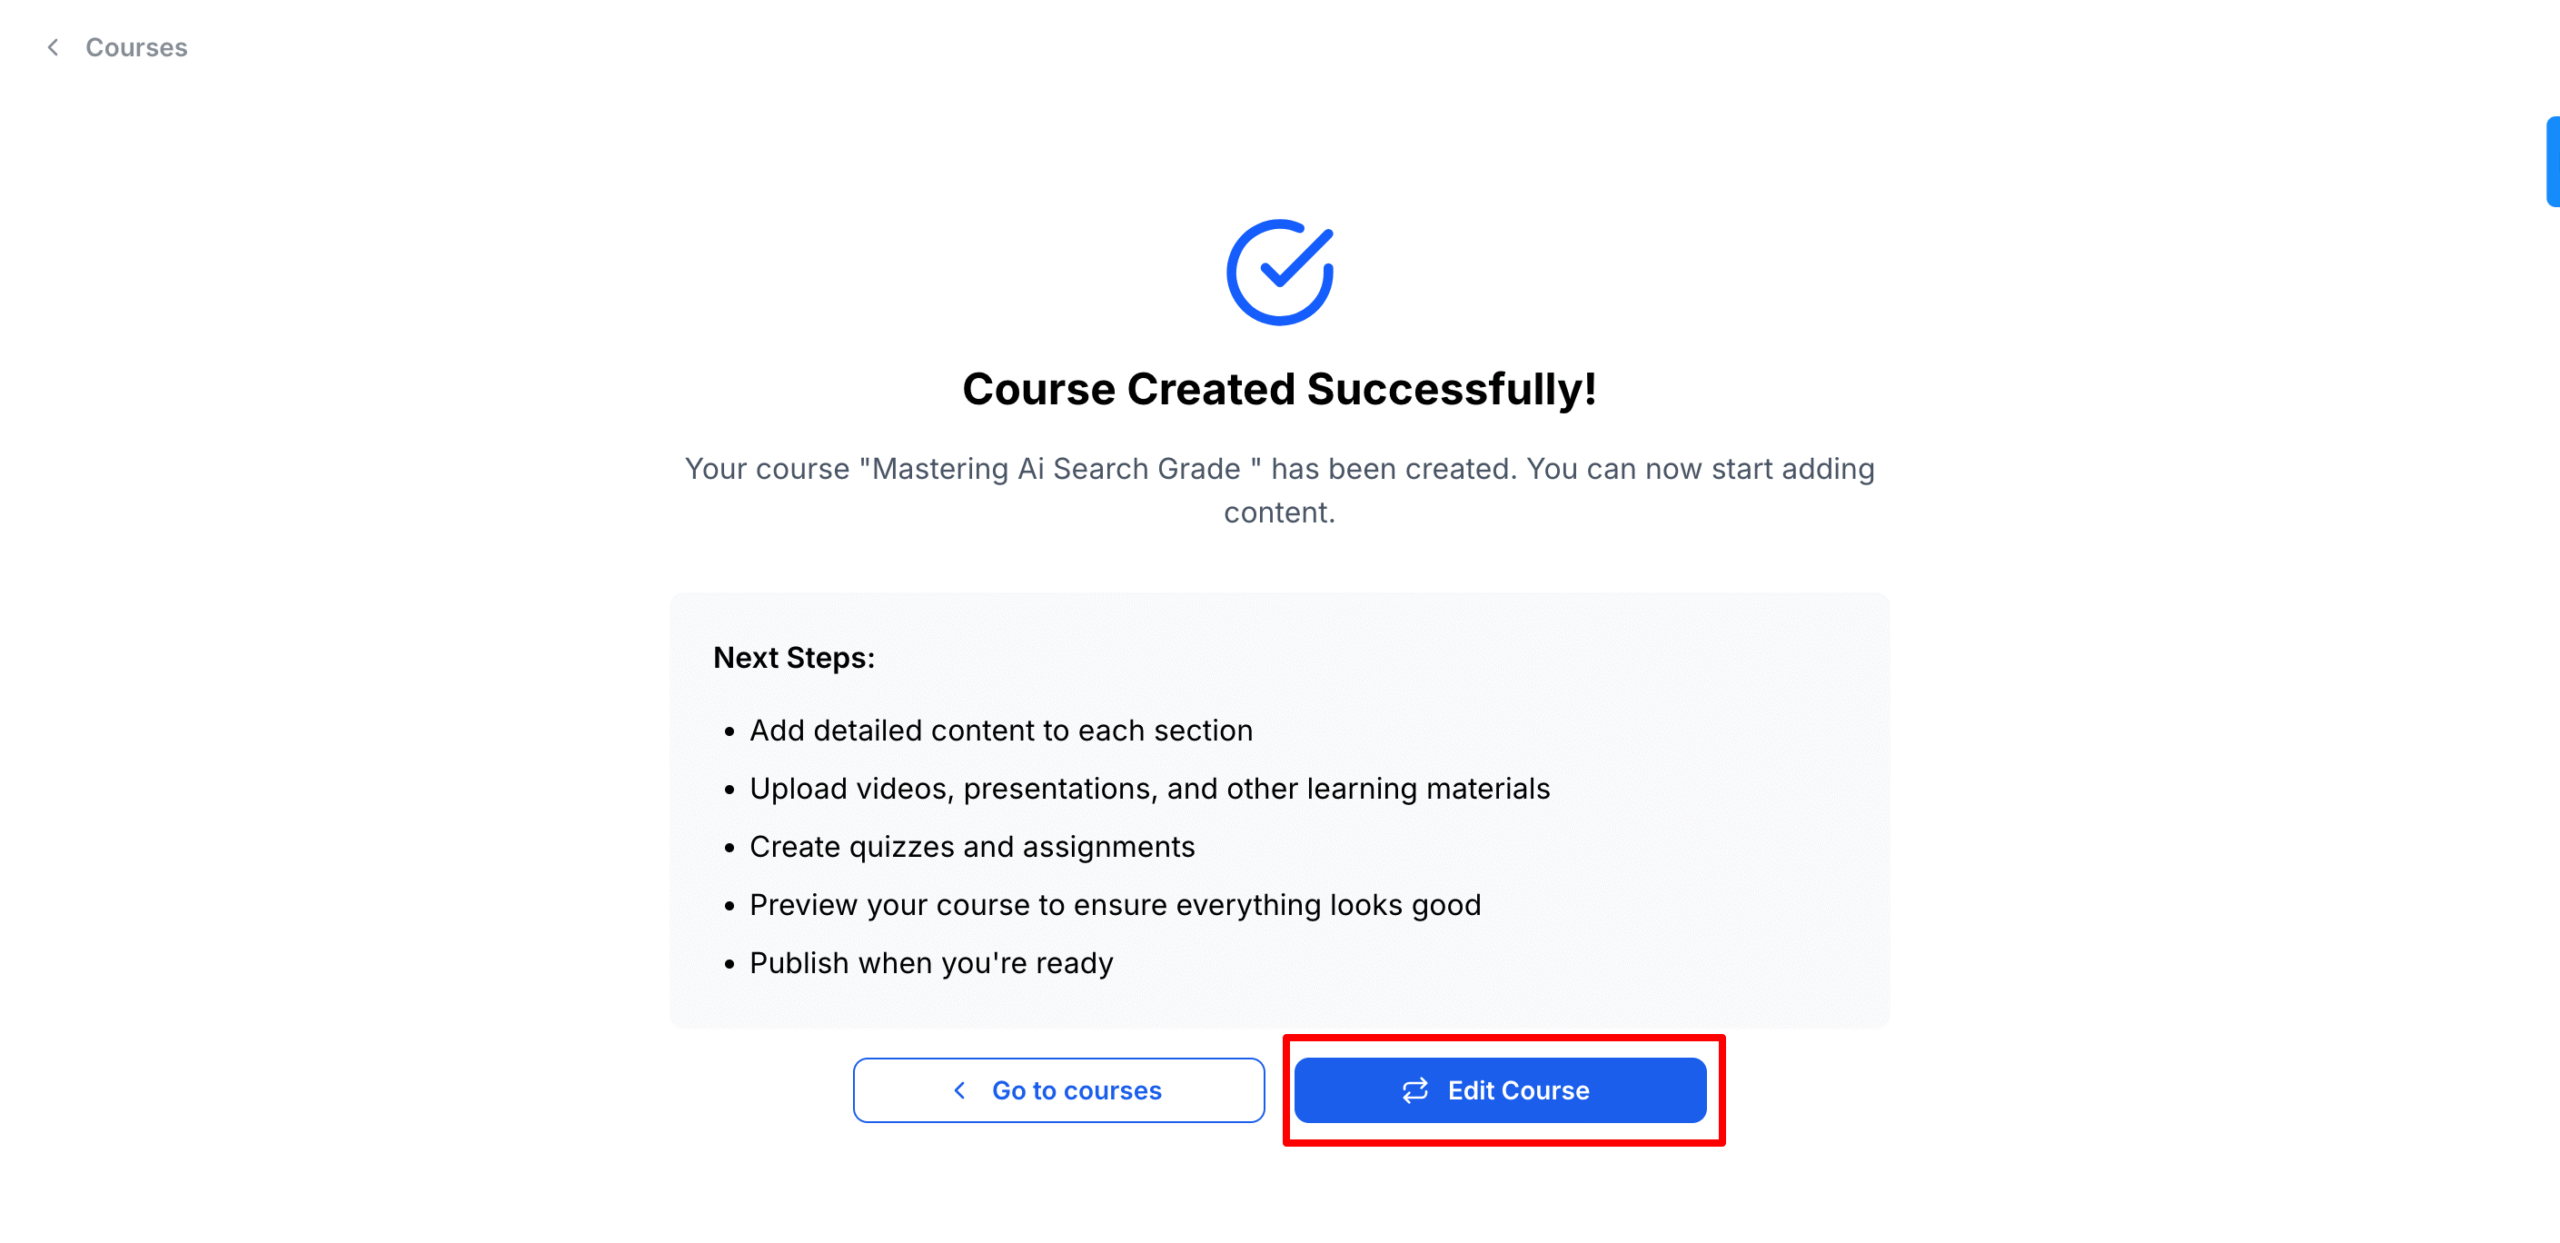
8. Once you click “Continue,” the system will take a few moments to create your course. Once the process is complete, you’ll receive a notification confirming that your course has been successfully created. At this point, you’ll have two options: Go to the Courses page or Edit the course you just created. Since we need to add lessons, select “Edit Course.”
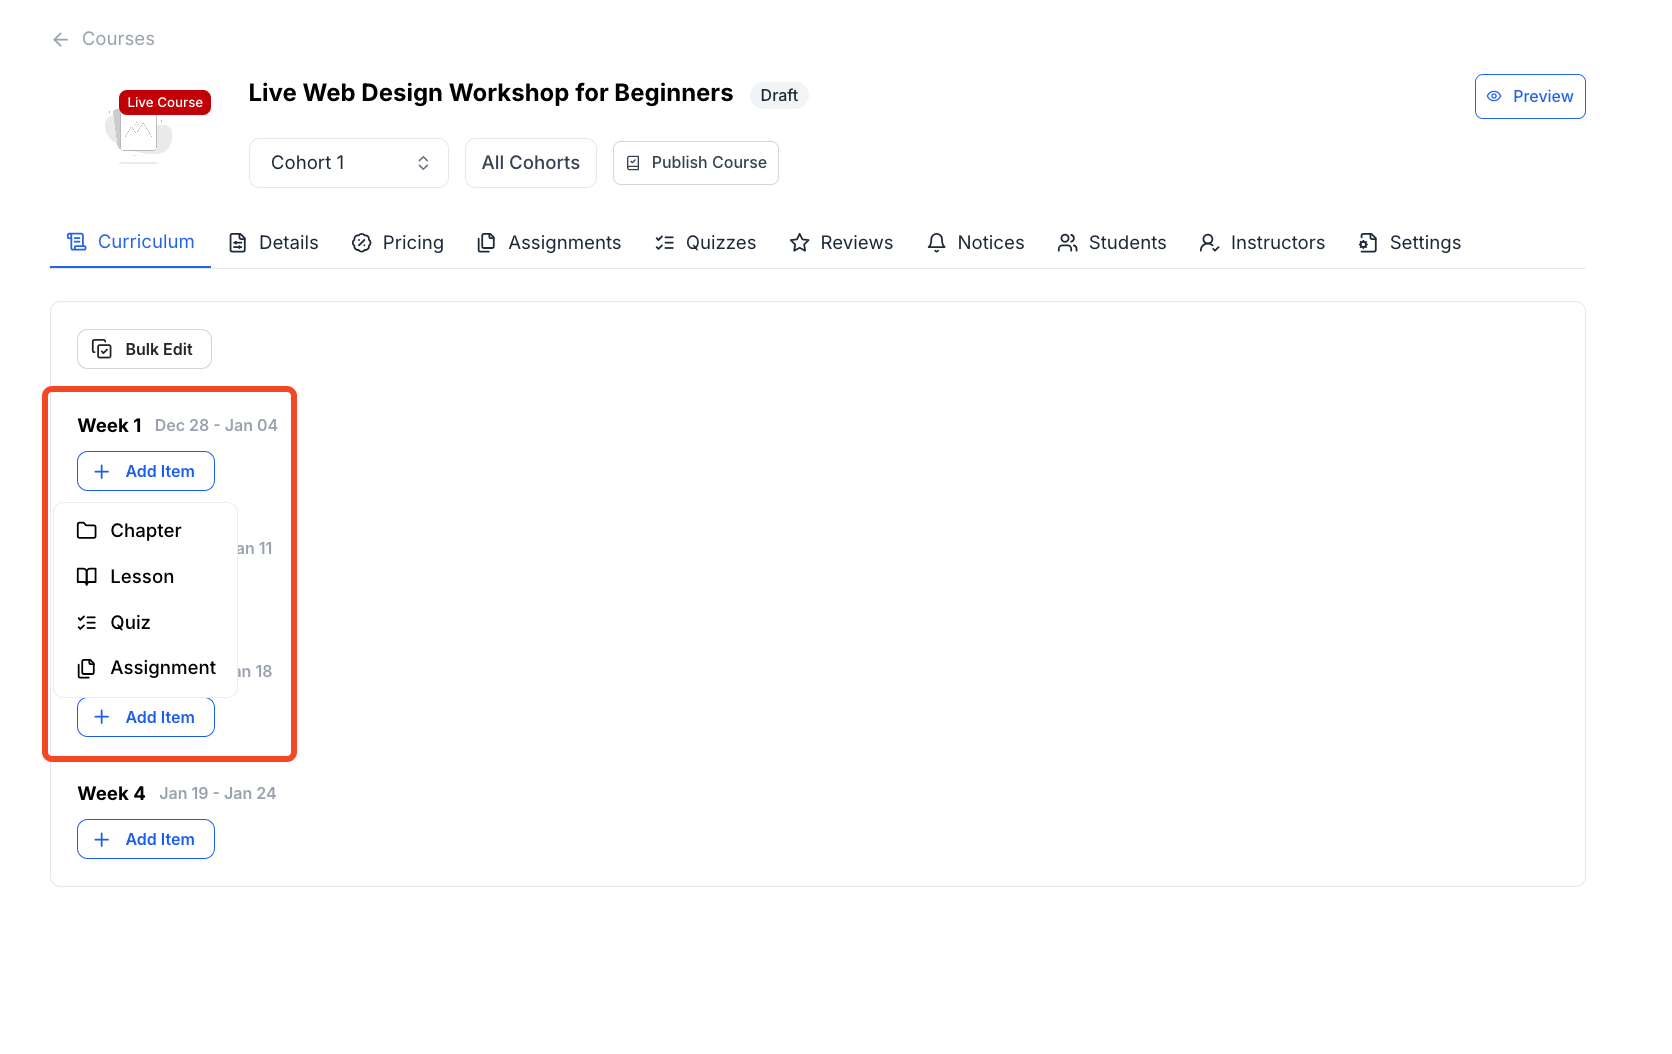
9. Recorded courses are divided into chapters and lessons that students can access anytime. Live courses, on the other hand, follow a set schedule with sessions happening on specific dates and times. So, now we will have to “Create Schedules”.

10. When you click on “Create Schedules,” Klasio will automatically divide your cohort duration into weeks. Now, in each week, we can add chapters and lessons to better organize the course. To add them, click on “Add Item” and choose Chapters or Lessons from the dropdown. Let’s add a chapter first, then add a lesson in that chapter.
To add a chapter, simply click on “Chapter” from the dropdown.
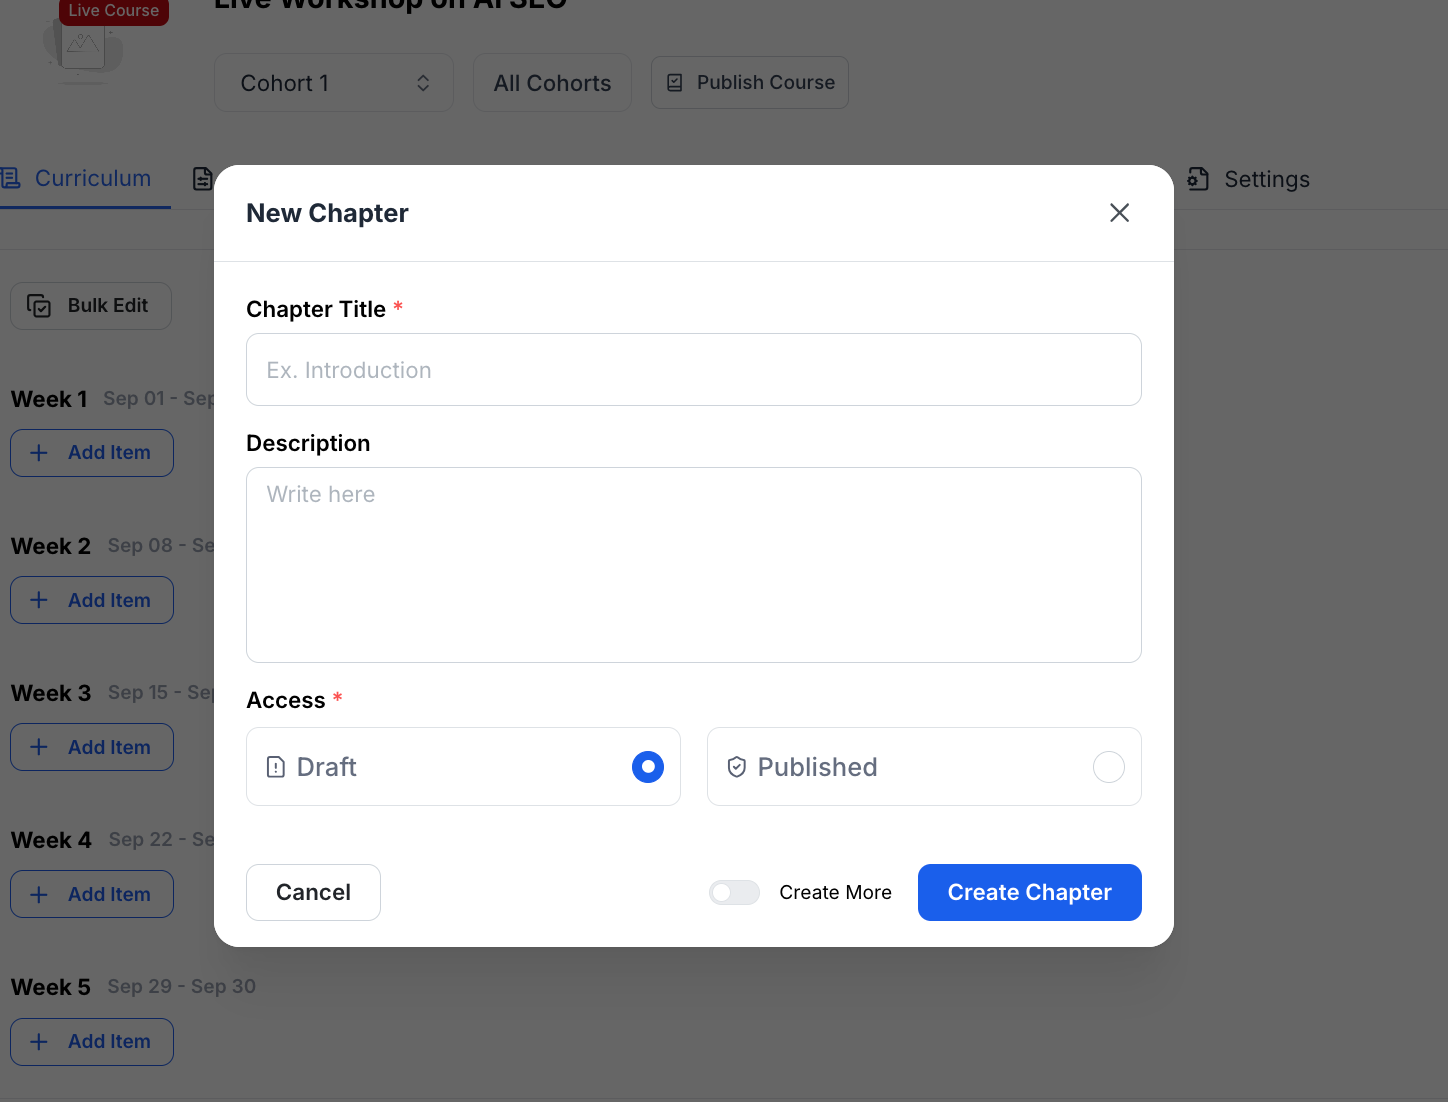
11. When you select “Chapter”, a popup will appear for you to give your chapter a name and a description. Next, choose if you want to publish this chapter or keep it as a draft. Also, there is a toggle button named Create More. If you enable it, another popup just like this will appear so you can create another chapter.
Once you are done, click on “Create Chapter,” and the chapter will be created.
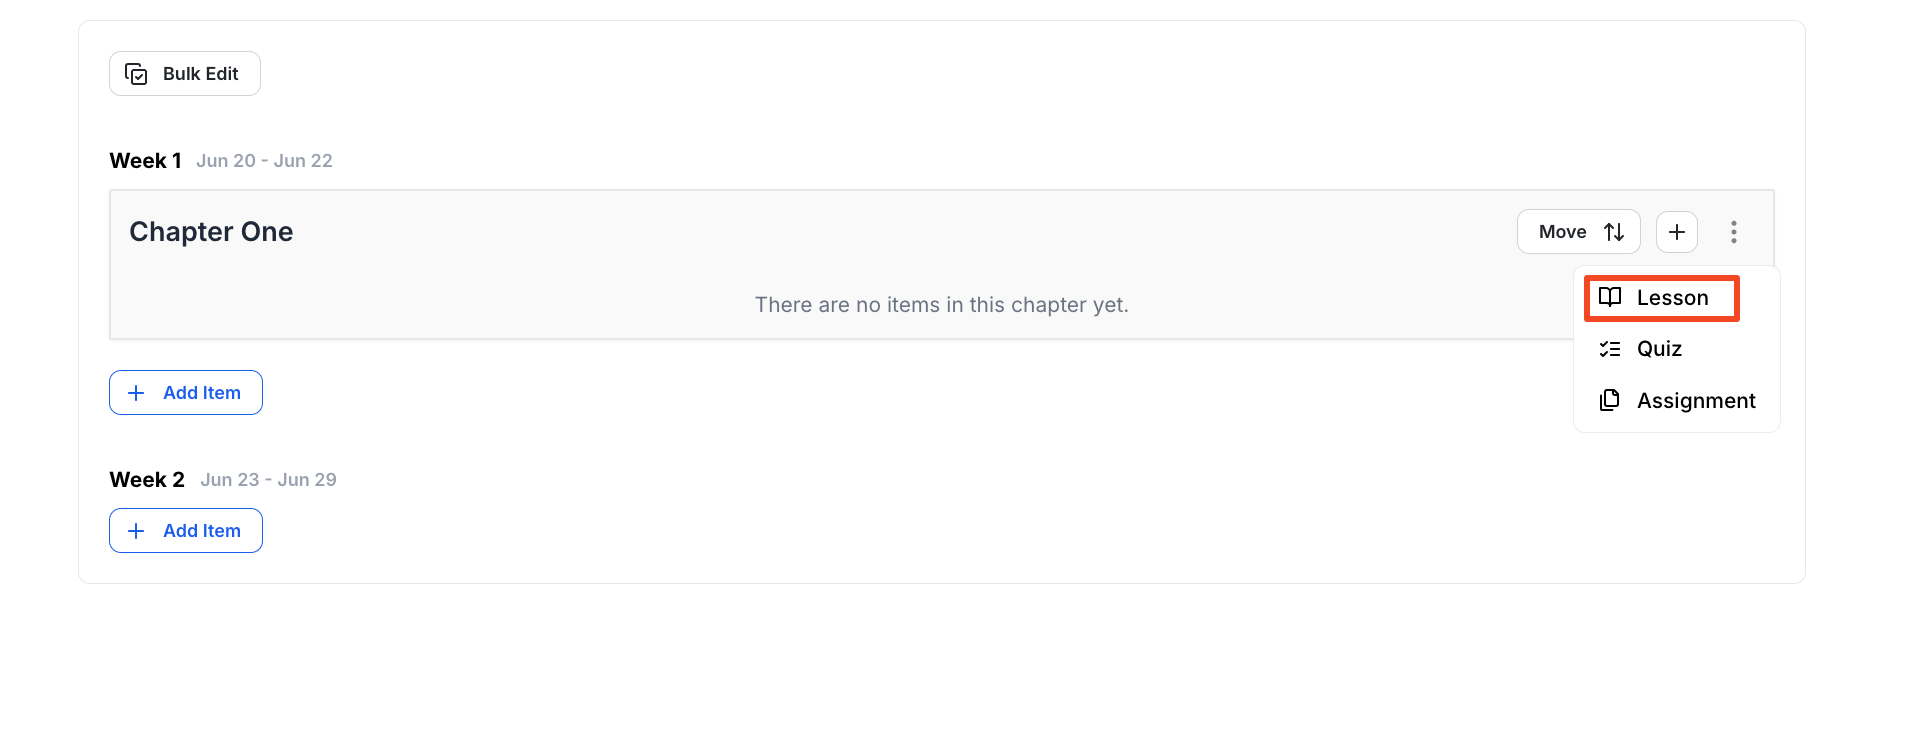
12. Now, let’s add a lesson to this chapter. Click on the plus icon beside the chapter and select Lesson.
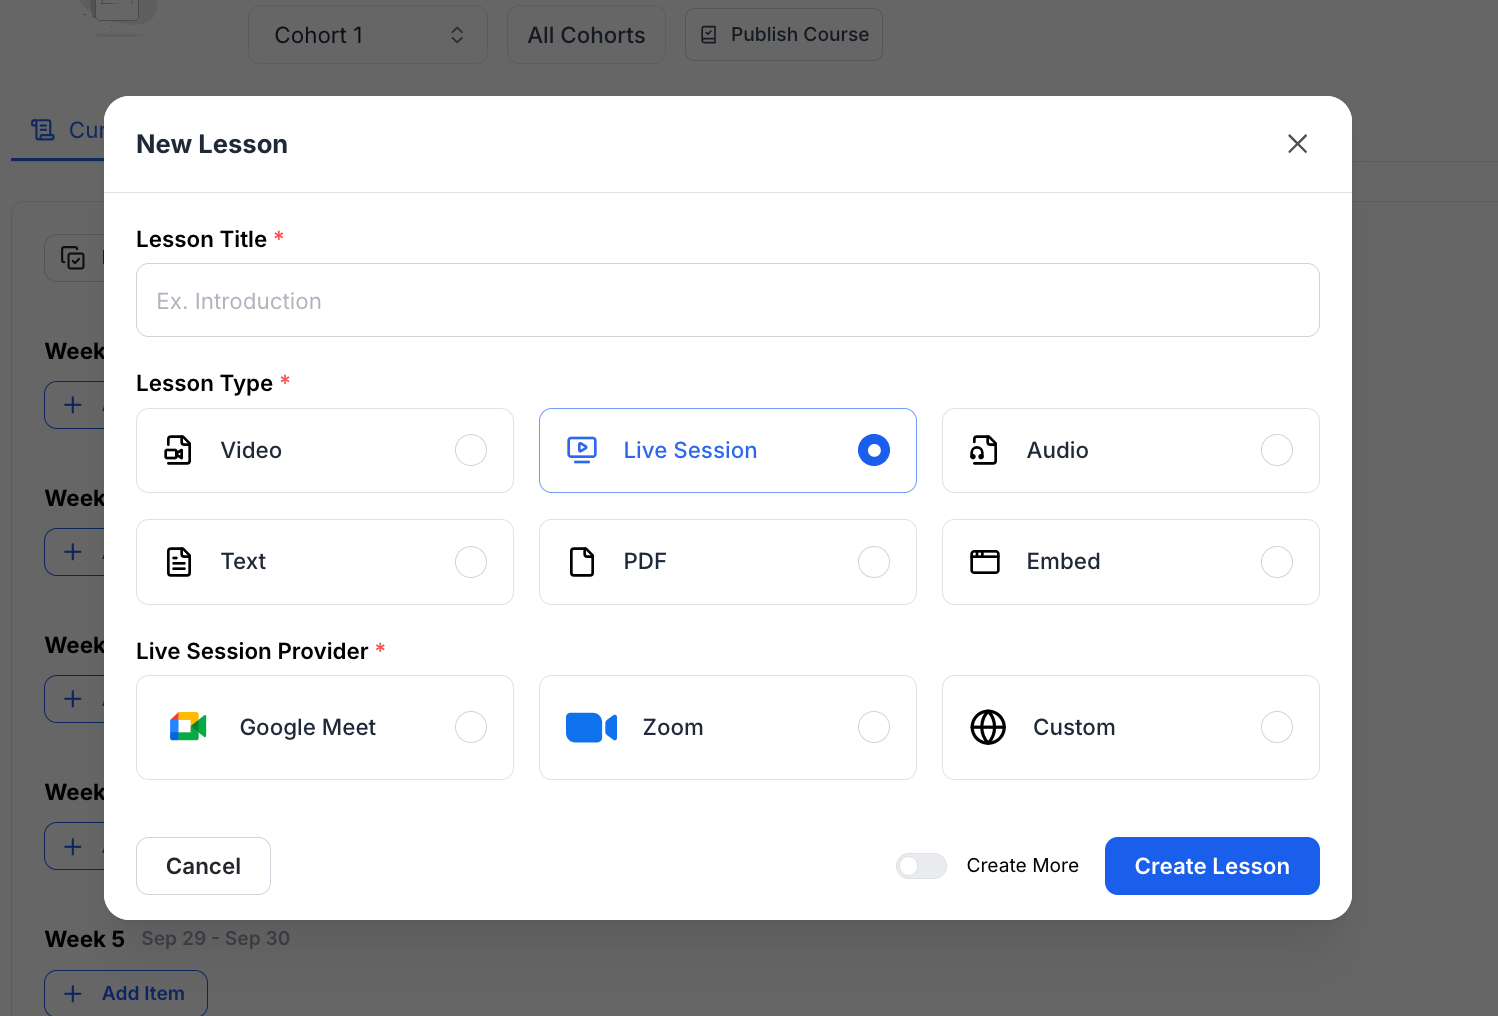
13. A popup will appear asking you to input the lesson title and the lesson type. Since we are creating a live course, let’s choose a Live Lesson for this. But you can add a recorded lesson in live course if you want, and vice versa.
When you select Live Lesson, you will also have to choose a live session provider. You have three options: Google Meet, Zoom, and Custom. For Google Meet and Zoom, you will need to integrate them with Klasio first. If your live lesson is hosted on any other platform except for these two, then you will need to choose “Custom.”
For now, let’s choose Google Meet. Although the process is the same for Zoom, too. When you are ready, click on “Create Lesson.”
14. Now, you will be taken to the lesson editor. First, add a lesson description. This is optional.
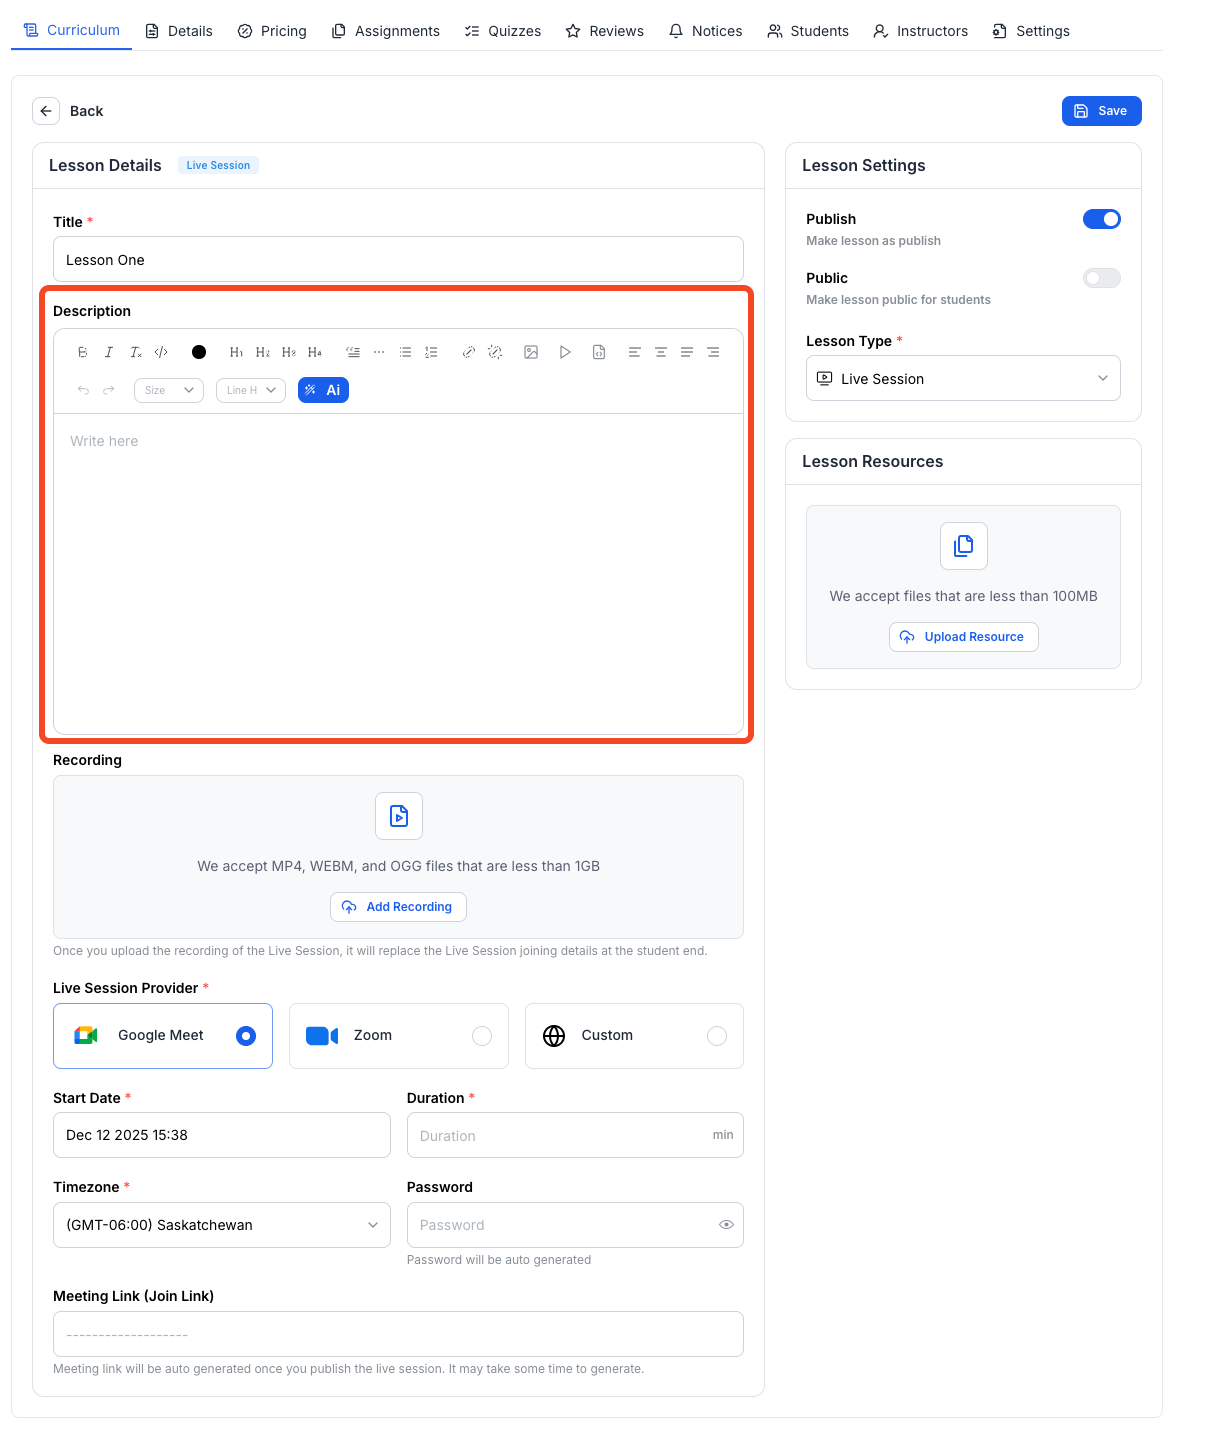
15. Next, scroll down to locate the fields where you can enter the duration, date, and timezone for your live class. You need to set the start date, timezone, and duration for the lesson. The password and the meeting link will be auto-generated once the course is published.
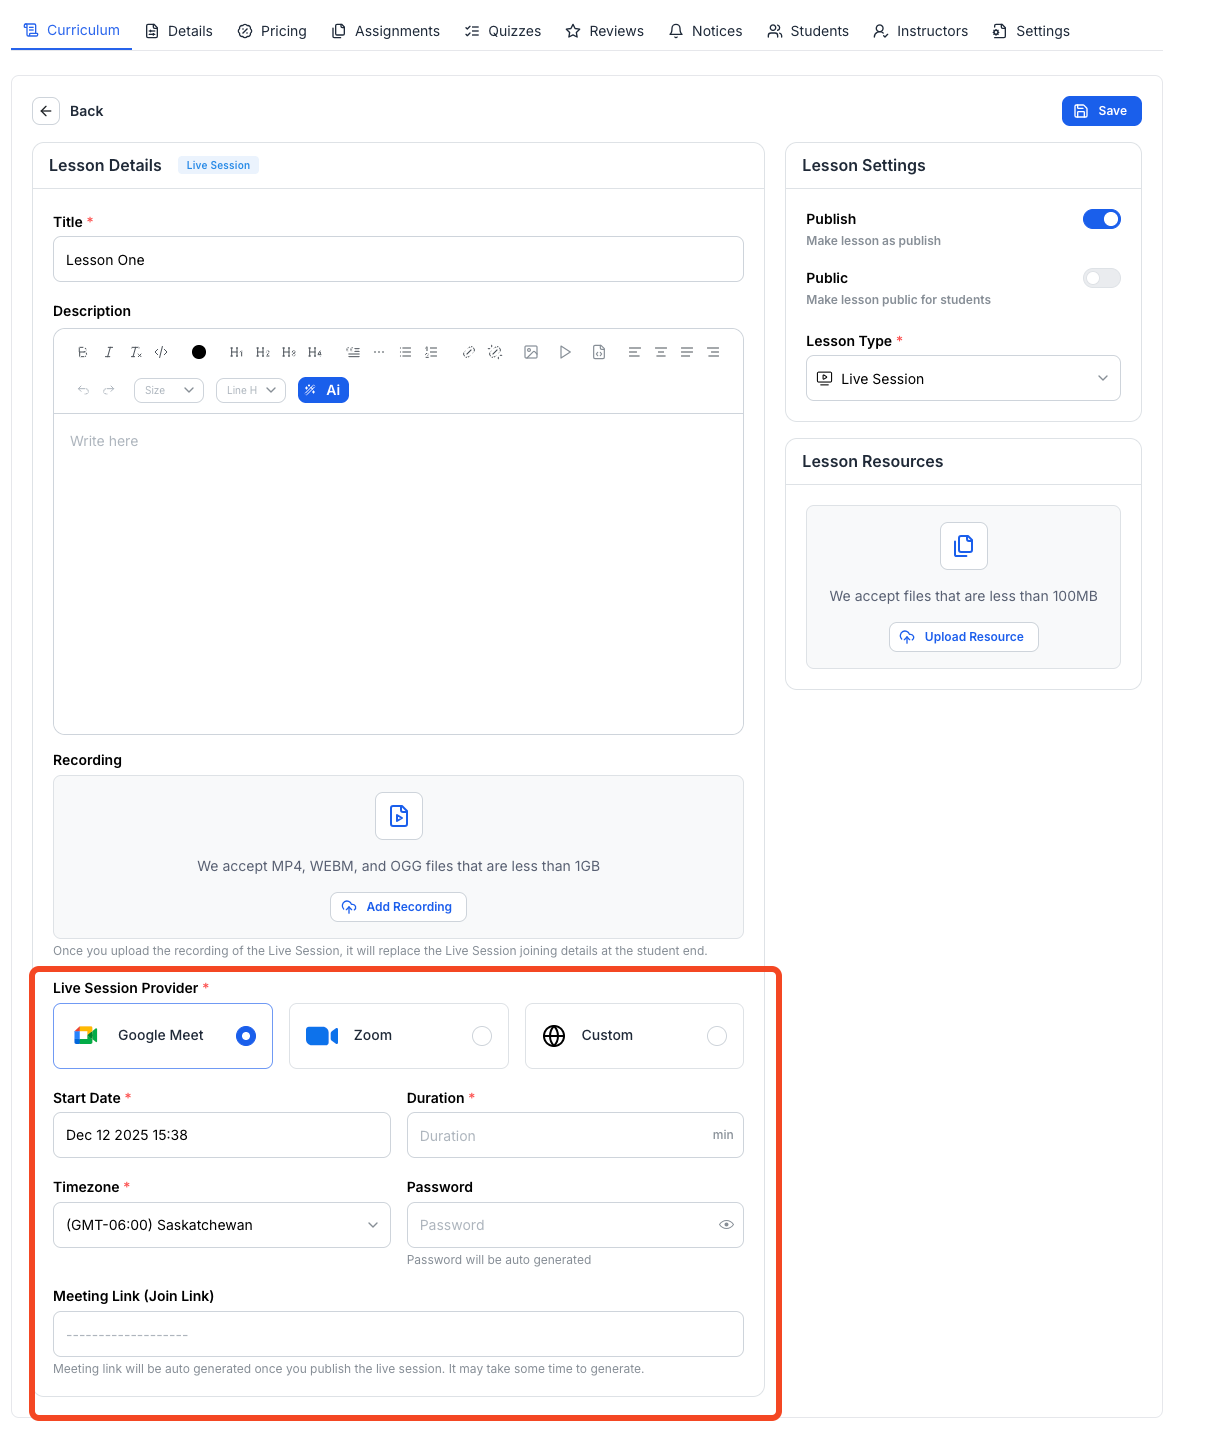
16. You will also see an uploader to upload the recording of your live session. If you choose to do so, the recording will replace the joining instruction on the website.

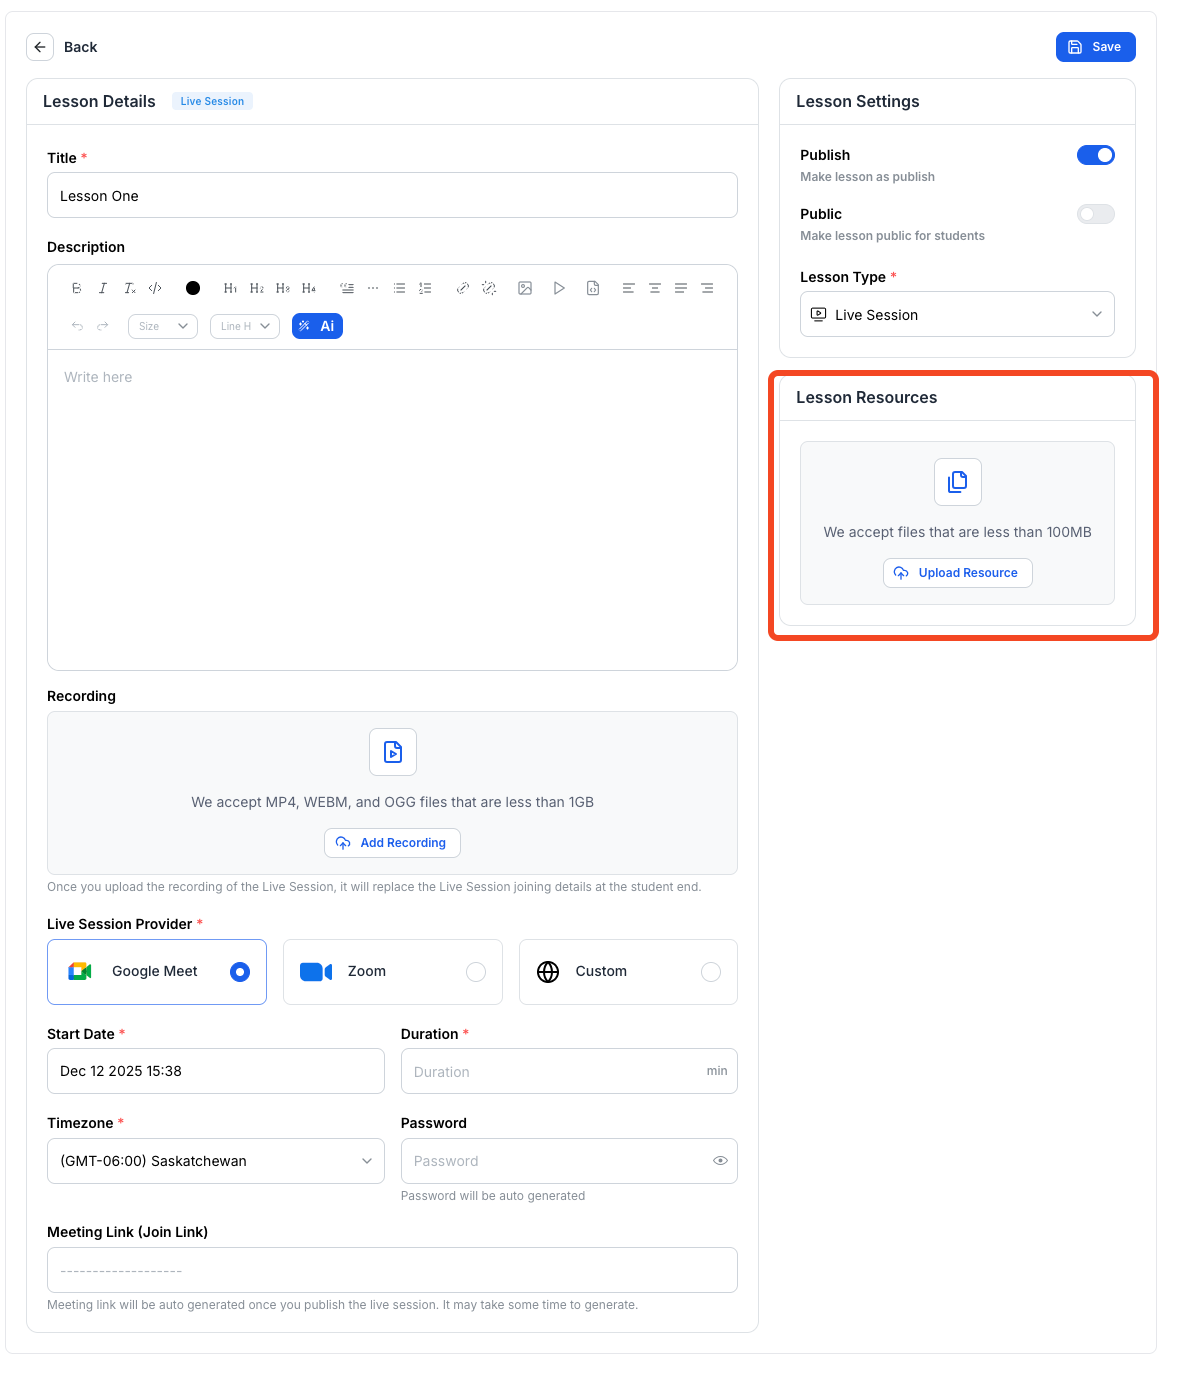
17. On the right side, there is another uploader that you can use to upload additional learning materials.
18. Once you have set everything up, you can toggle the Publish button on. Doing so will publish the lesson in your course.
Warning: If you toggle on the Public button, it will make the lesson public for anyone who visits your course website. So, if you are sharing premium content in the lesson, DO NOT turn the public toggle on. Only use this when you want potential students or visitors to access any lesson for free before they decide to purchase your course.
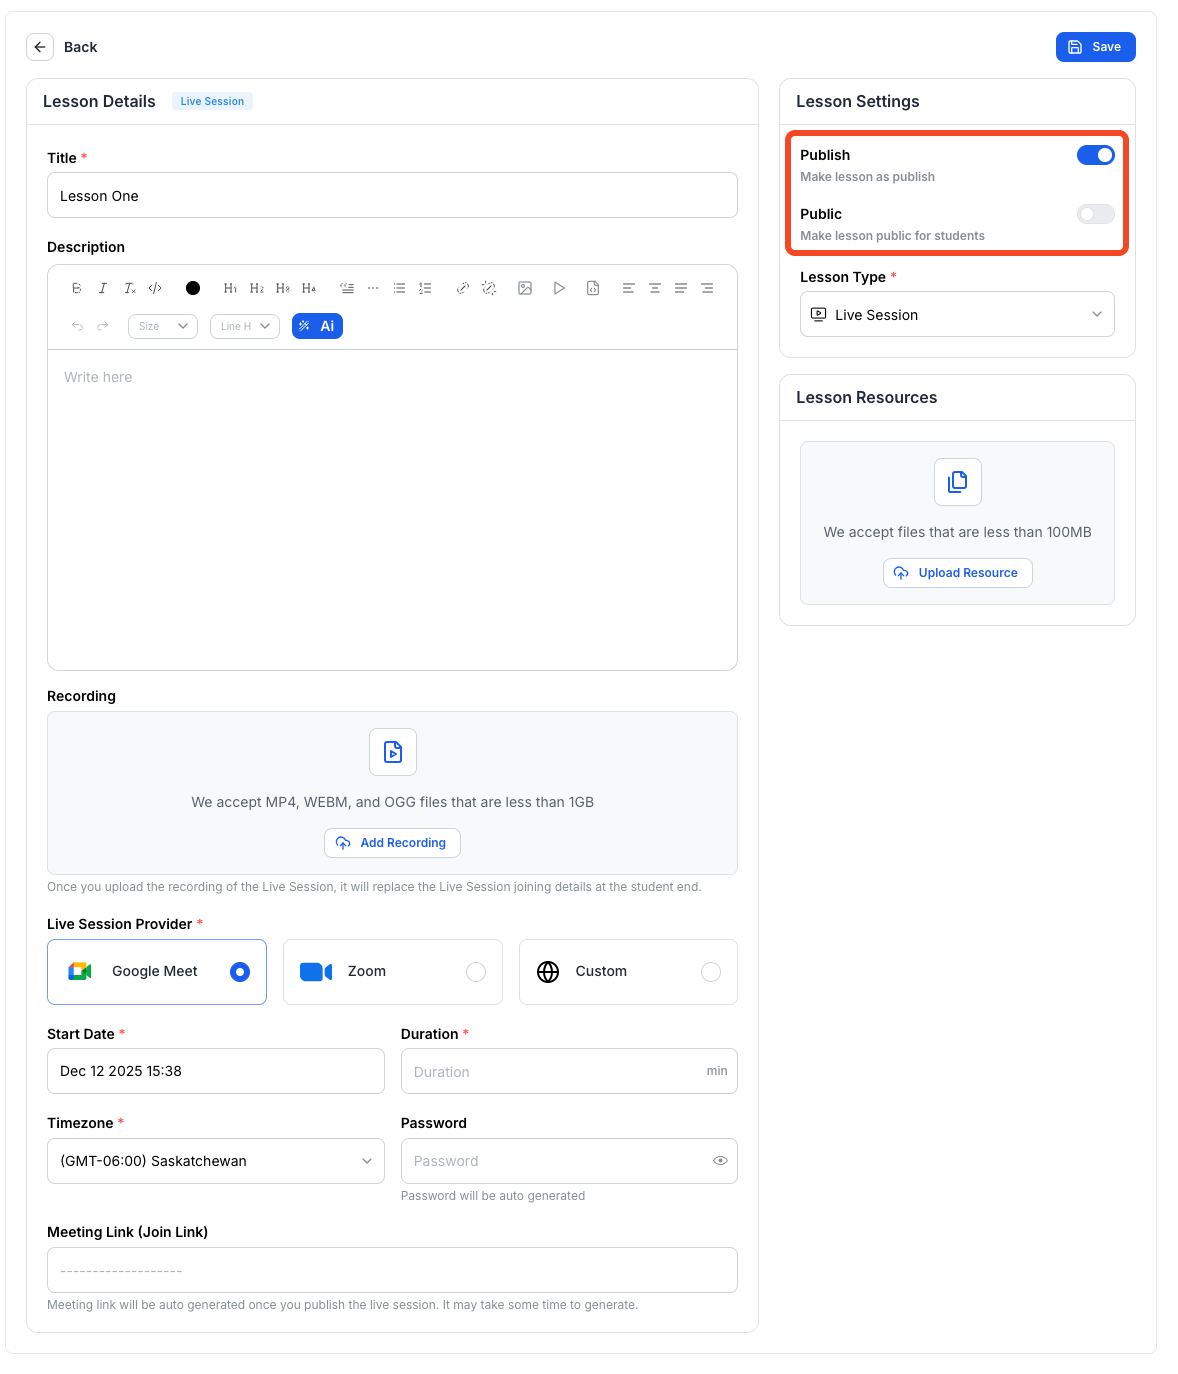
19. When you are ready, you can hit the “Save” button to save all the changes you made. Following the same process, you can add more chapters and lessons in your live course.