
If you want to accept payments through EPS (Easy Payment System) on your Klasio platform, this integration makes it easy. Your students in Bangladesh can pay with cards, bKash, Nagad, Rocket and internet banking, and you receive the money directly.
Before you start, make sure you have an EPS merchant account. EPS gives you your Username, Password, Hash Key, Merchant ID and Store ID when your account is set up. If you don’t have them, contact EPS.
Here’s how to integrate EPS with Klasio to receive payments:
1. From your Klasio admin dashboard, go to Settings and expand it.
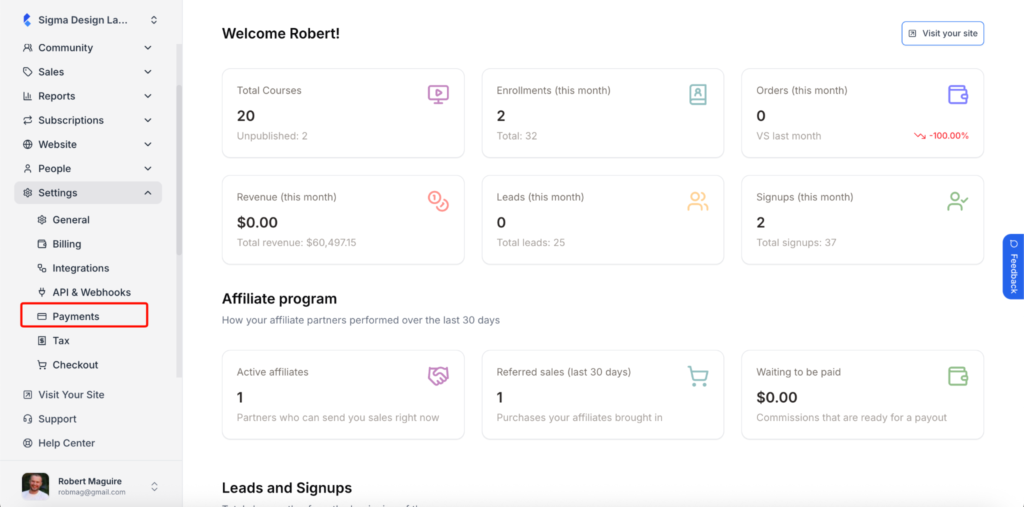
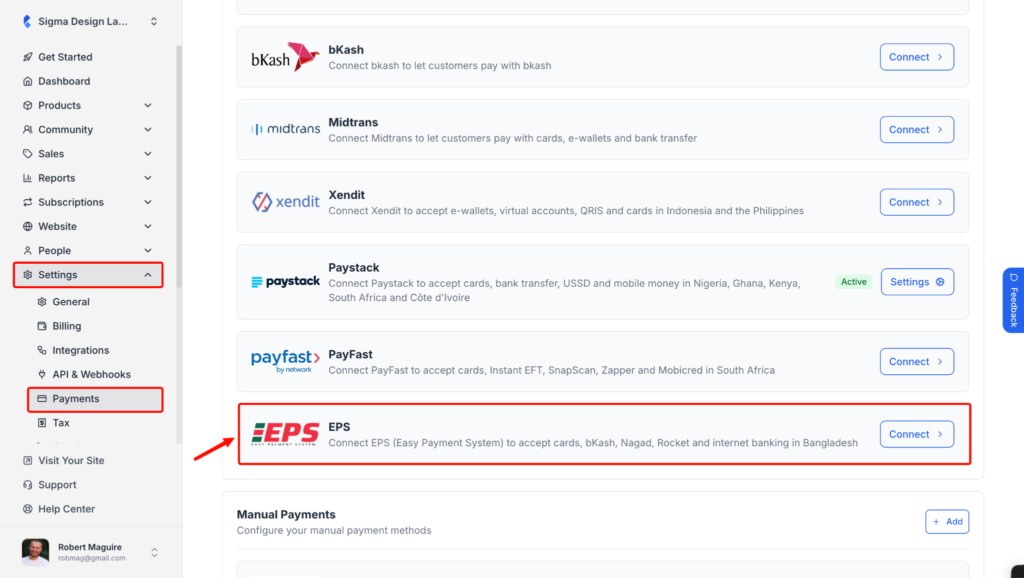
2. Click on Payments. Find EPS in the list of payment gateways and click on the Connect button.
3. A popup titled EPS Setting will appear. Type in a Name for the payment method. Your students will see this on the checkout page. You can also add a short Description if you want.
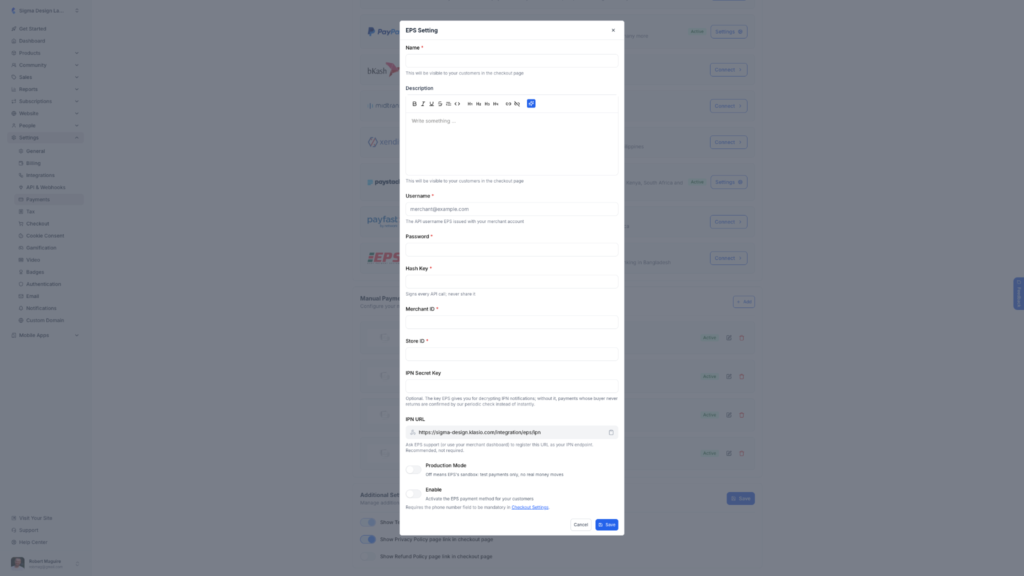
Next, insert your Username, Password, Hash Key, Merchant ID and Store ID from EPS.
4.If EPS has given you an IPN Secret Key, paste it into its field. Then copy the IPN URL using the copy icon and ask EPS support to register it for your account, or add it from your EPS merchant dashboard.
This step is optional but recommended. With it, Klasio confirms payments instantly, even if a student closes the page before returning to your site.
5. Turn on Production Mode if you’re using live credentials. Leave it off to test with EPS sandbox credentials.
6. Turn on the Enable toggle and hit Save.
Note: EPS needs the phone number field to be mandatory at checkout. If it isn’t, go to Checkout Settings and make it required.
You’re now ready to receive payments using EPS from your course website. If you face any difficulties, feel free to reach out to us at [email protected].